
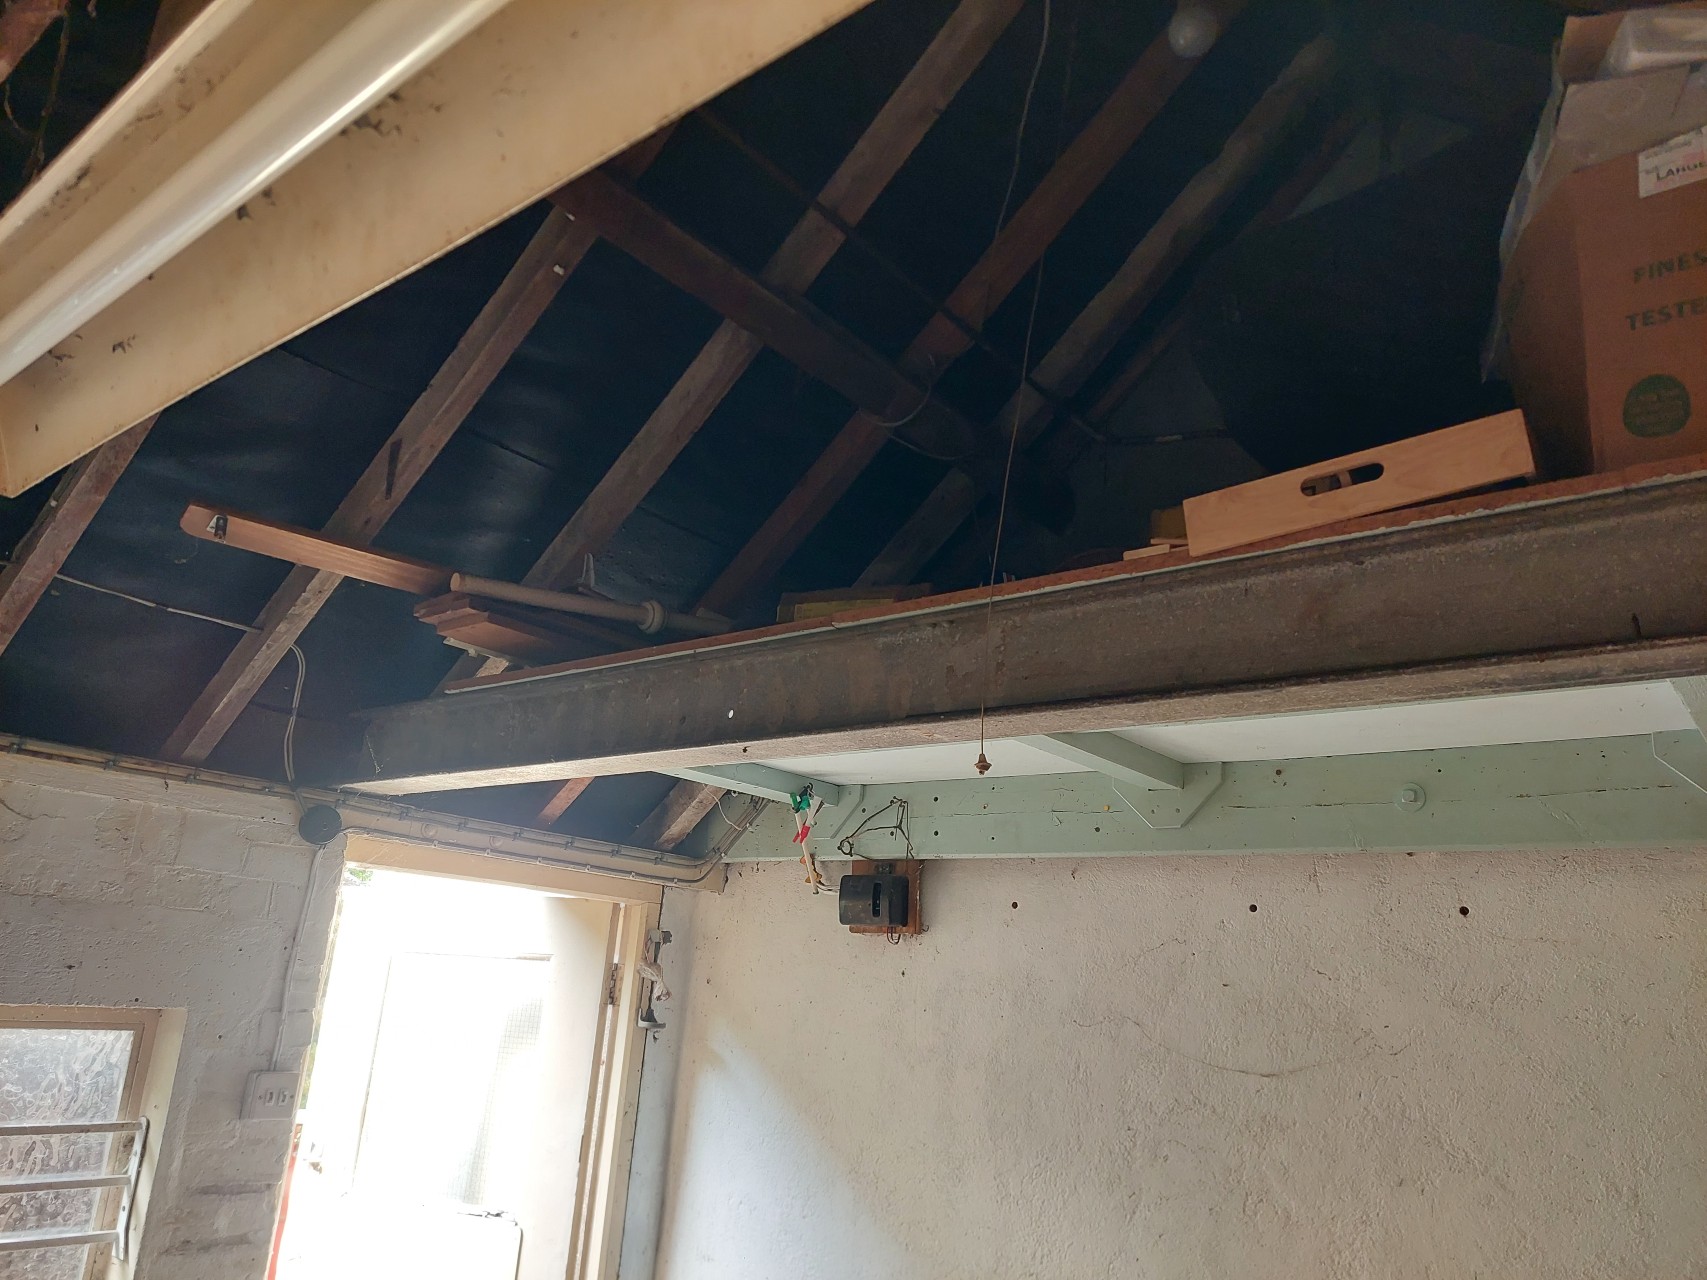
The outhouse was used as a workshop and store, it had a beam across it holding up a large storage shelf
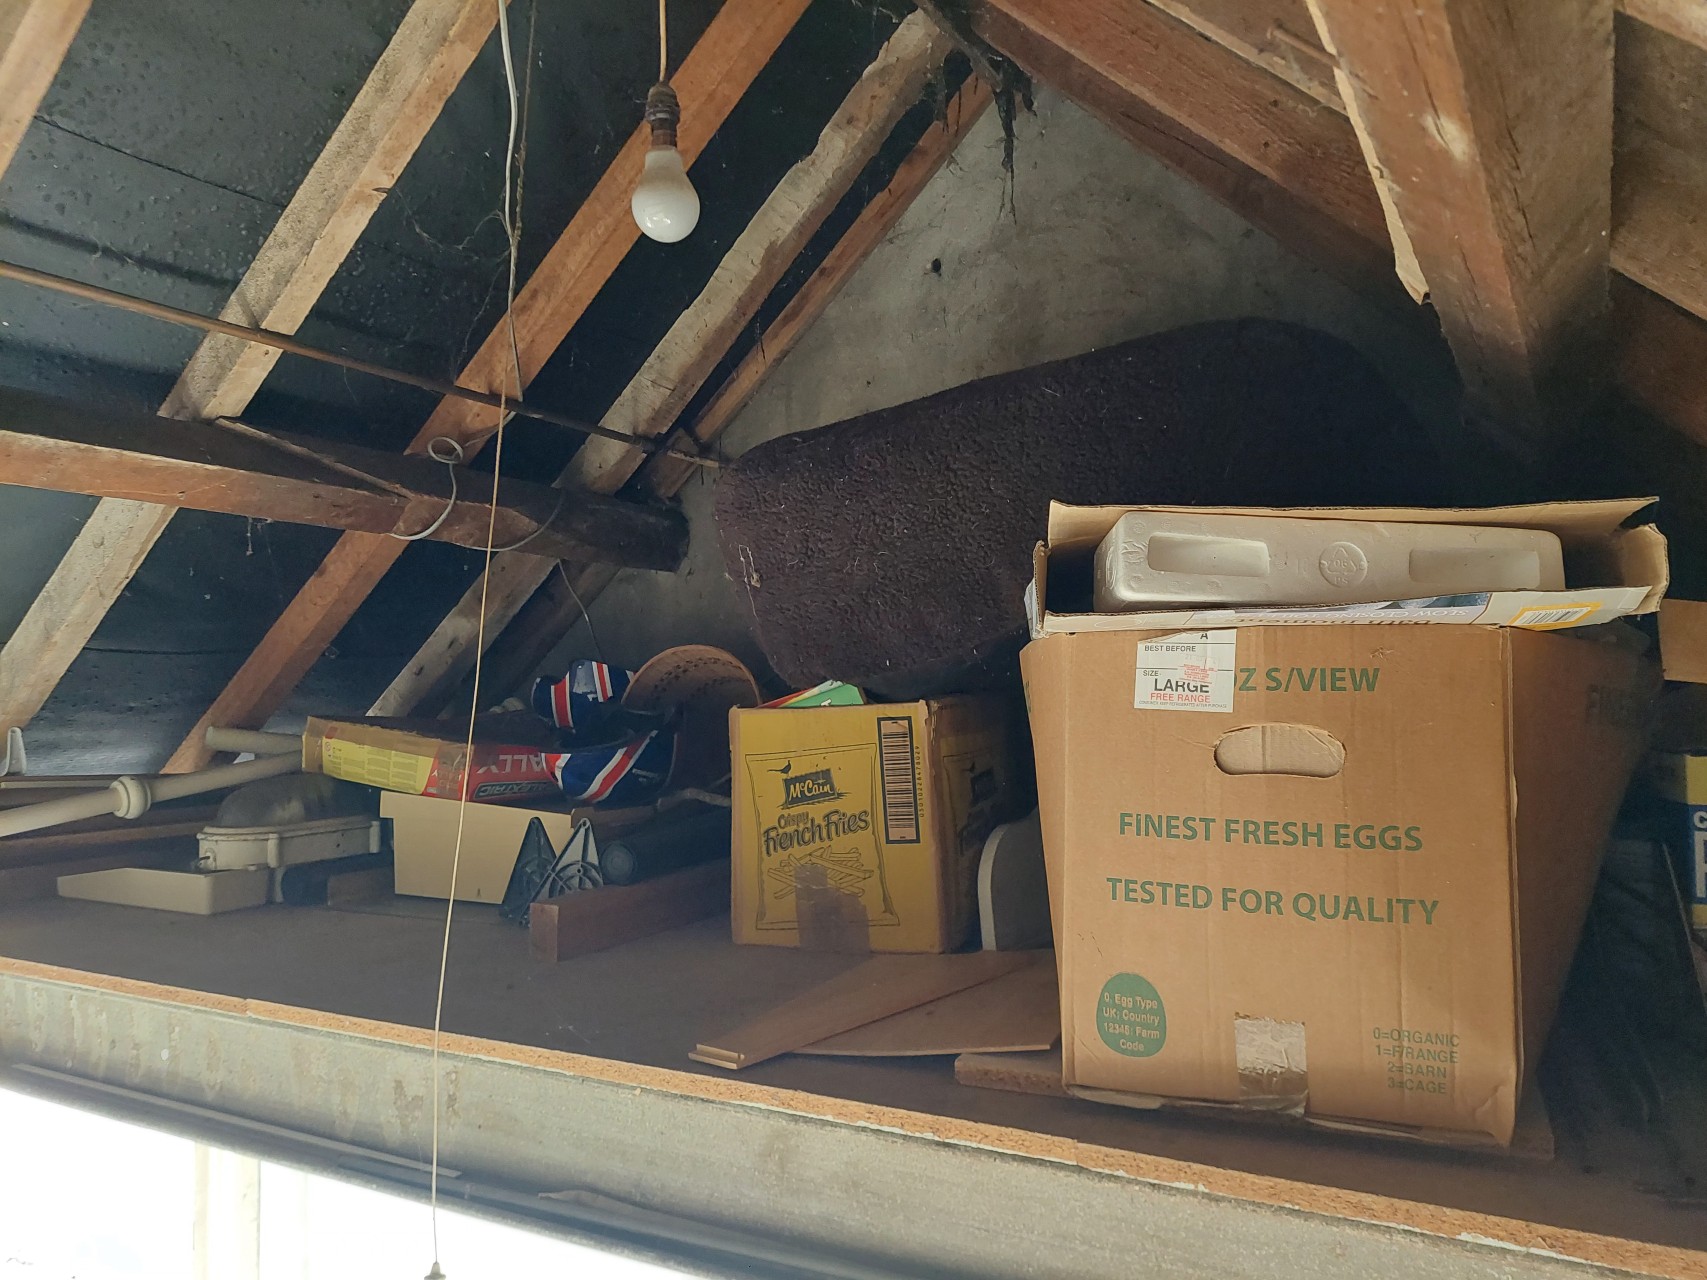
The 'mezzanine' storage supported by the beam
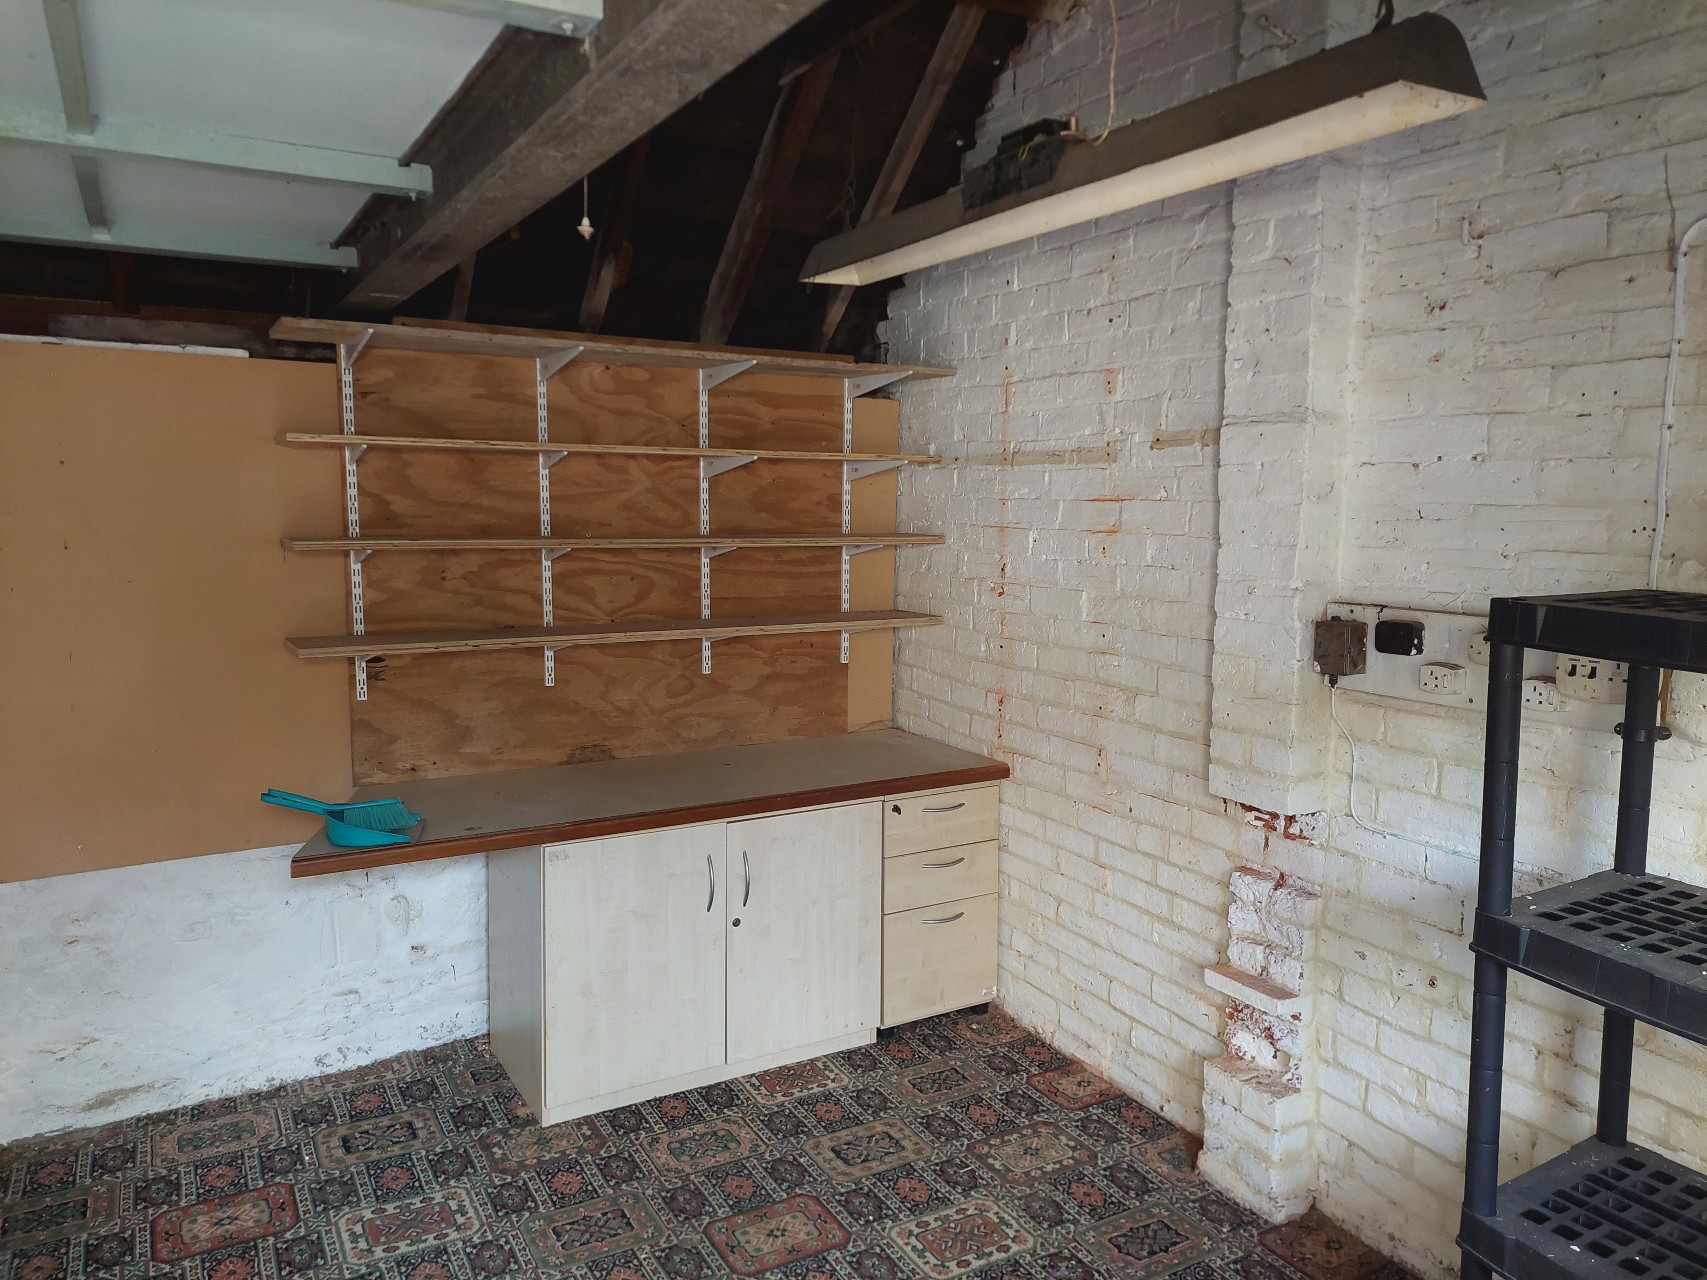
Other storage was fitted on the wall to School Lane, the room was carpeted and had electrical fittings
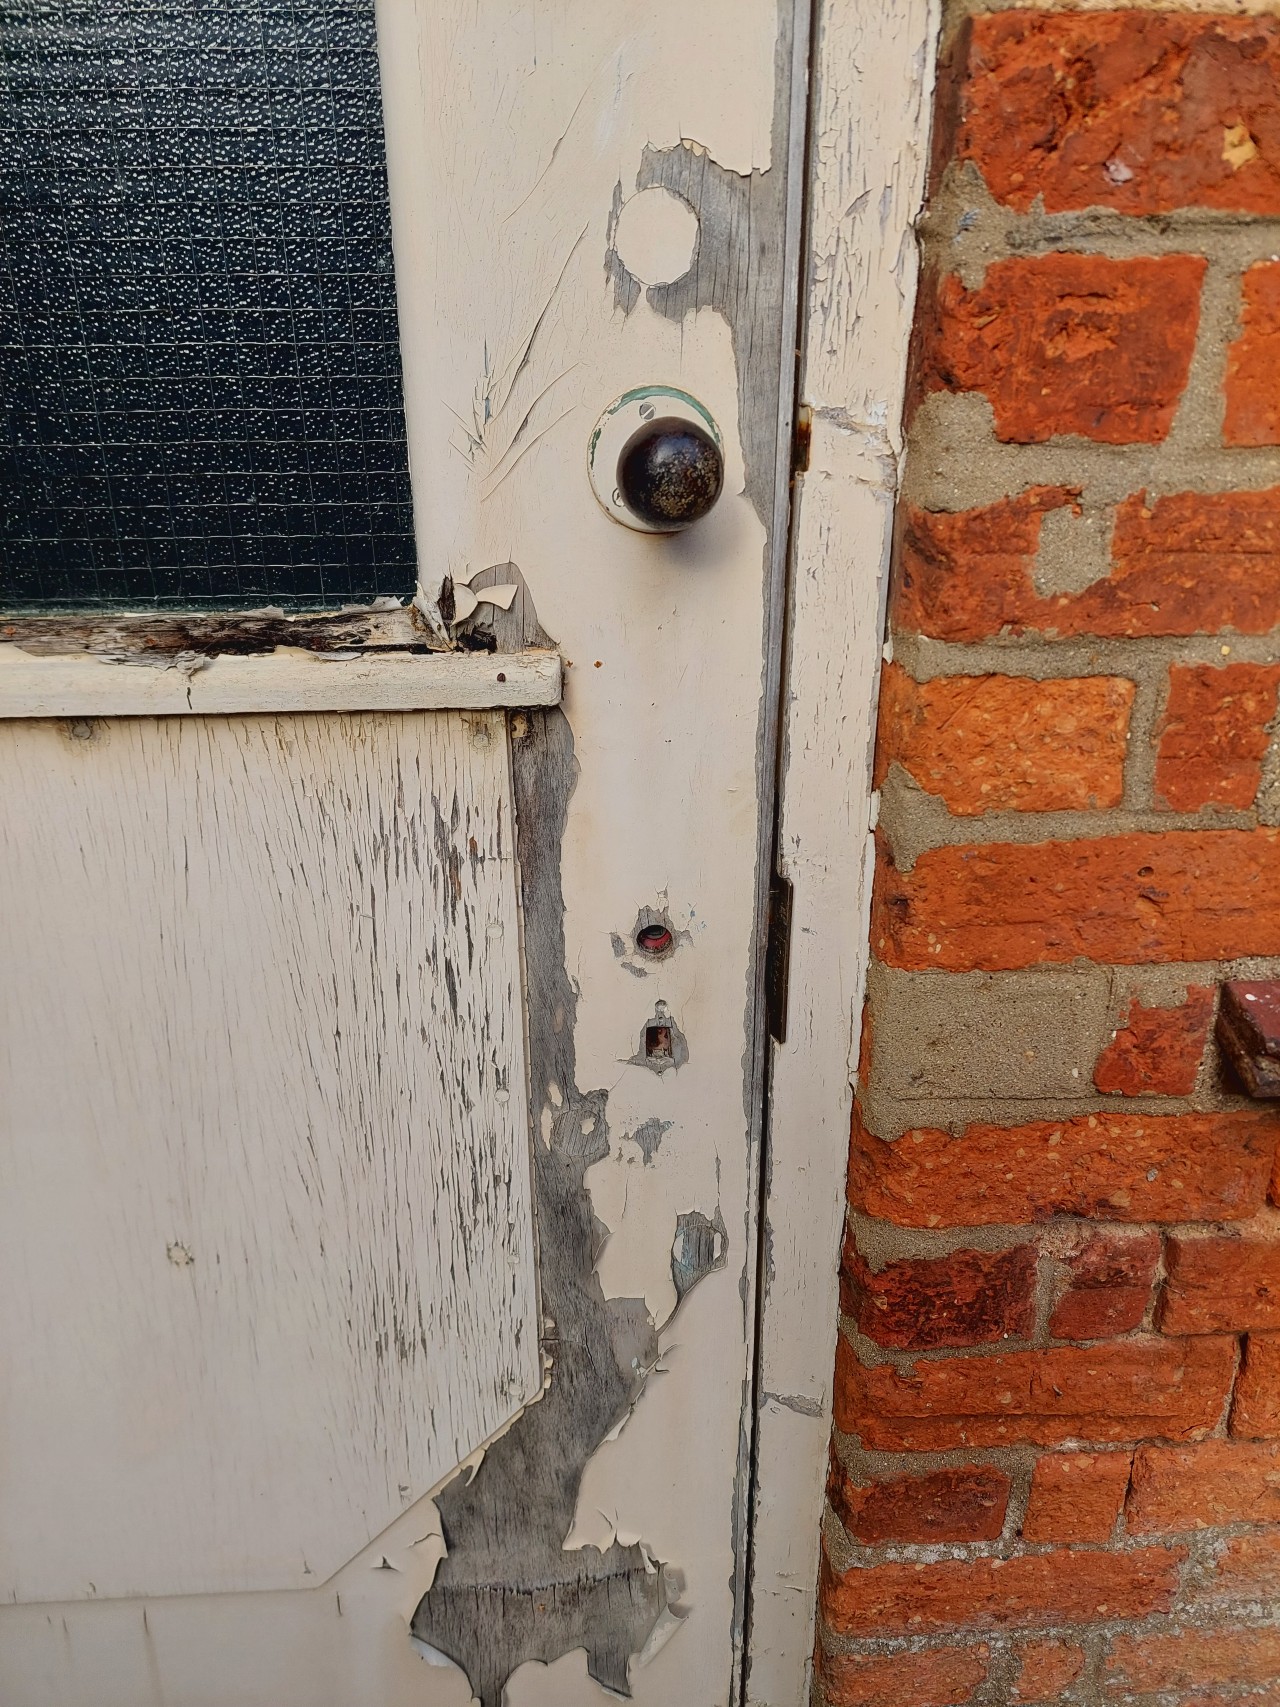
The entrance door from the garden was a decayed wooden and glass door with no handle to the lock
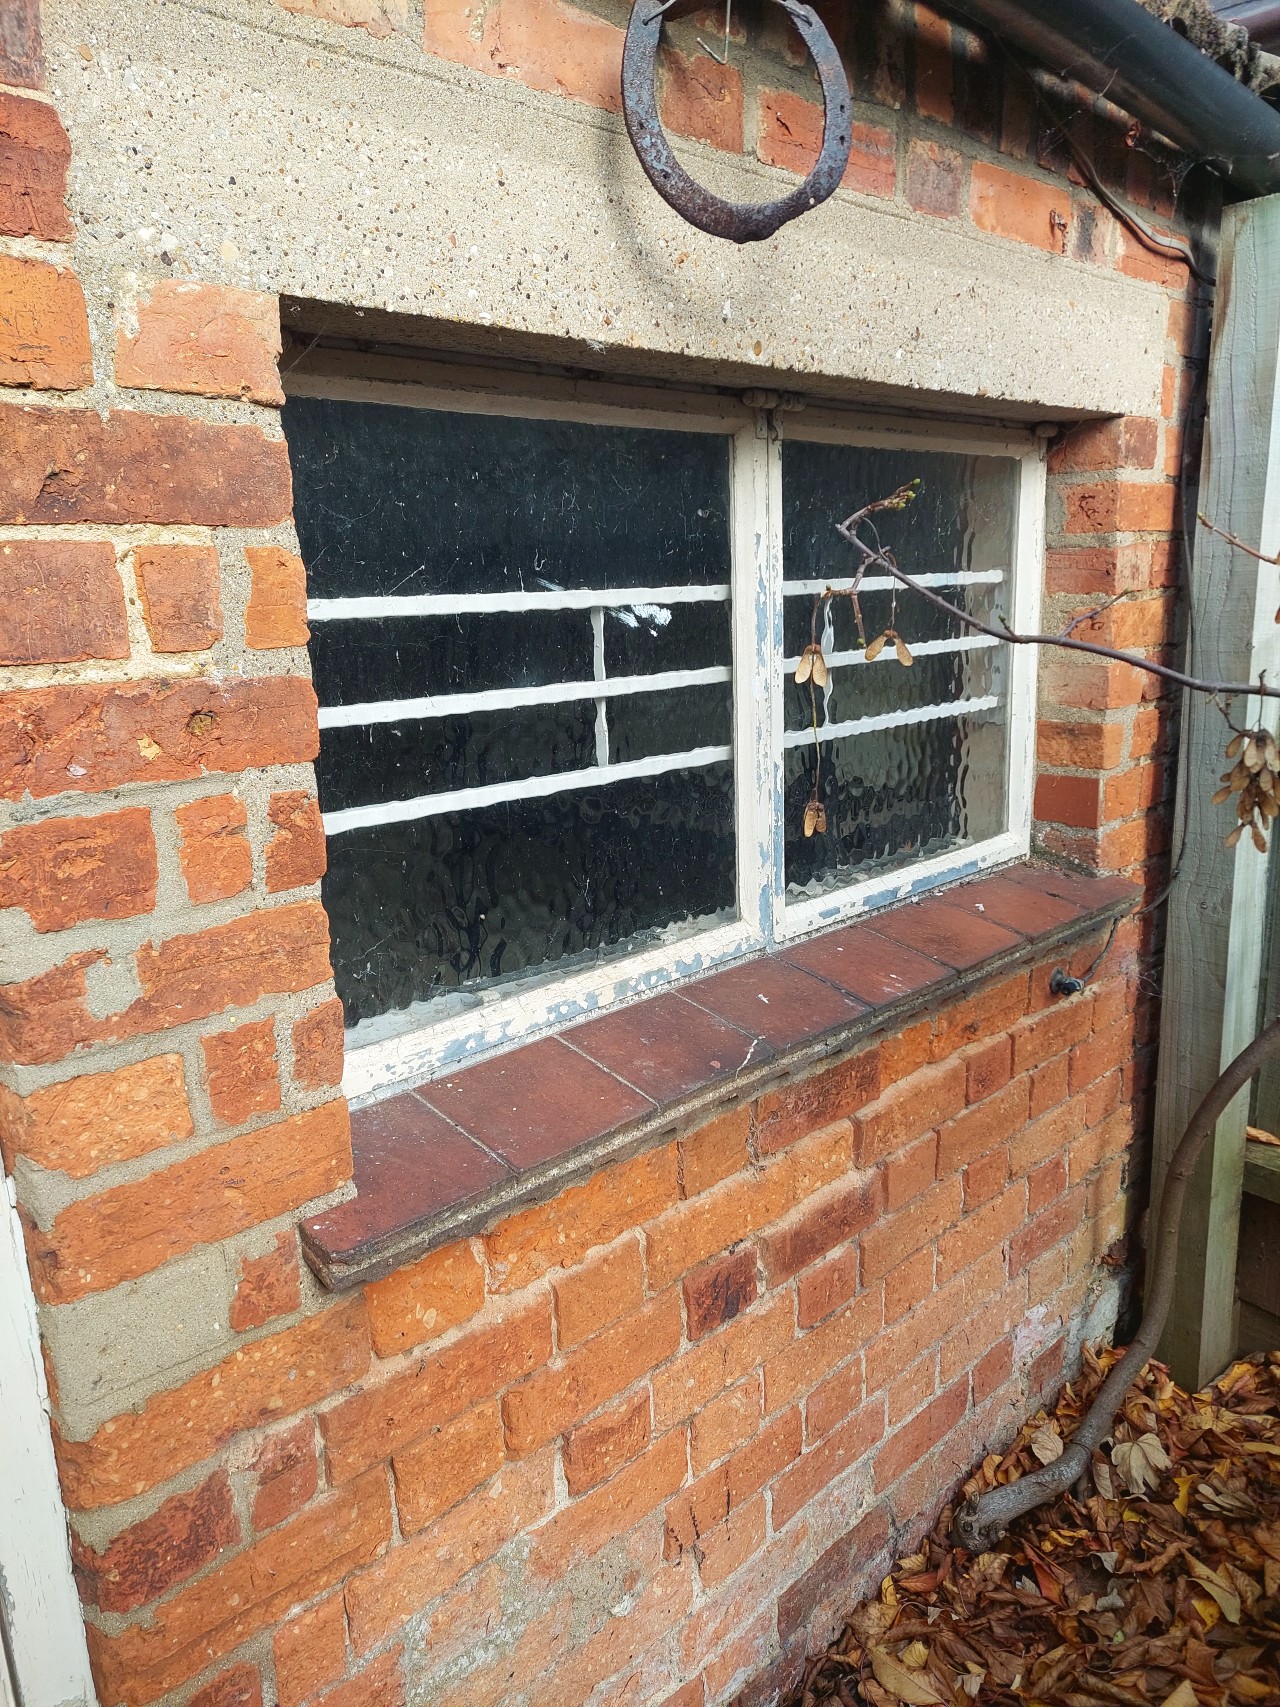
The barred metal framed window with a concrete lintel in the brick wall to the garden which is made from old Warmington brick
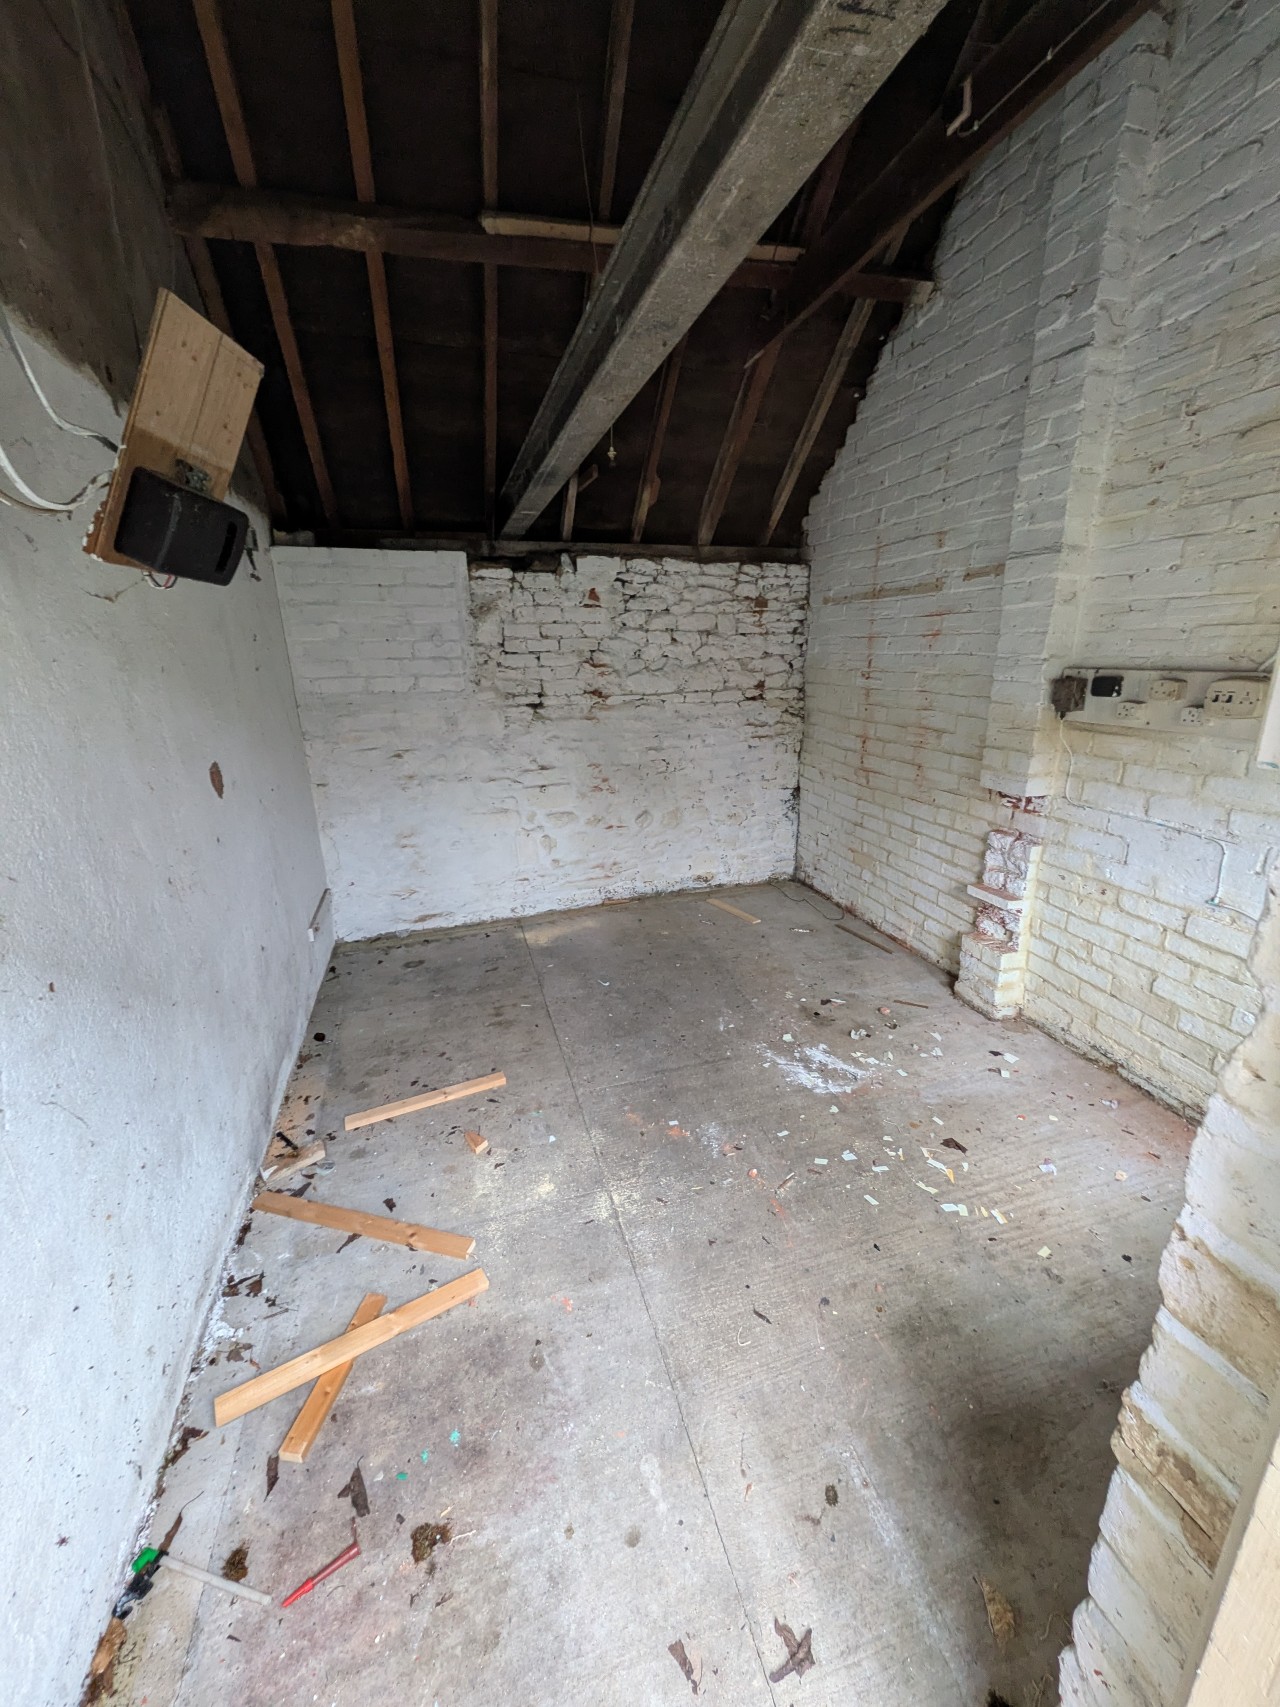
All fittings were cleared out to expose the walls, the far wall is on to School Lane and is a mix of old brick, 1940/50's brick and a stone outer wall. The right gable wall is old inside but the outer skin was built when the neighbouring house was built relatively recently
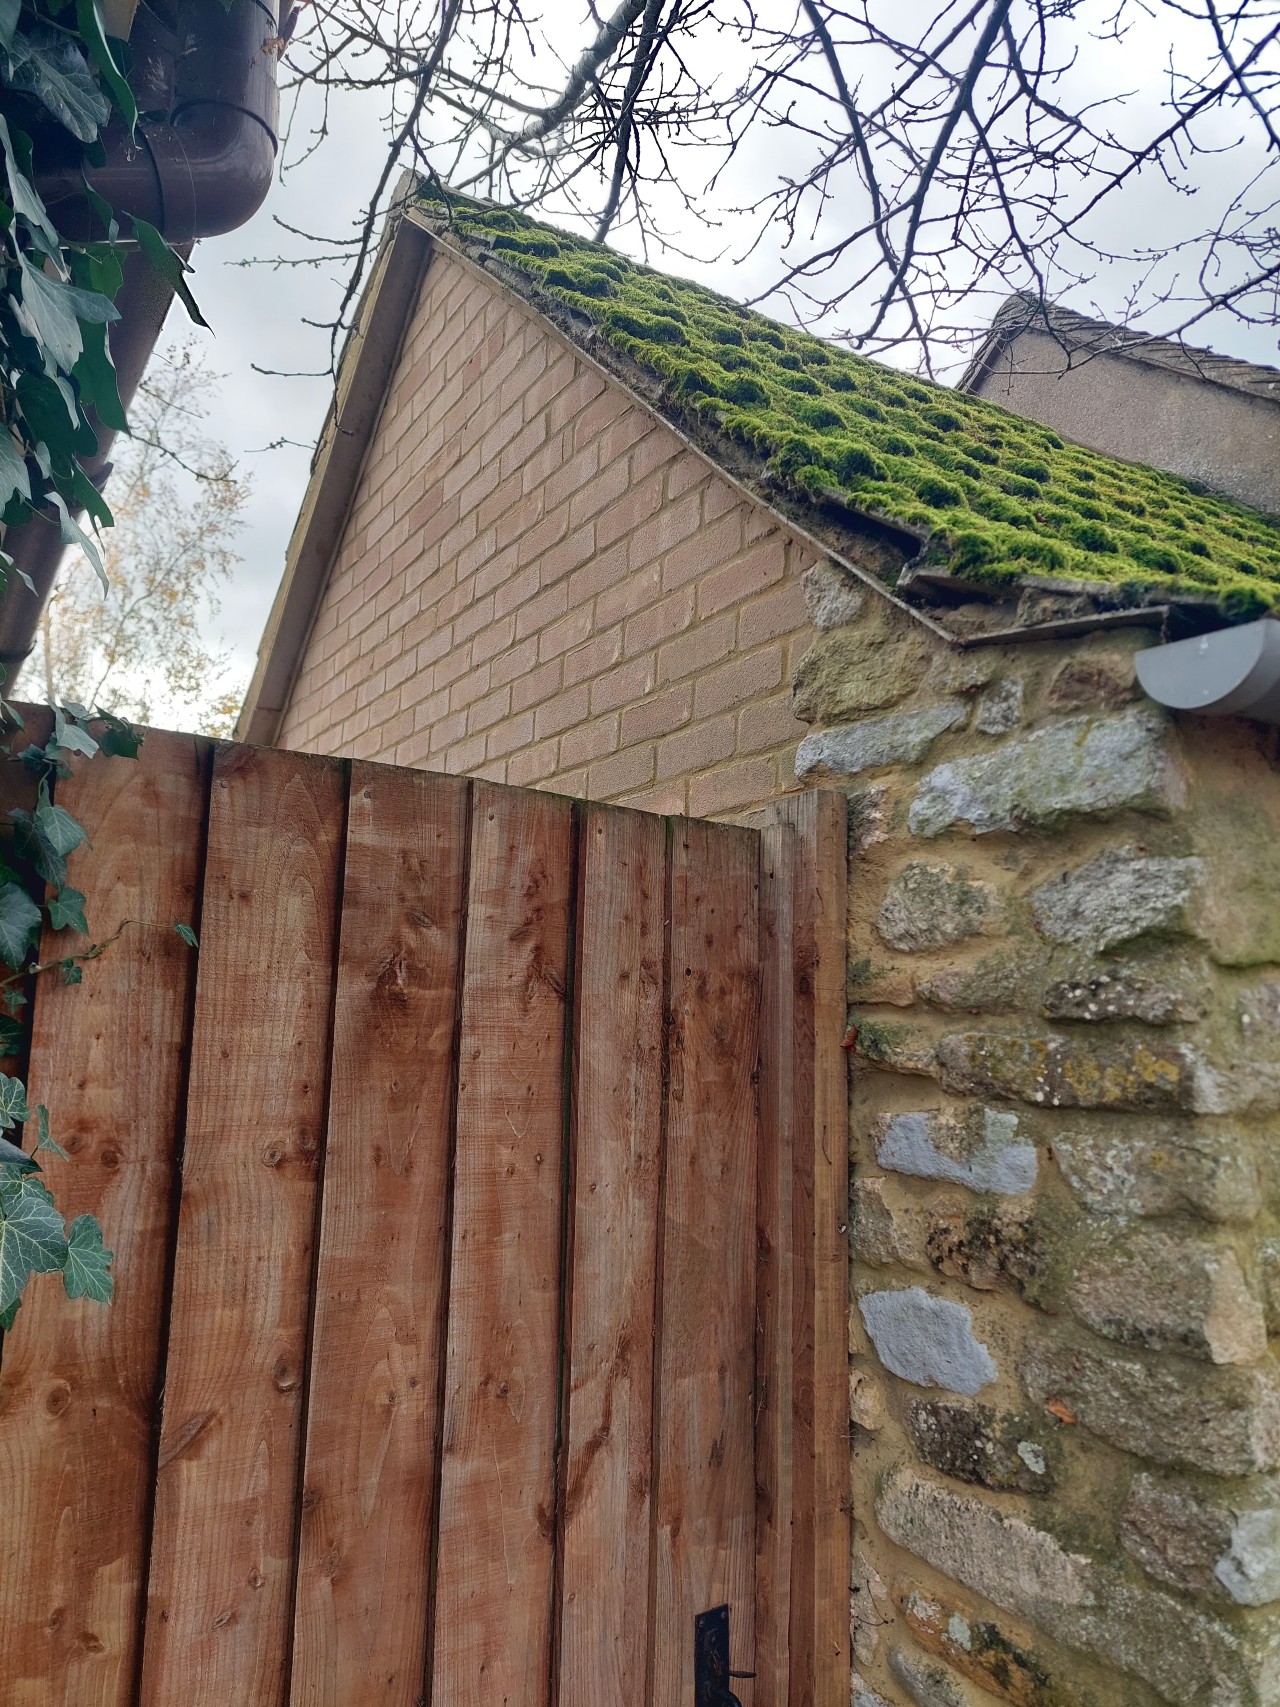
The outer gable wall to the outhouse was rebuilt as a cavity wall when the neighbouring house was built. This outer wall is the boundary between the houses
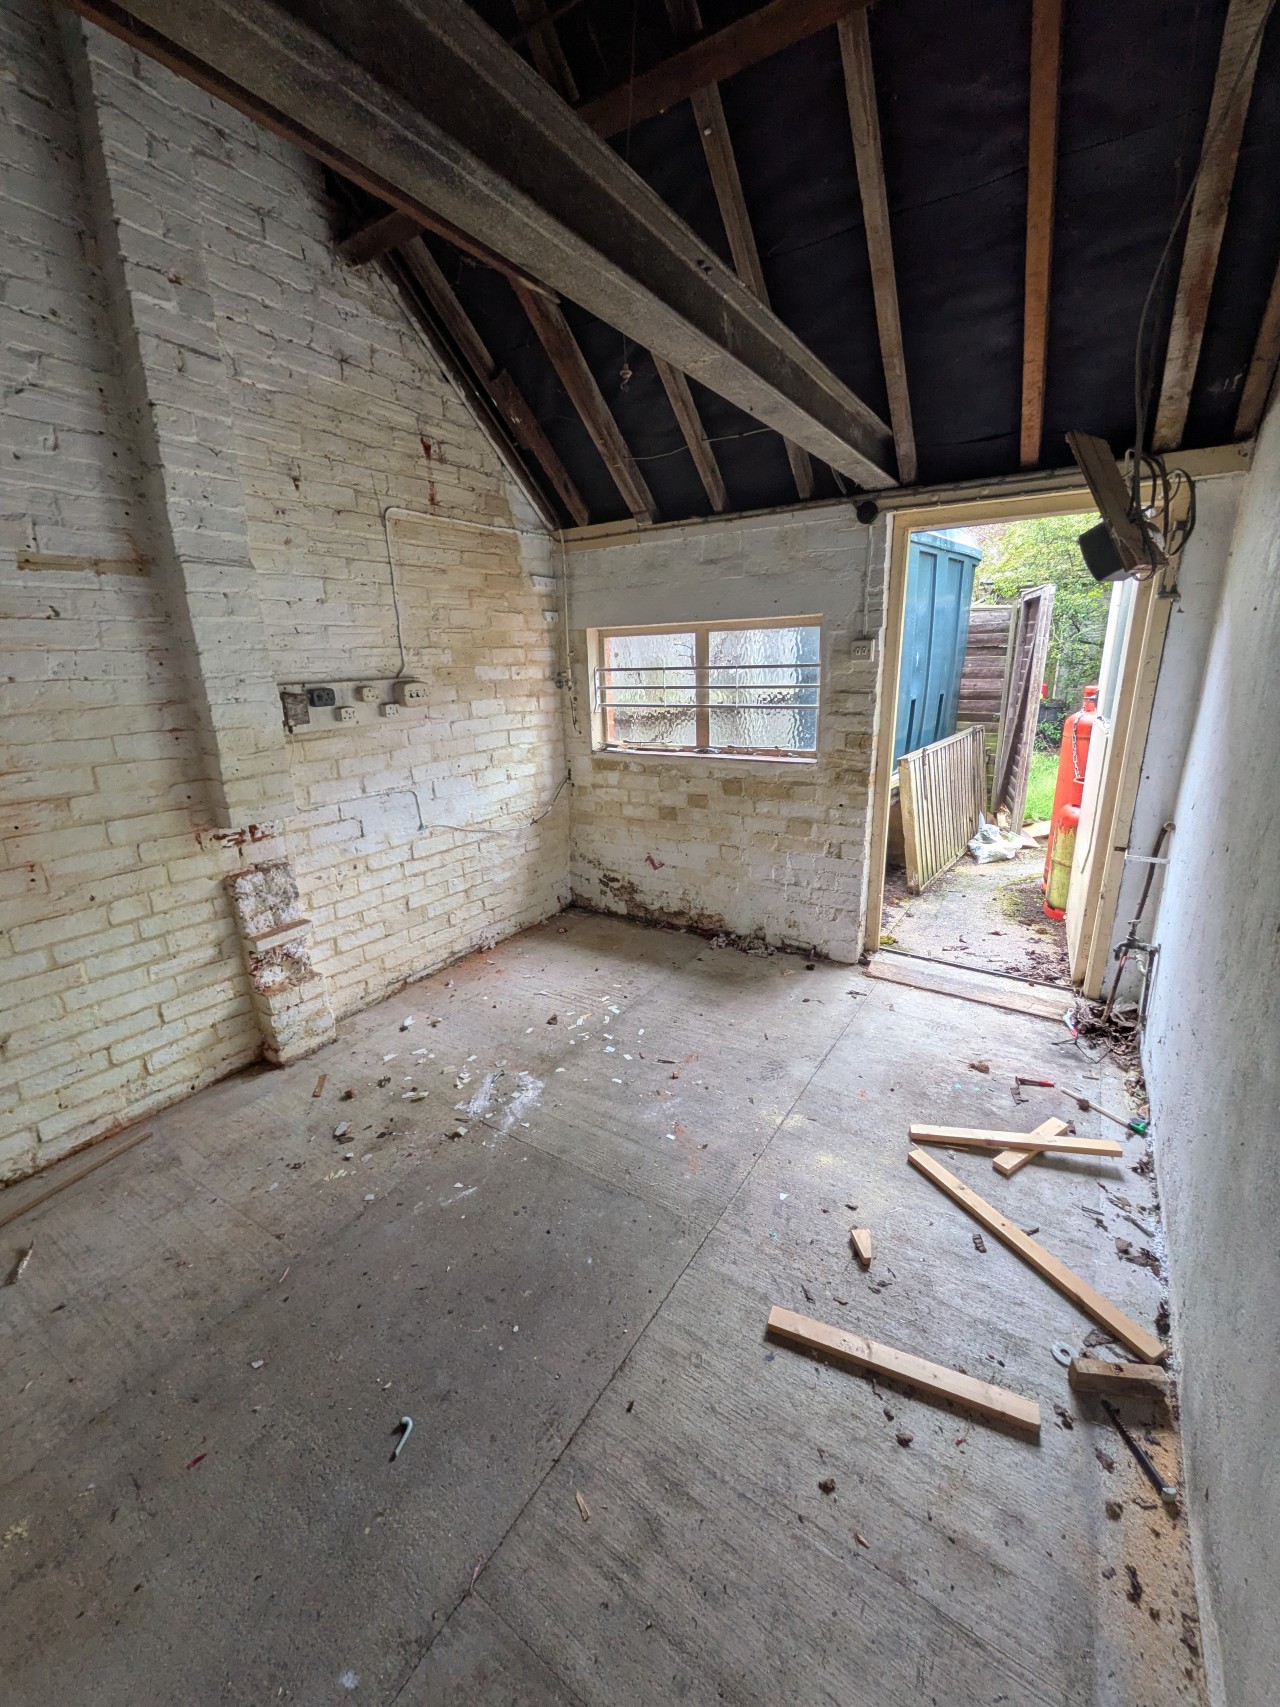
The beam restricted the useable height to about 1.8m above the bare concrete floor. The concrete floor was formed from a concrete slab probably from the 1940/50's conversion
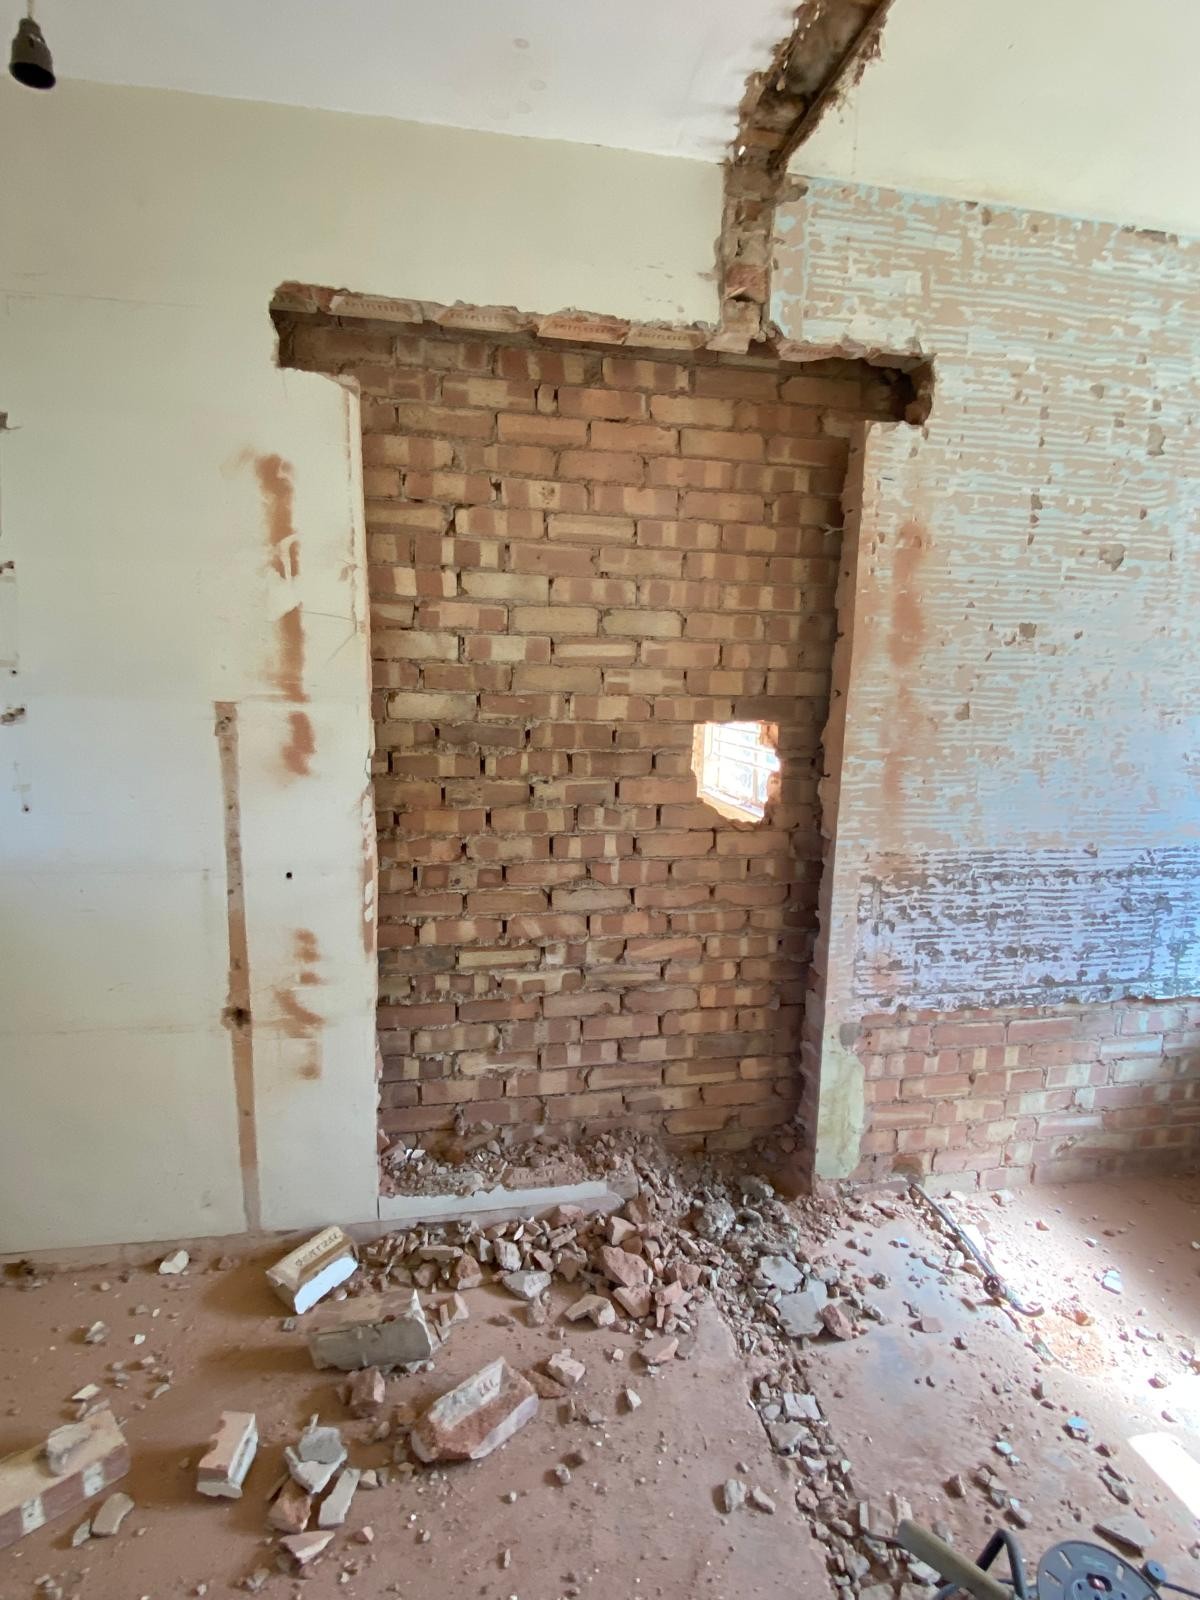
The start of opening up the wall between the outhouse and the main house. The wall was a double skinned cavity brick wall probably from the 1940/50's conversion
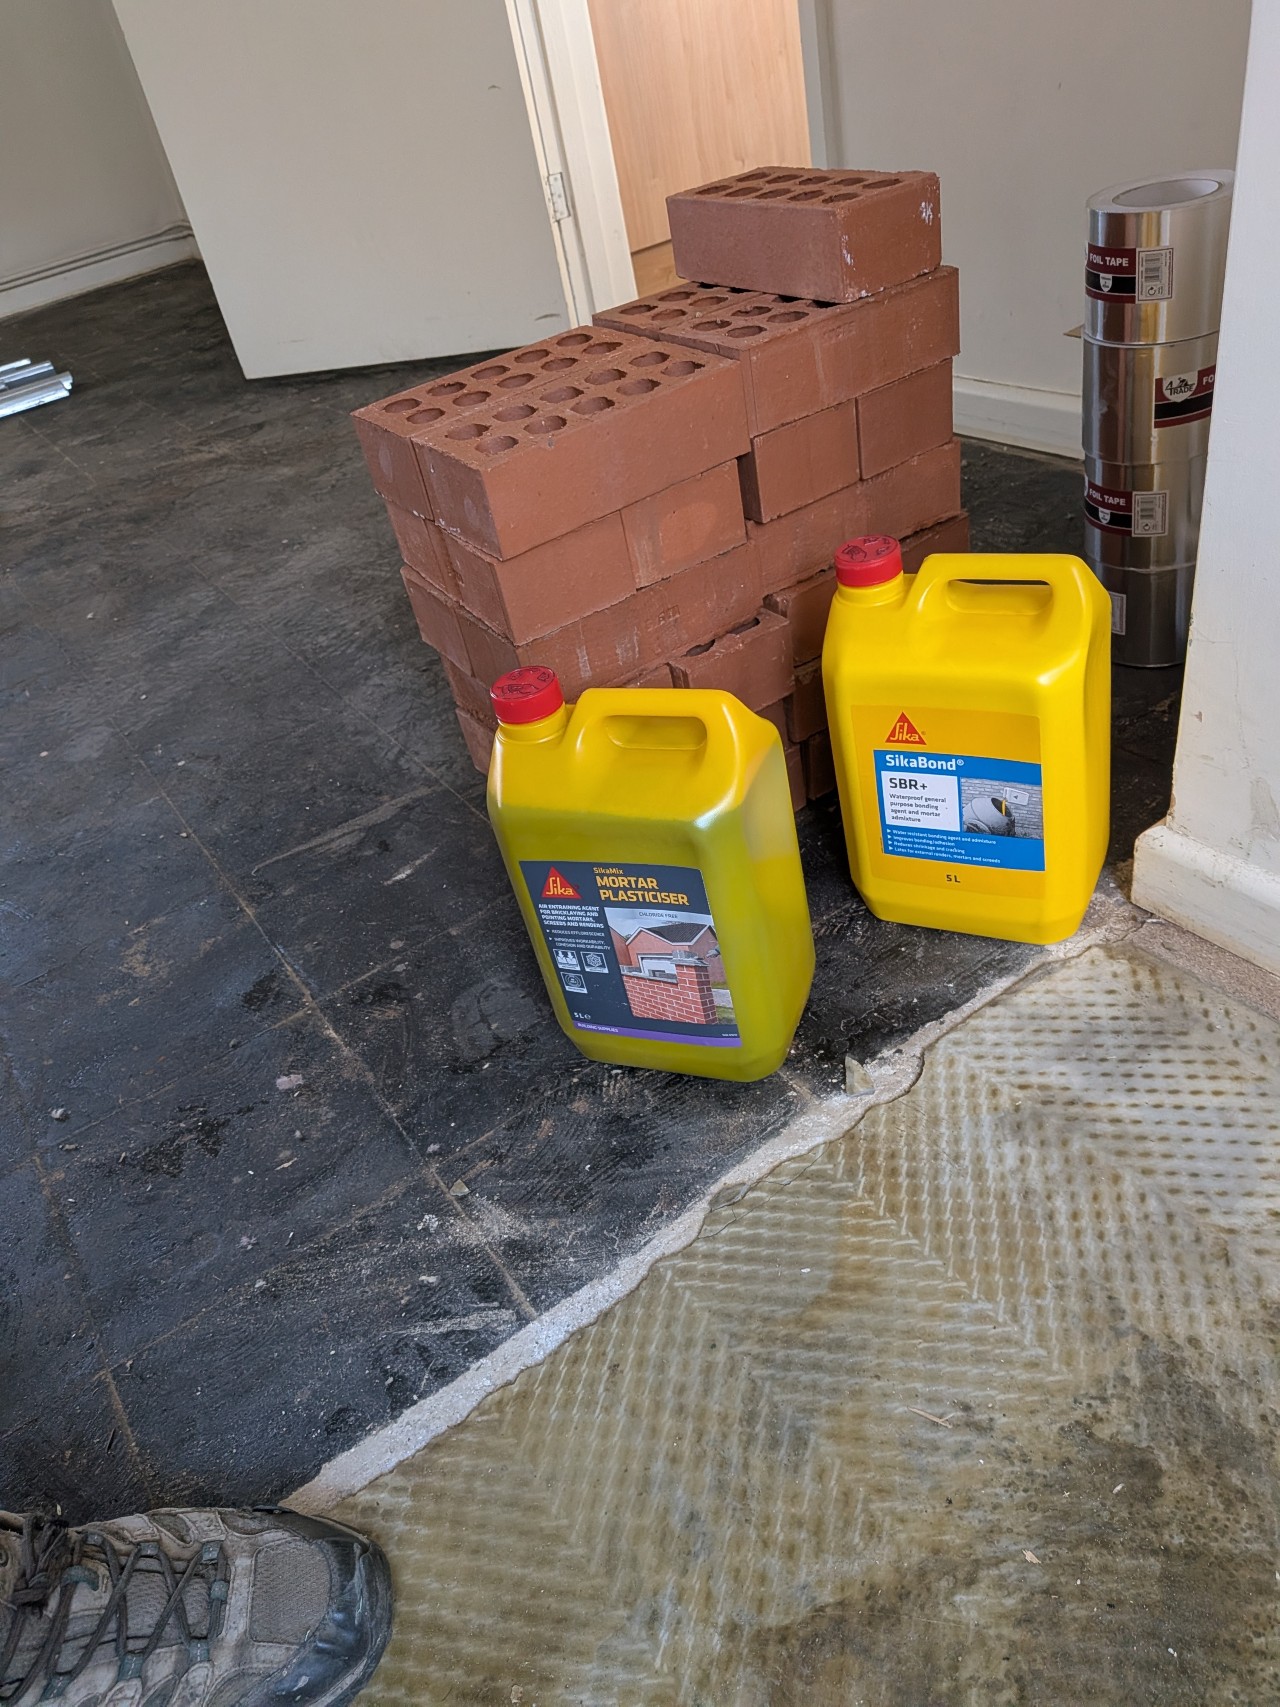
Engineering bricks and cement additives at the ready
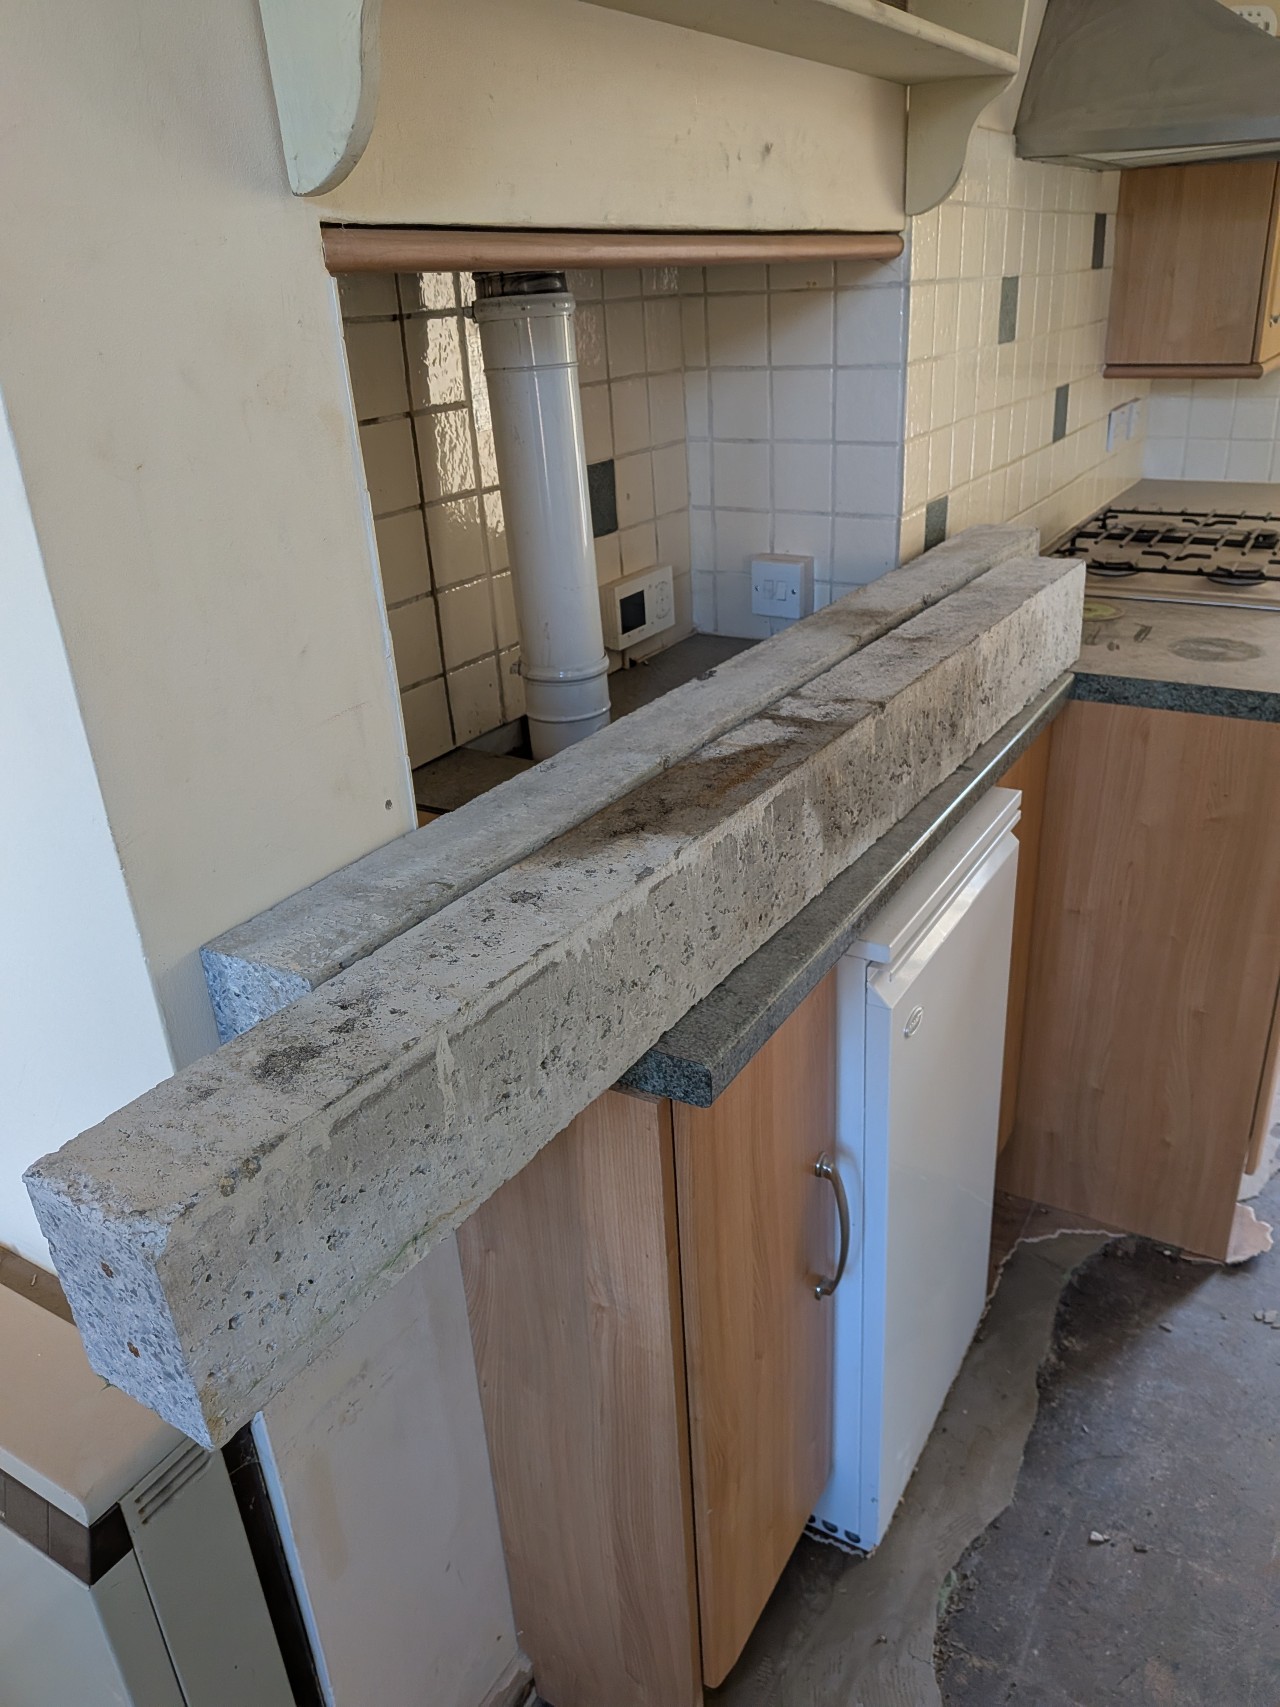
Lintels ready to be inserted
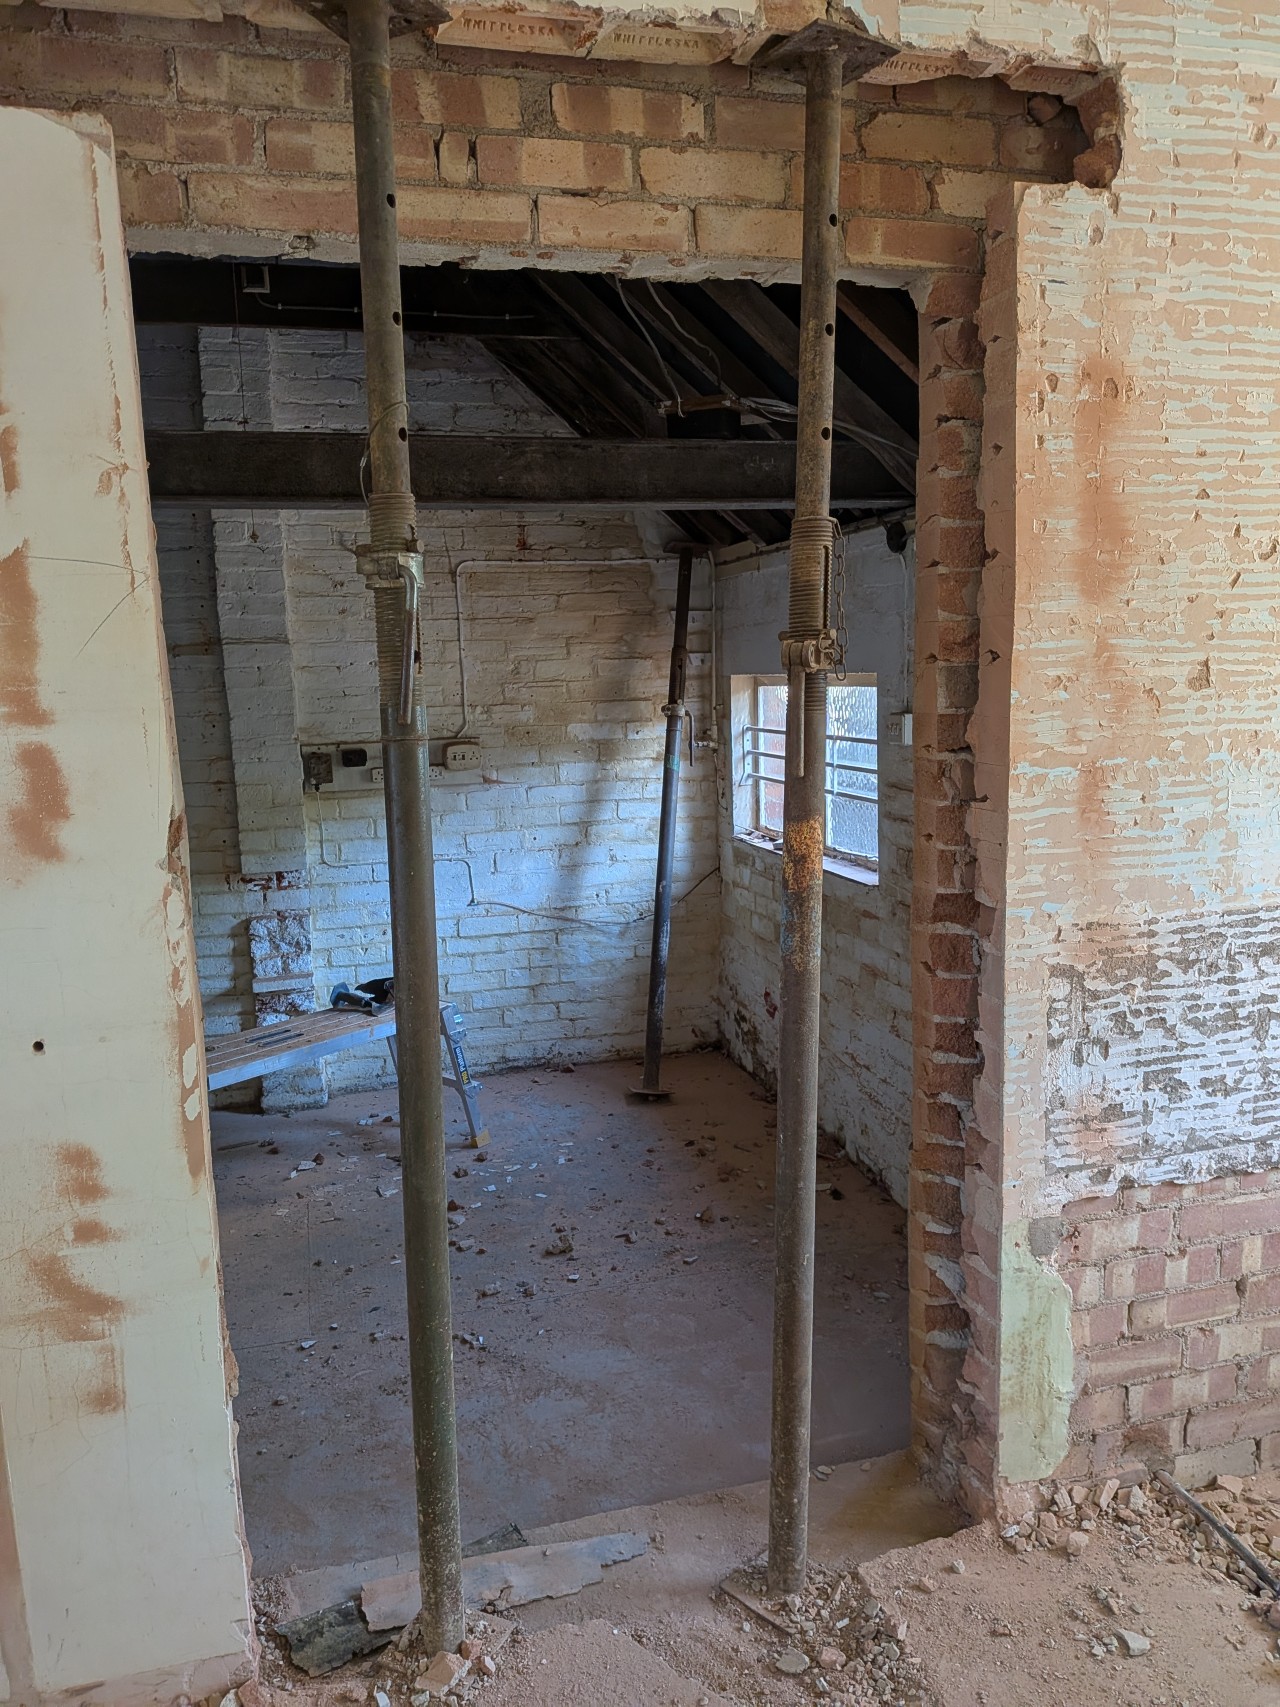
All the way through with inner brick gable wall propped - the inner wall carried the purlins supporting the main roof loads
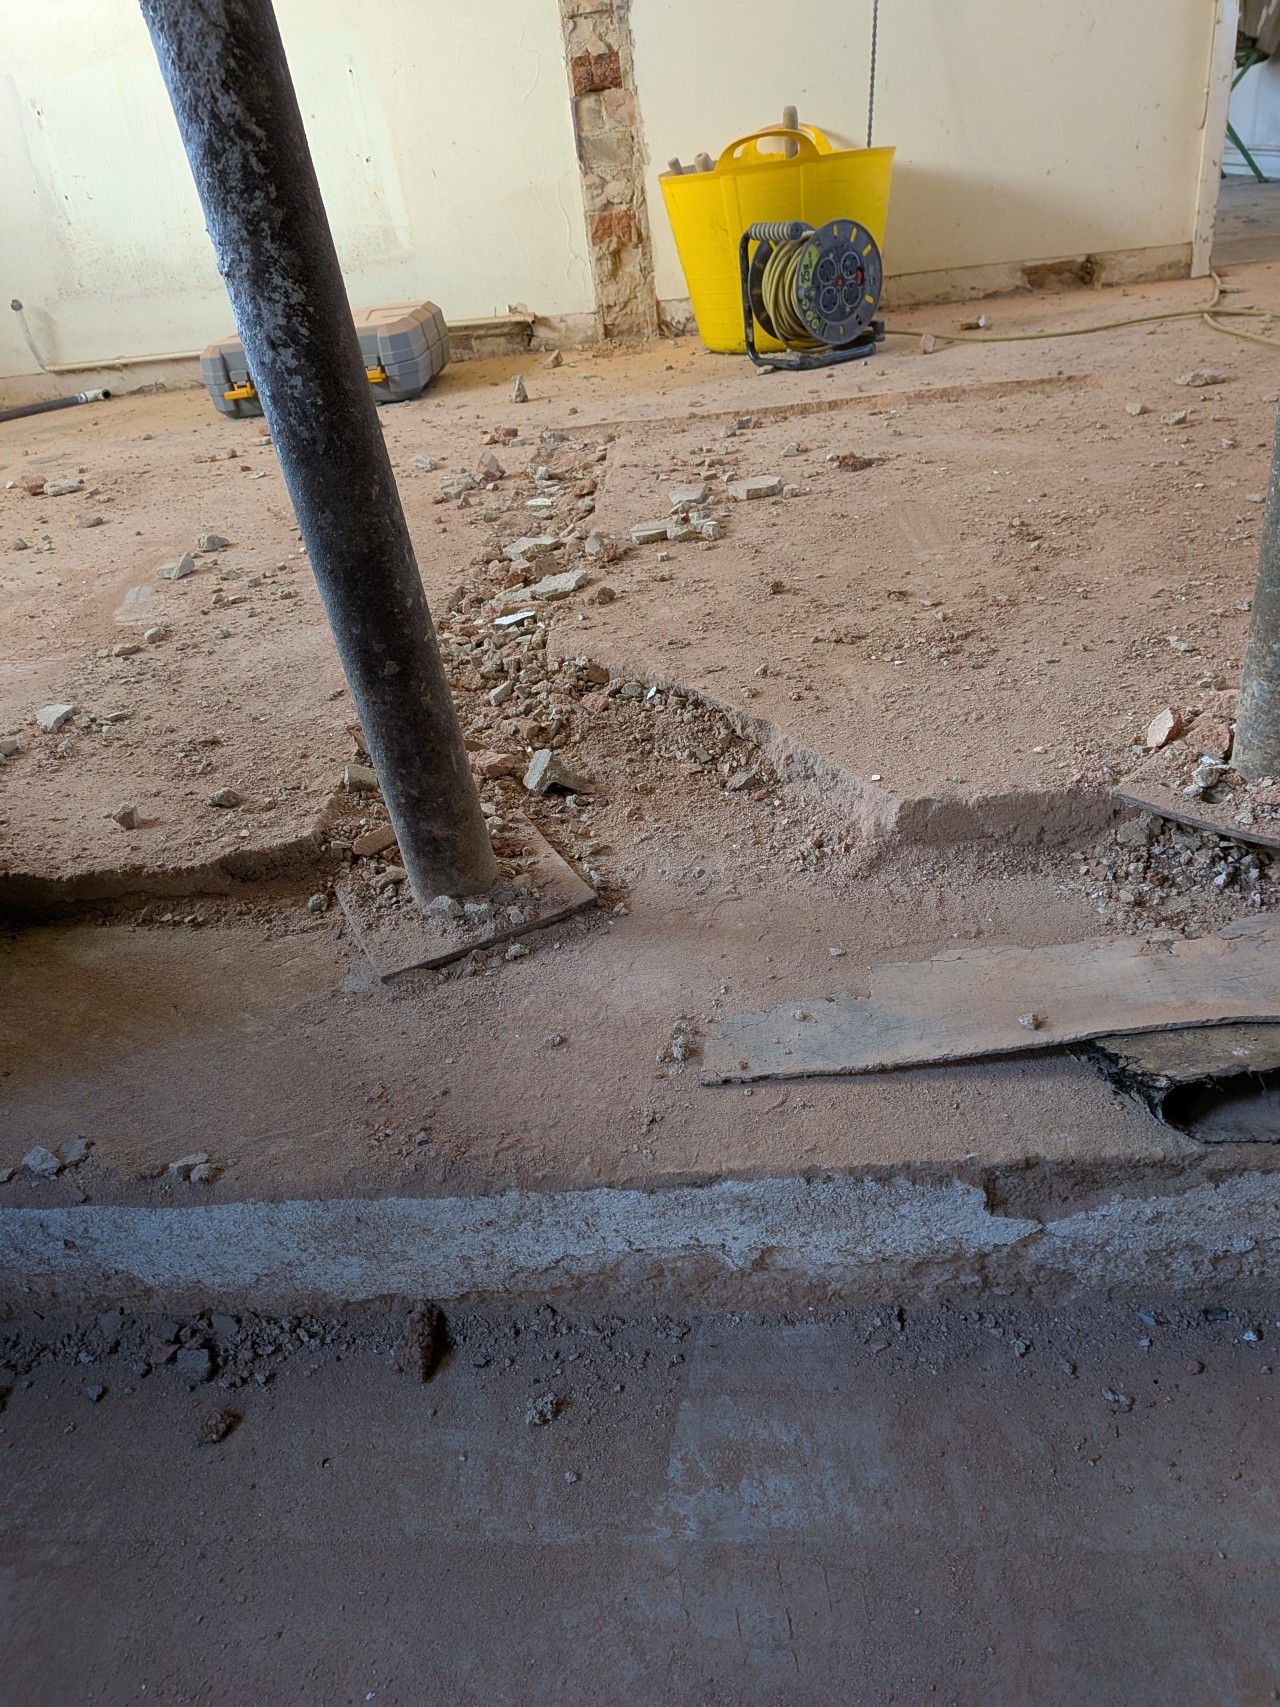
Props onto the concrete slab showing the level difference between the old bathroom/larder floor with a screeded top and the bare concrete floor of the outhouse. The screed top was removed to help reduce the difference to 50mm
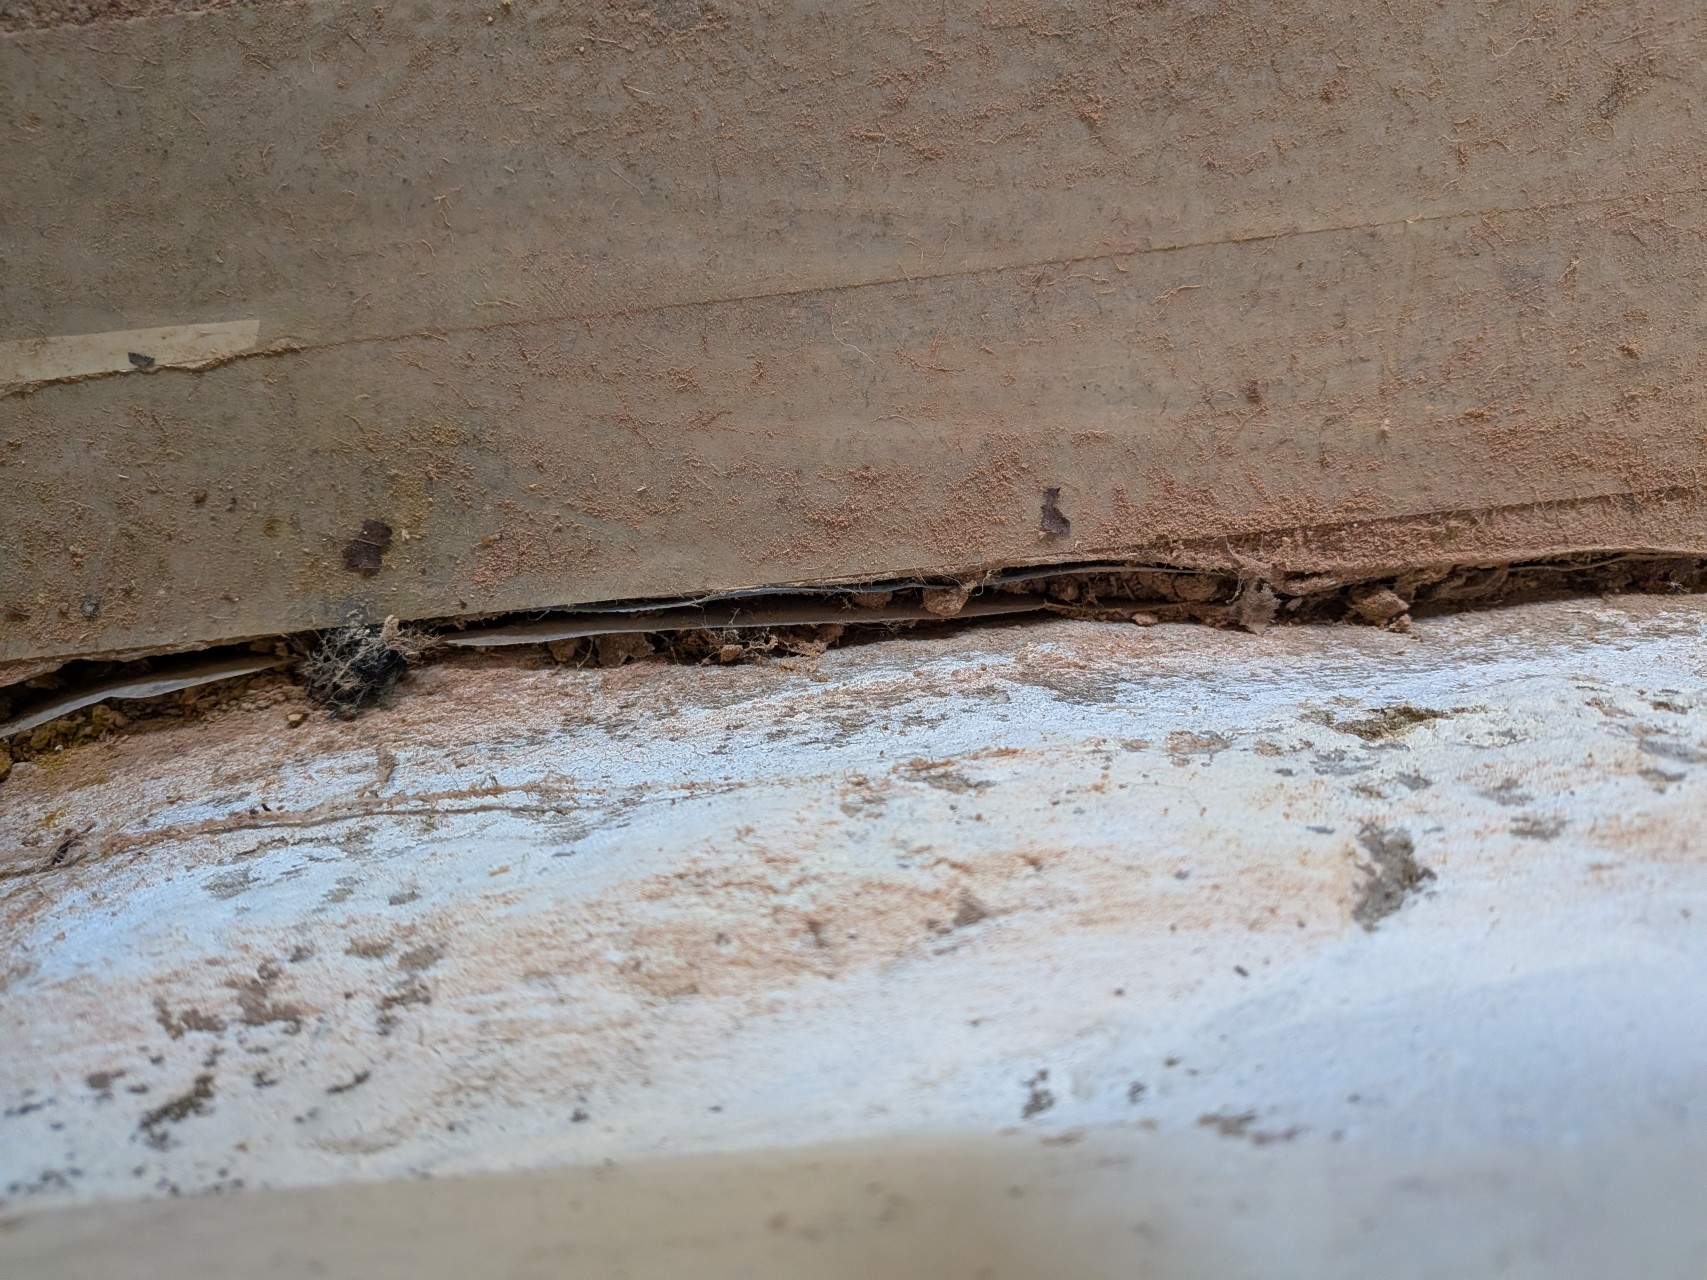
The existing floor slabs all have damp proof membranes under and up the sides to the top
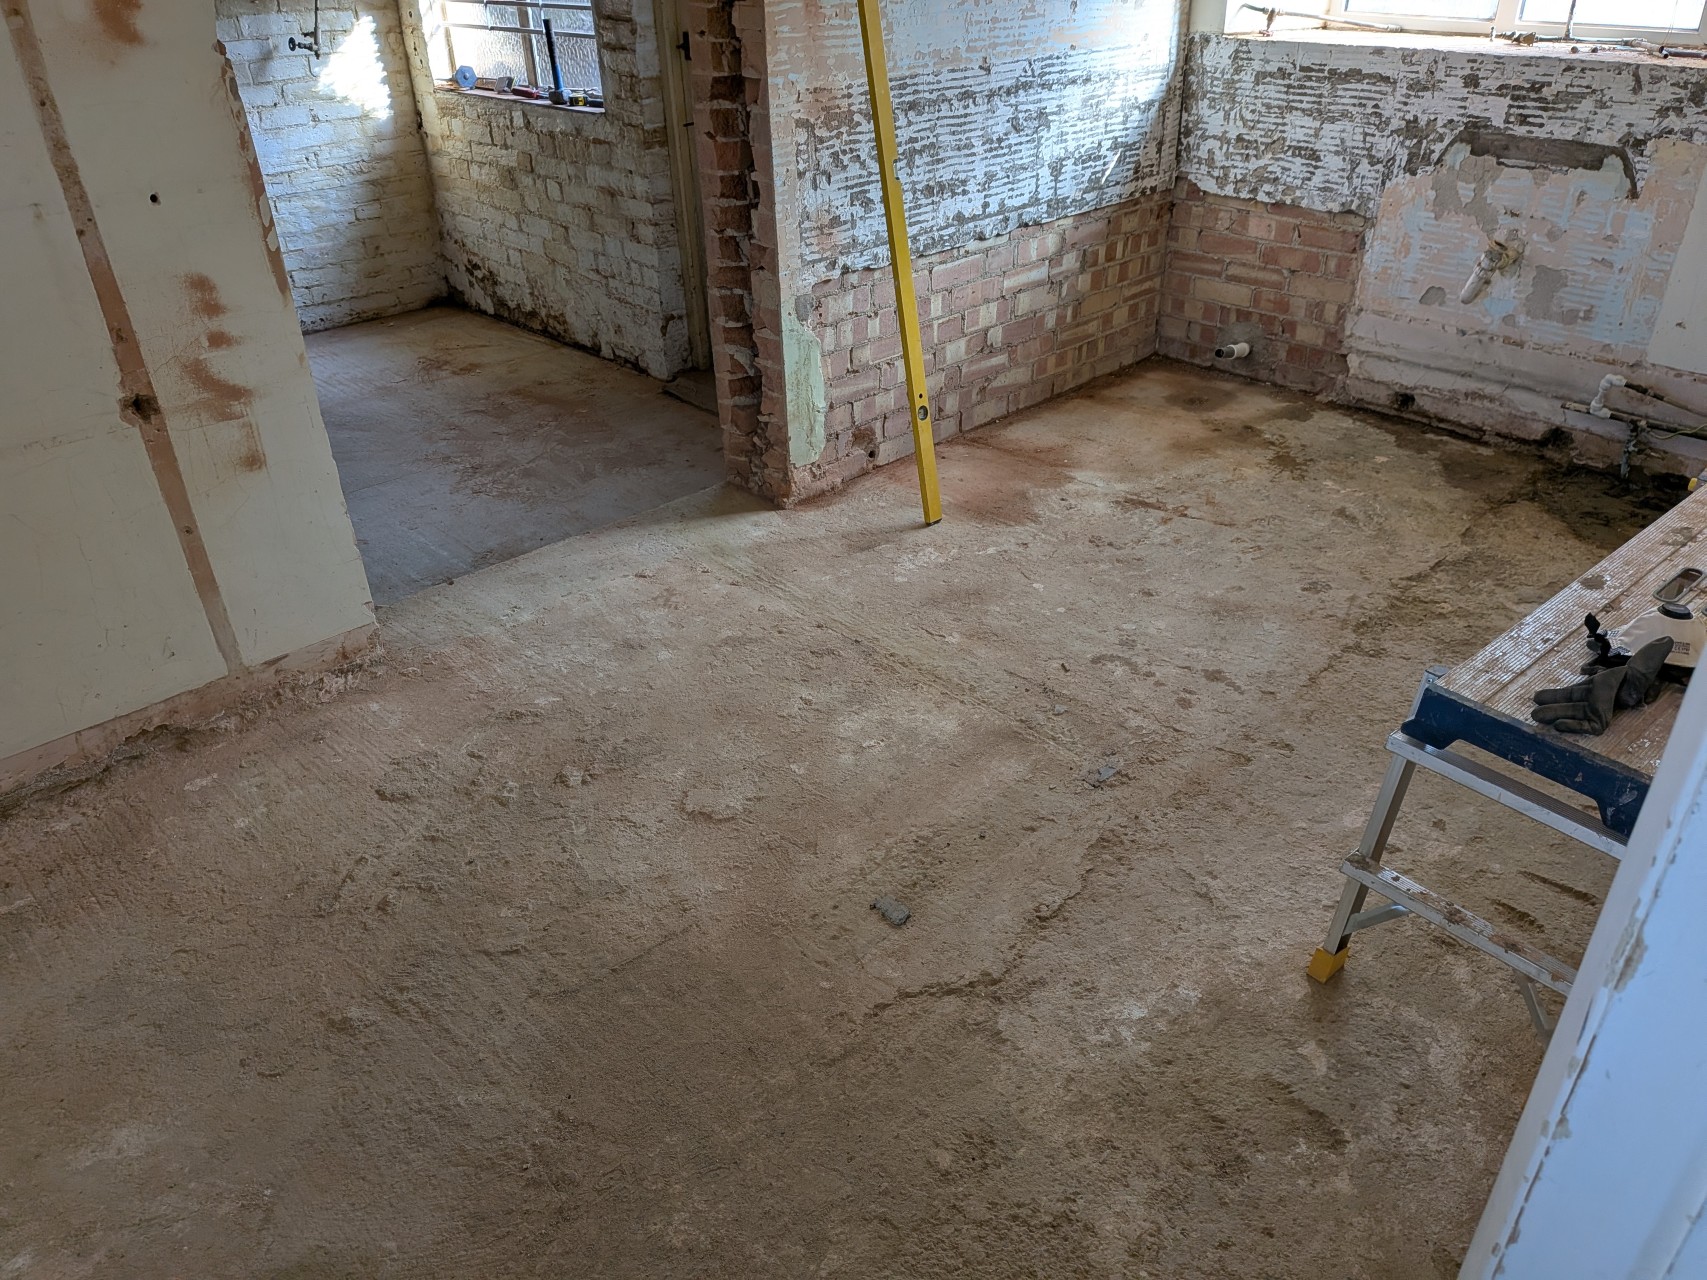
The new opening from the cleared bathroom/larder room with the screed removed to reduce the floor height difference
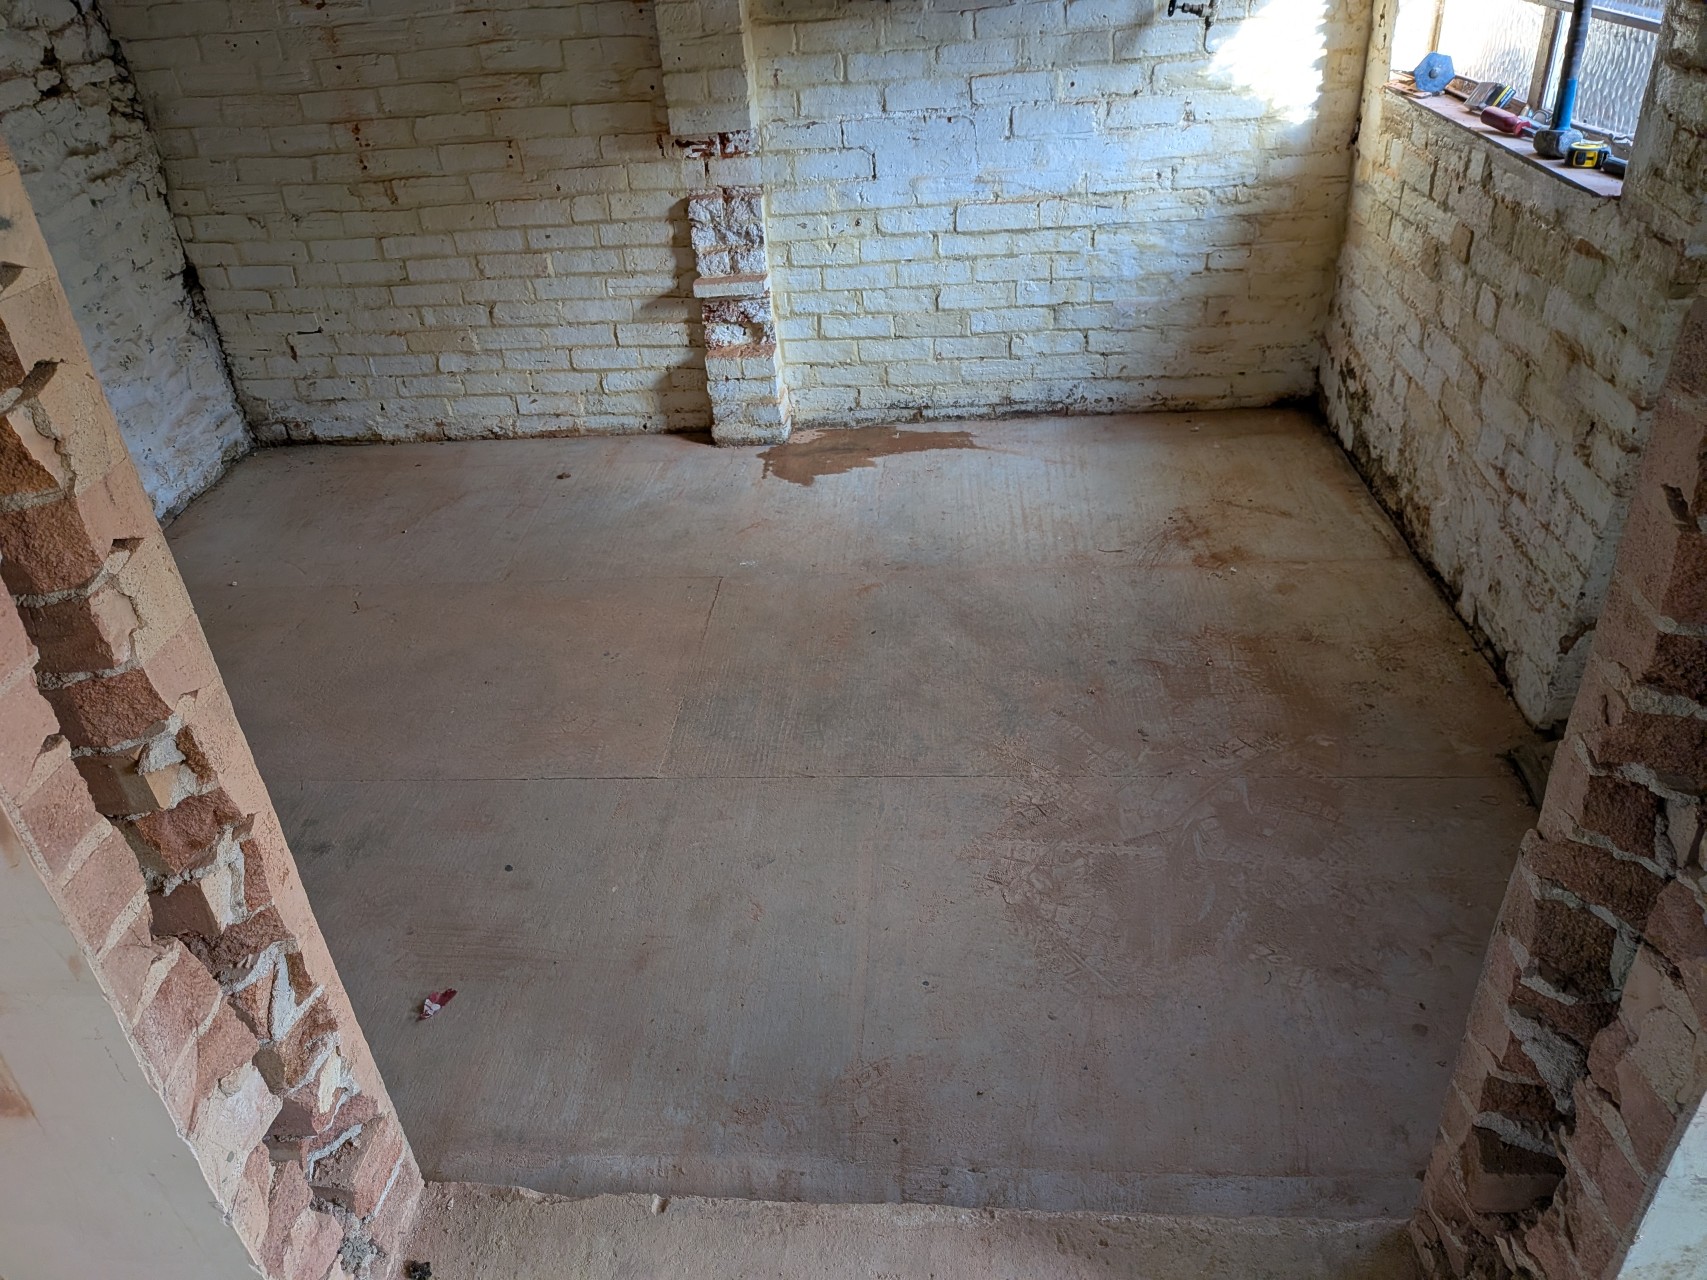
All cleaned out ready to be insulated
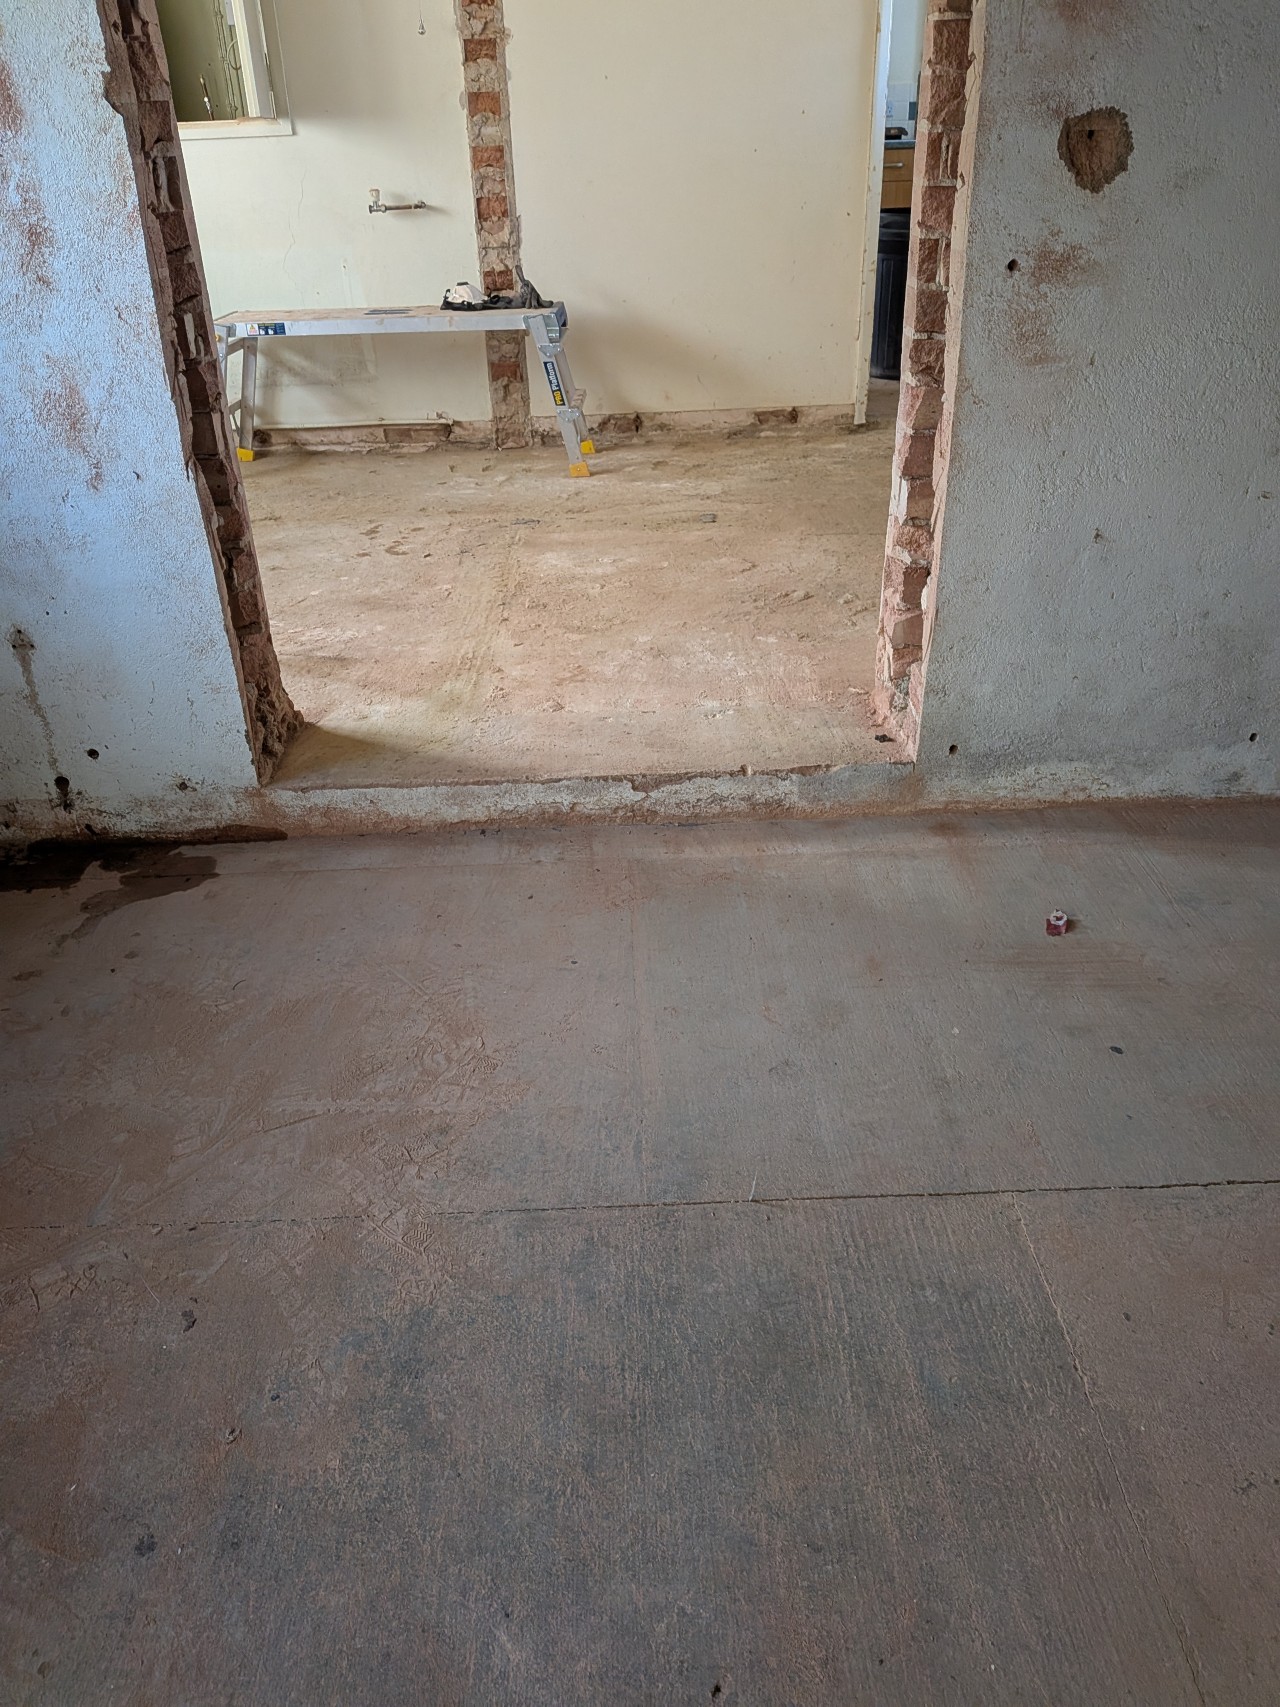
This shows where the demolished old bathroom wall started opposite the new opening and the remaining floor height difference
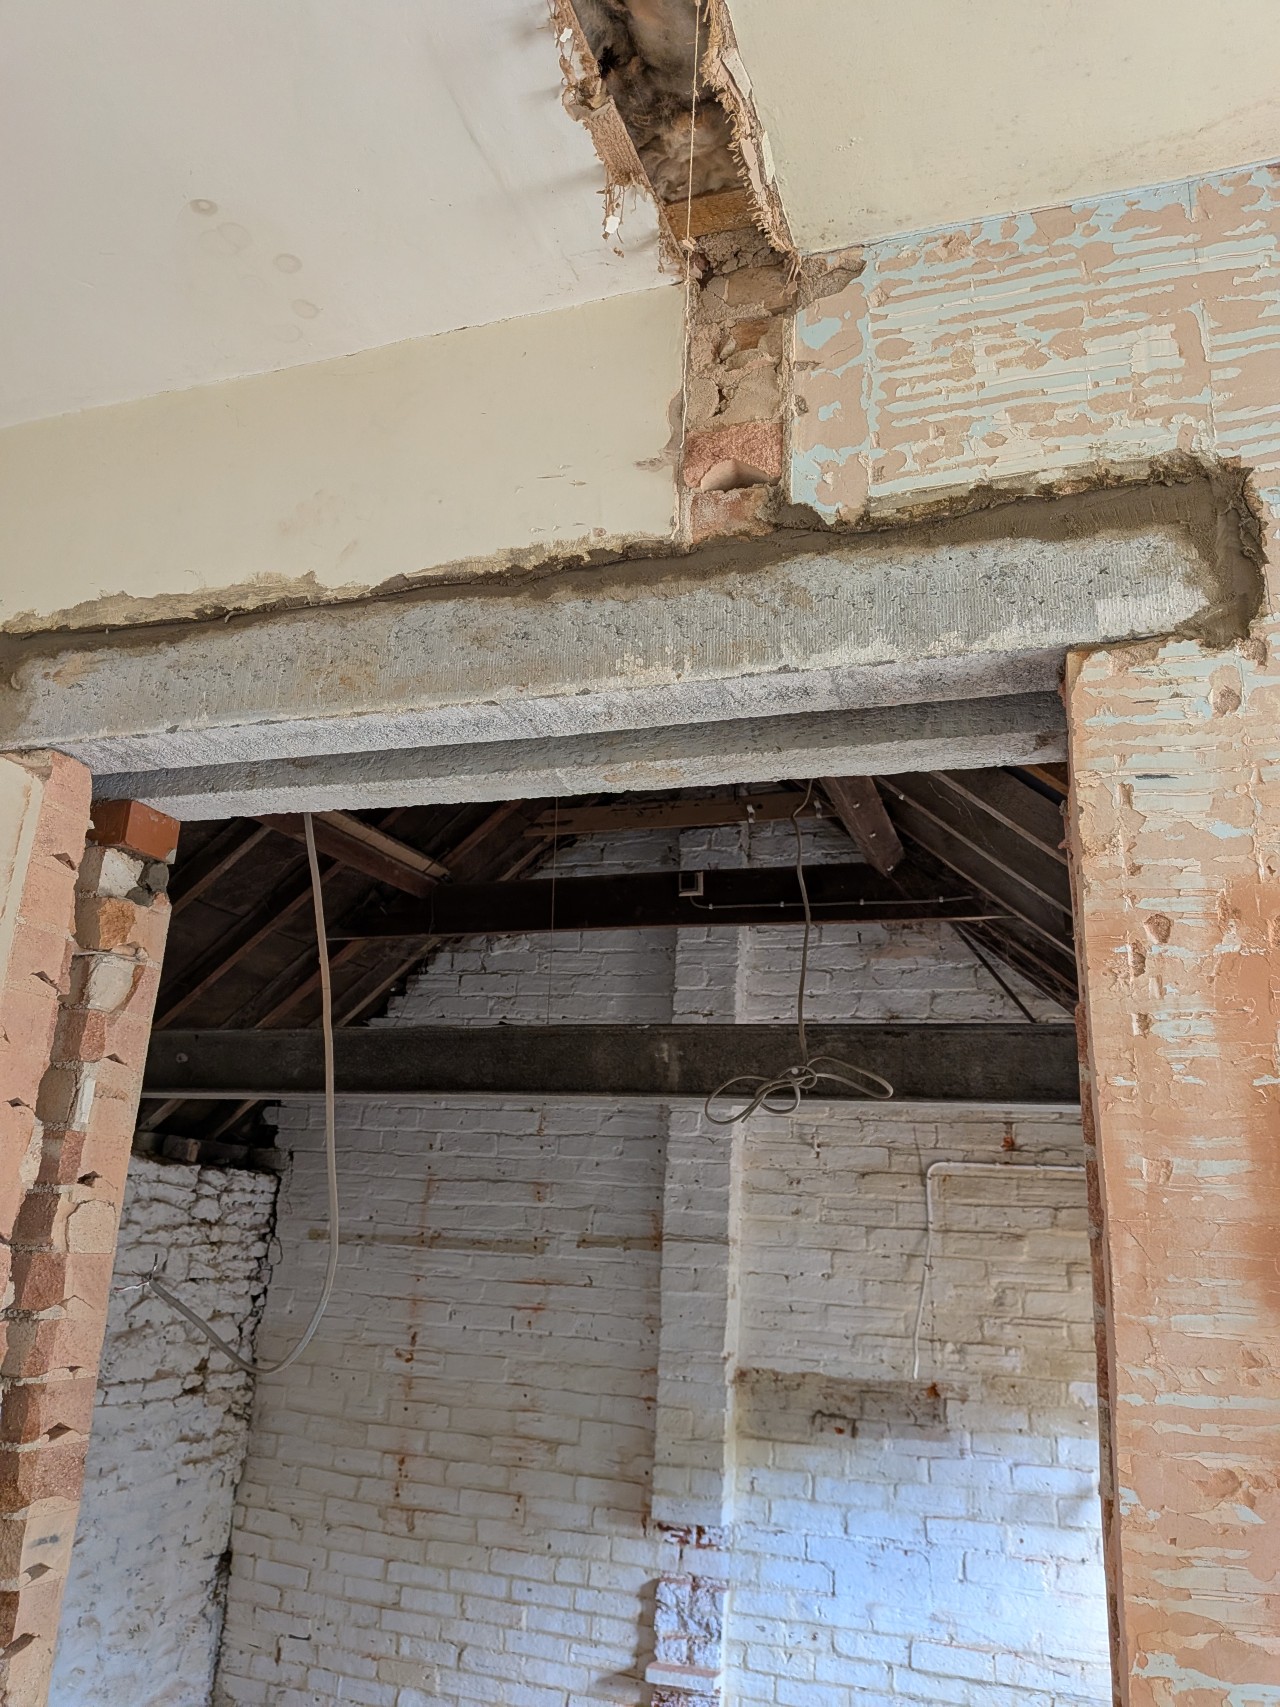
The lintels in place - the old bathroom wall position is clear
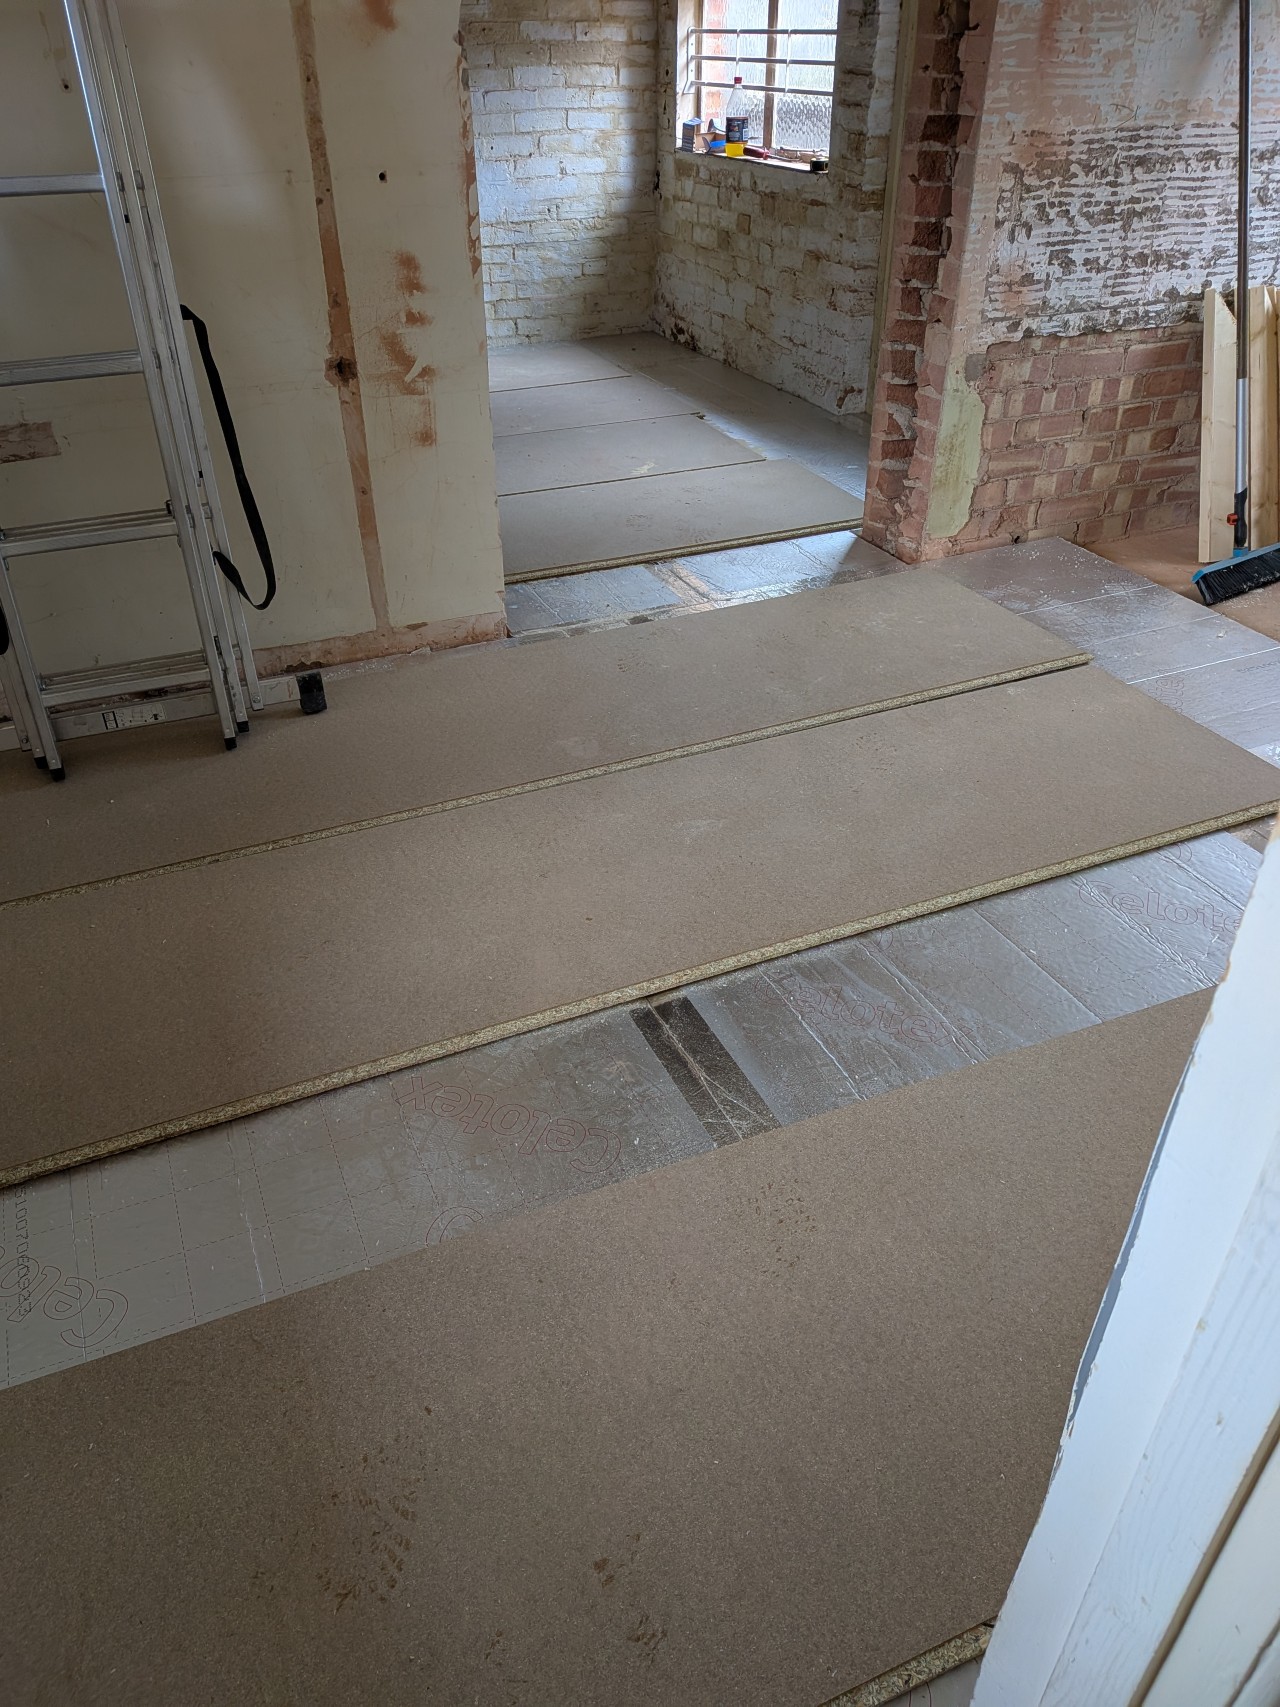
The floor insulated with 50mm of PIR with 22mm flooring chipboard over - the level difference was removed by using 100mm PIR in the outhouse floor. All insulation joints were taped to form a vapour barrier
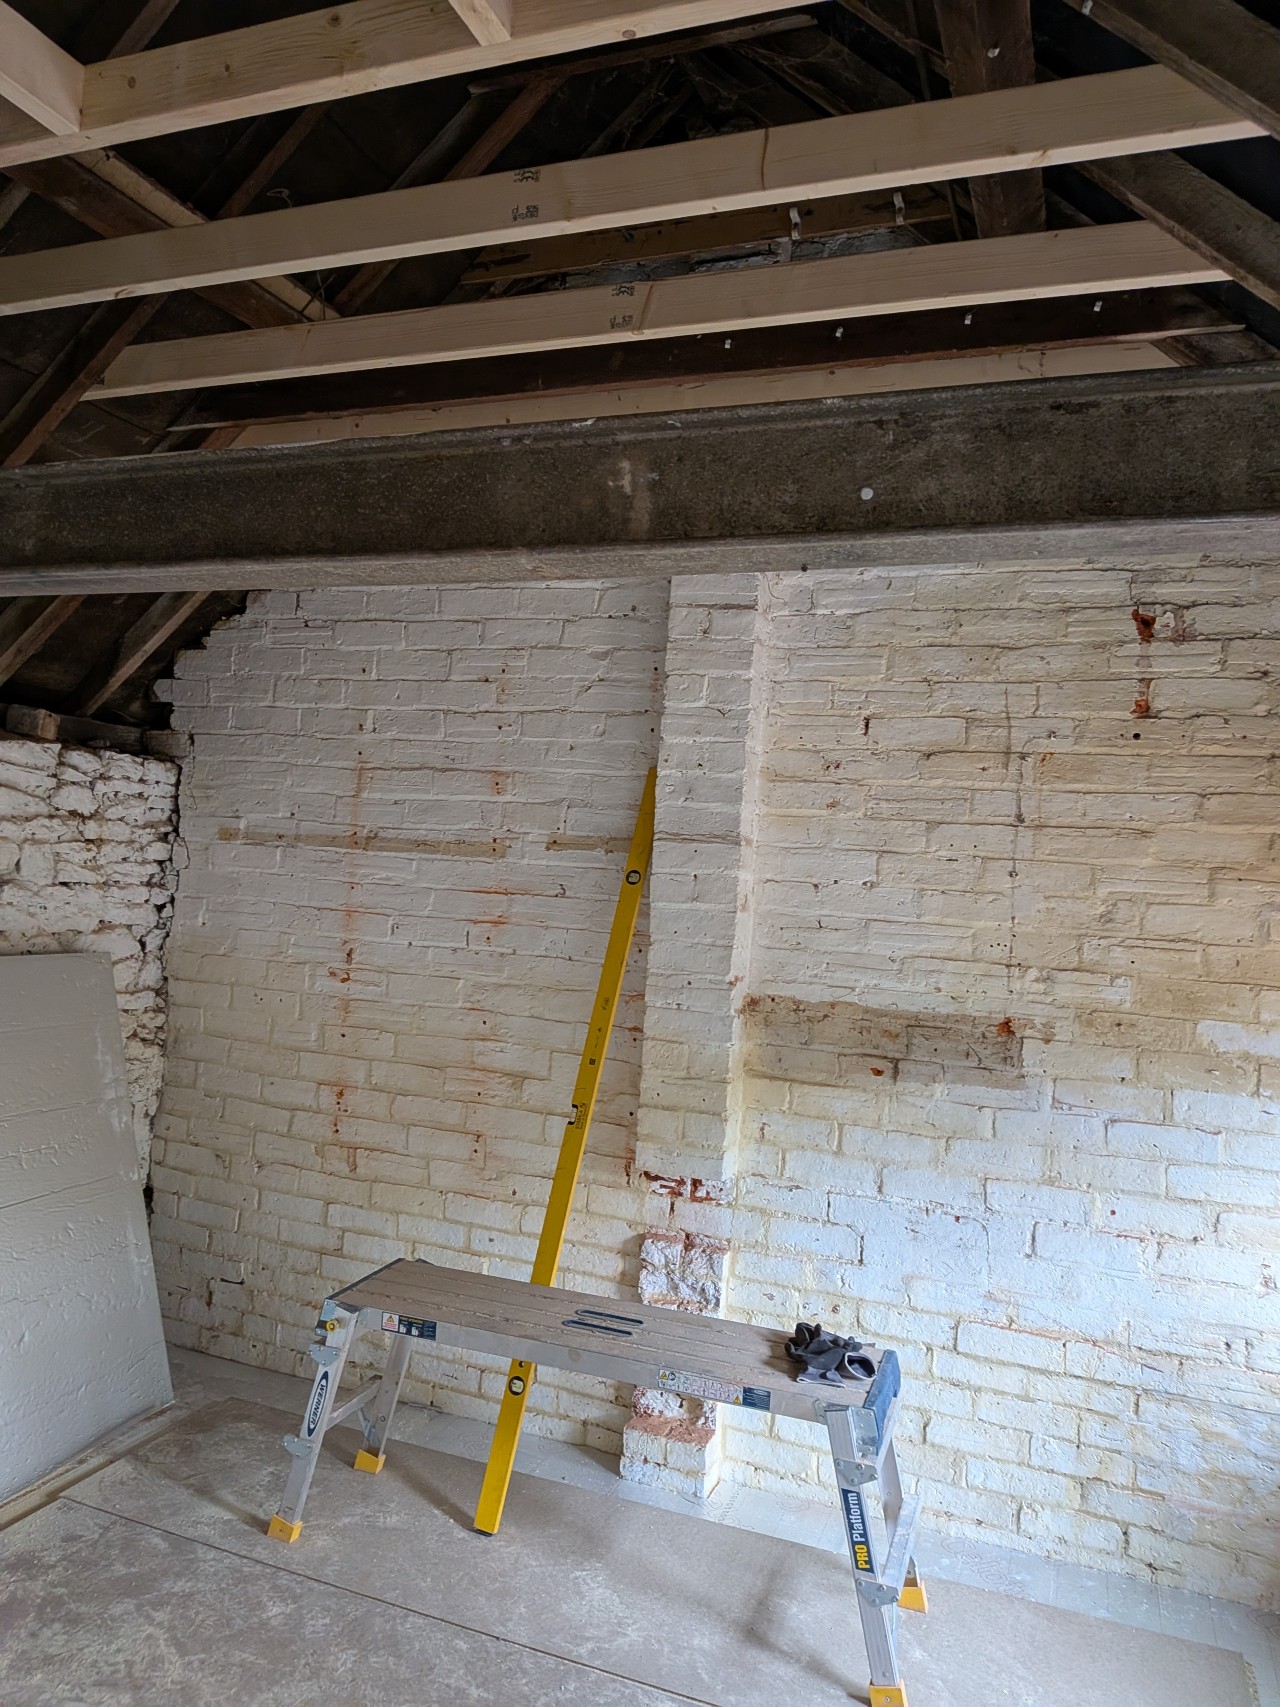
A new ceiling was constructed above the beam height, the use of floor insulation further reduced the height under the beam
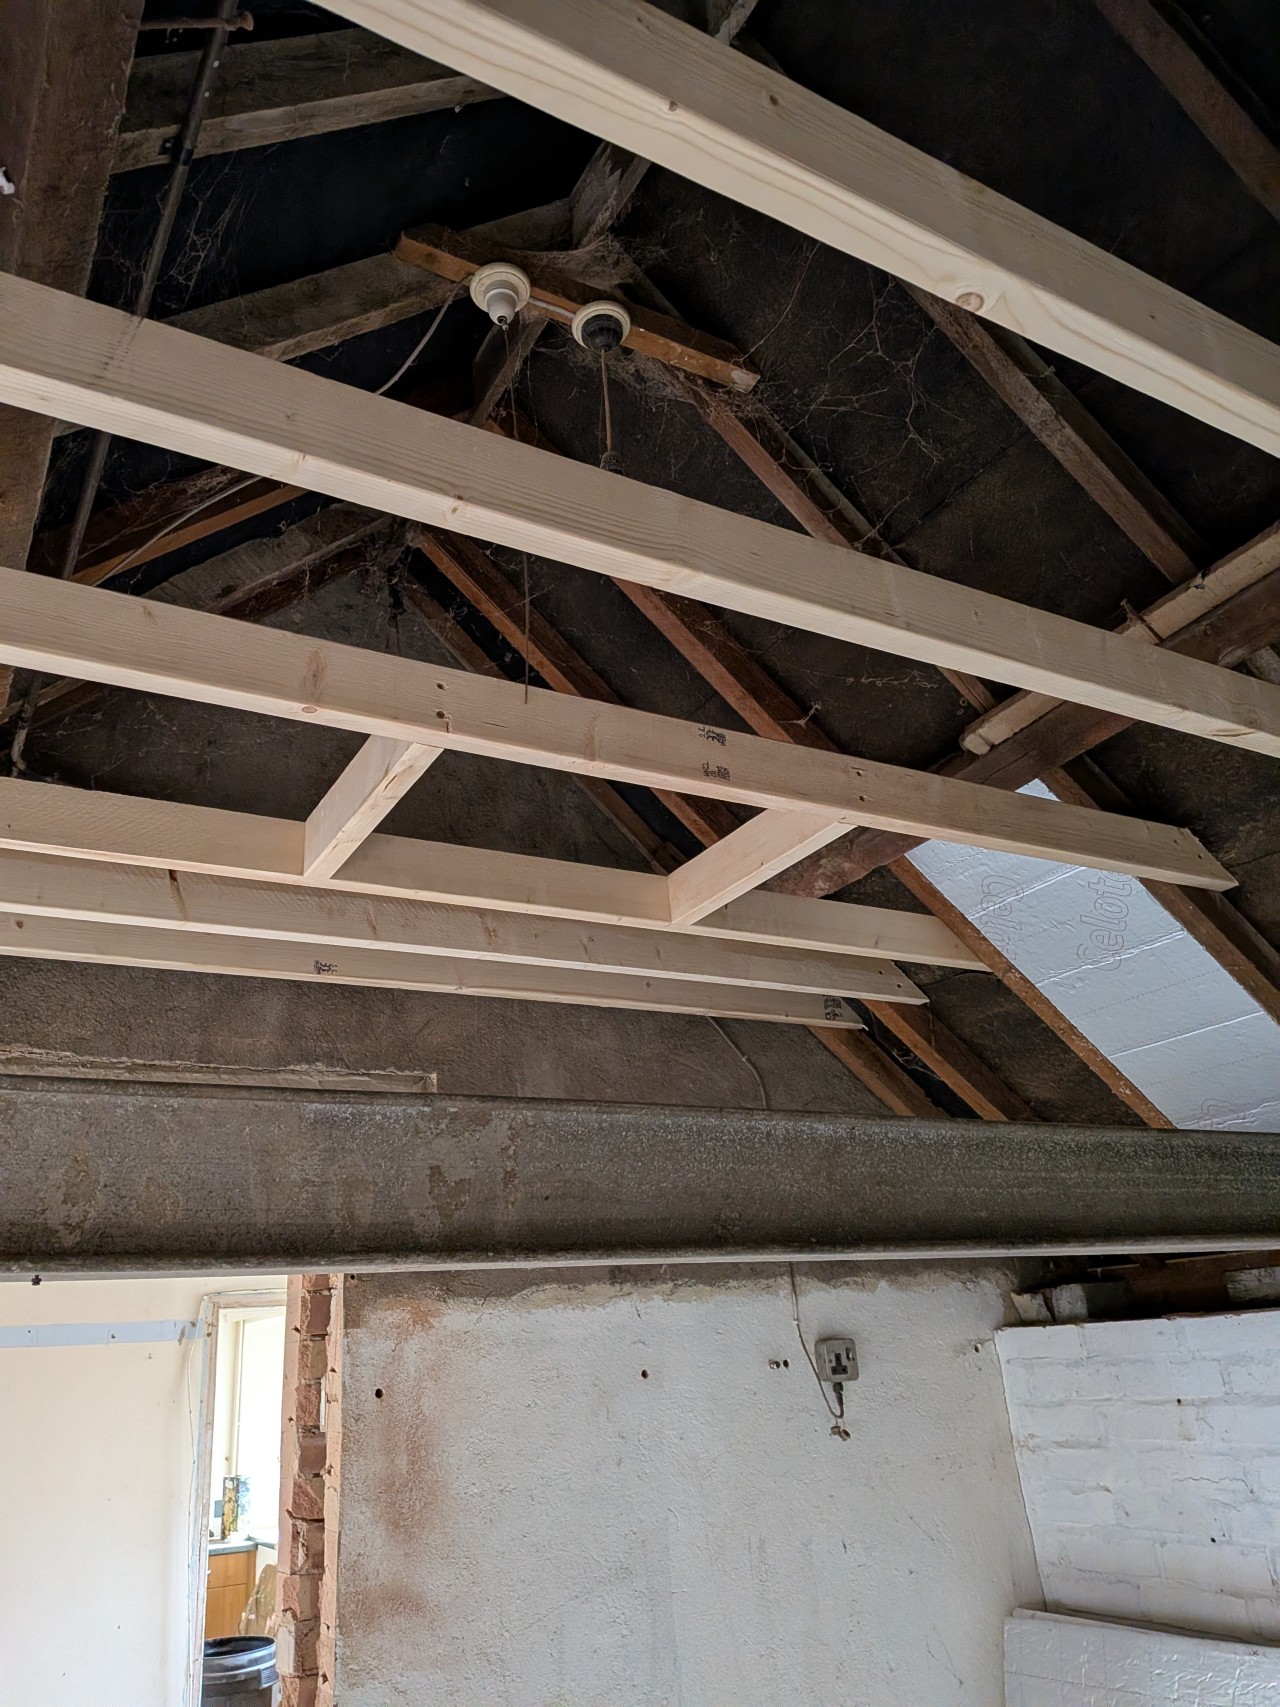
The new ceiling with opening for a loft hatch with the beam below head height
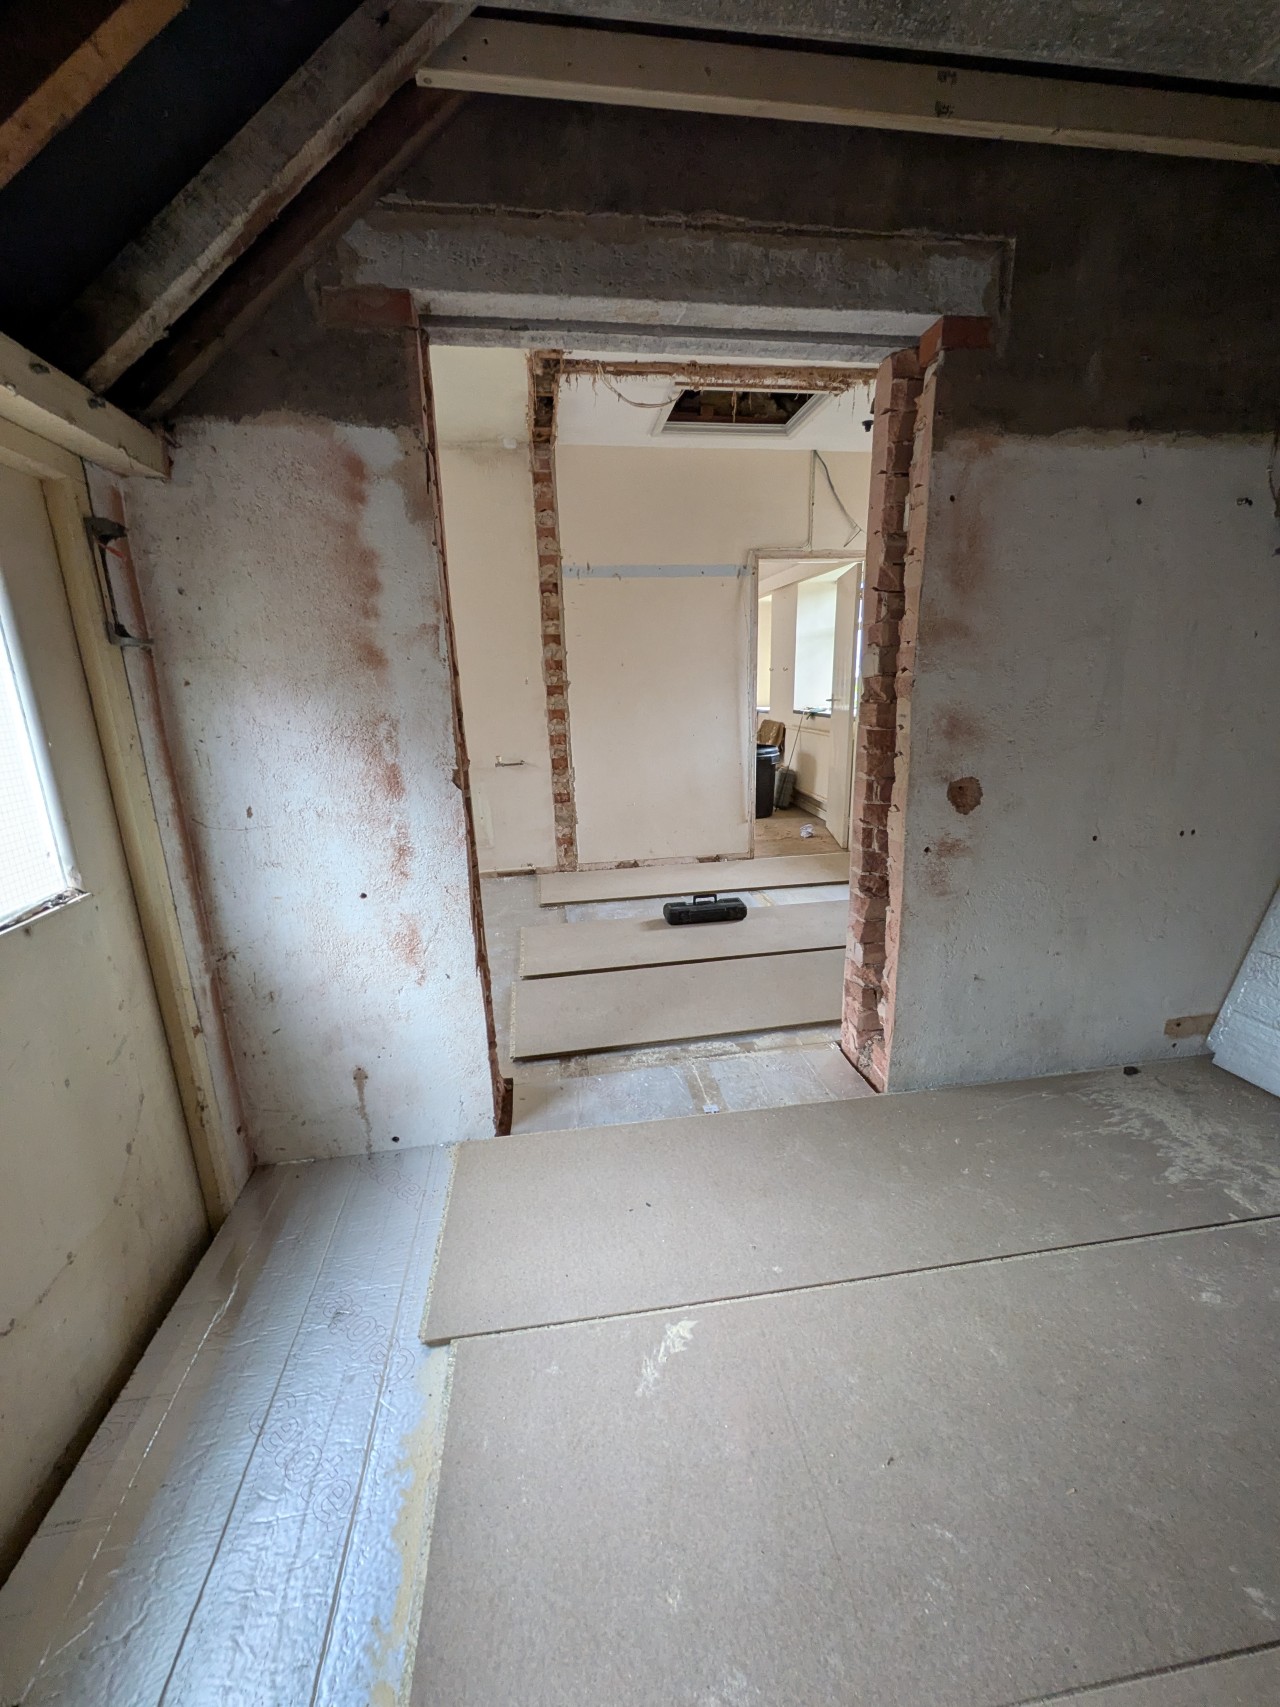
The levelled insulation through the opening
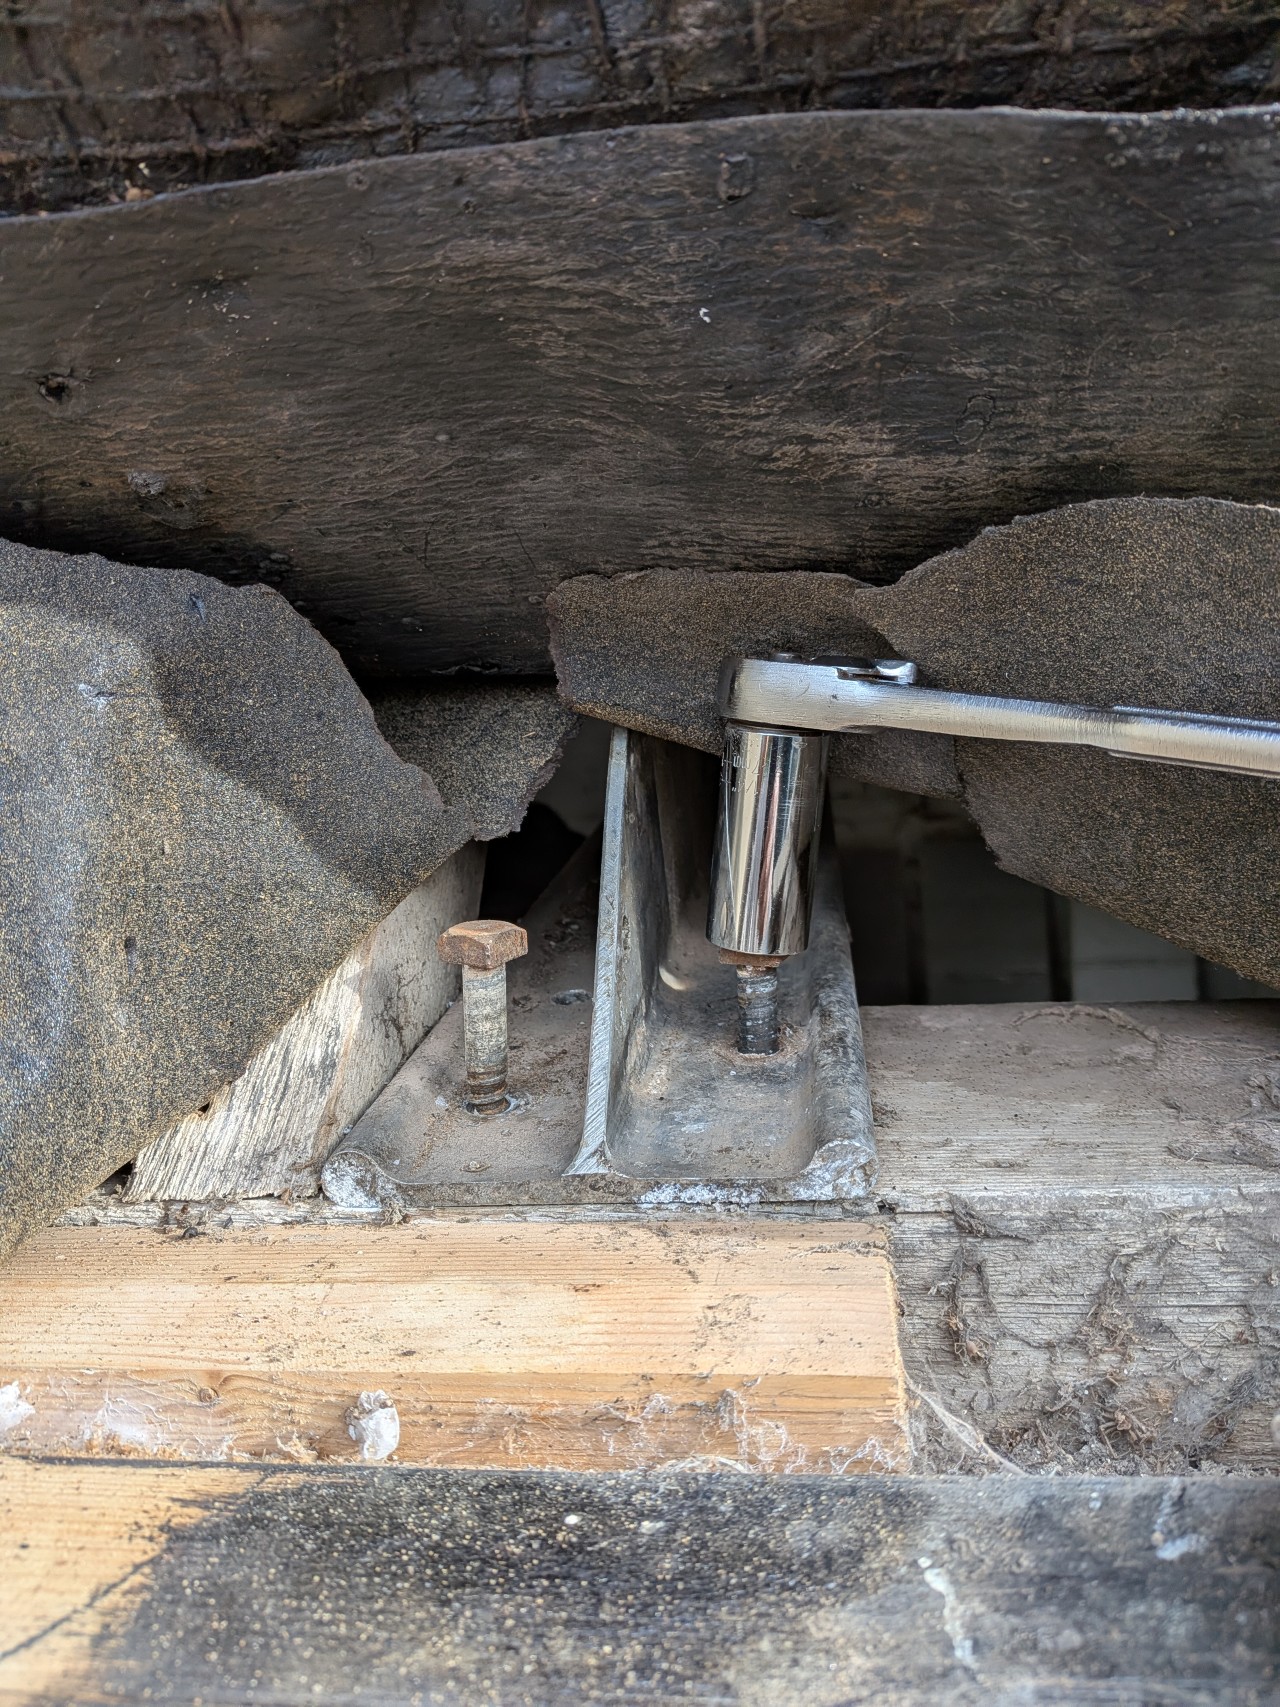
The beam need to be removed but the fastenings into the wallplate were difficult to access
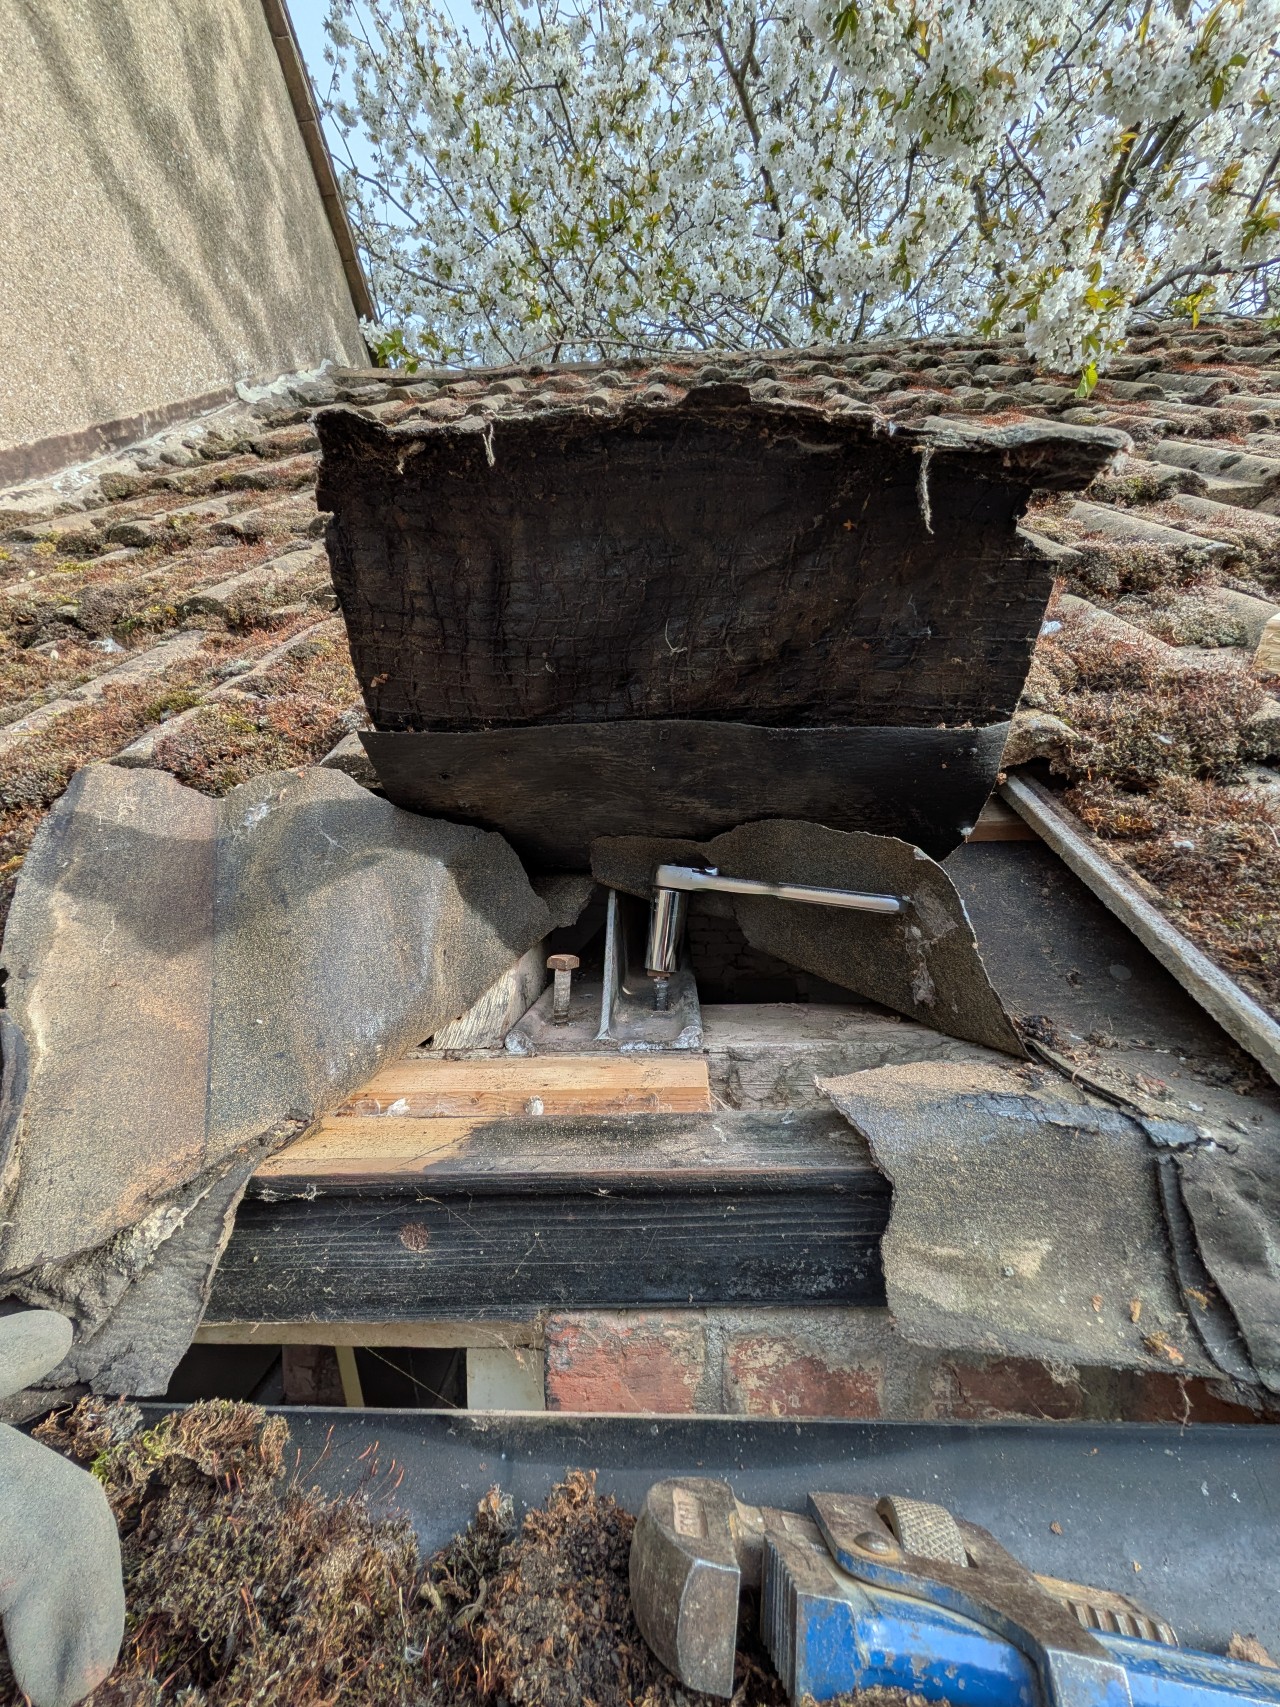
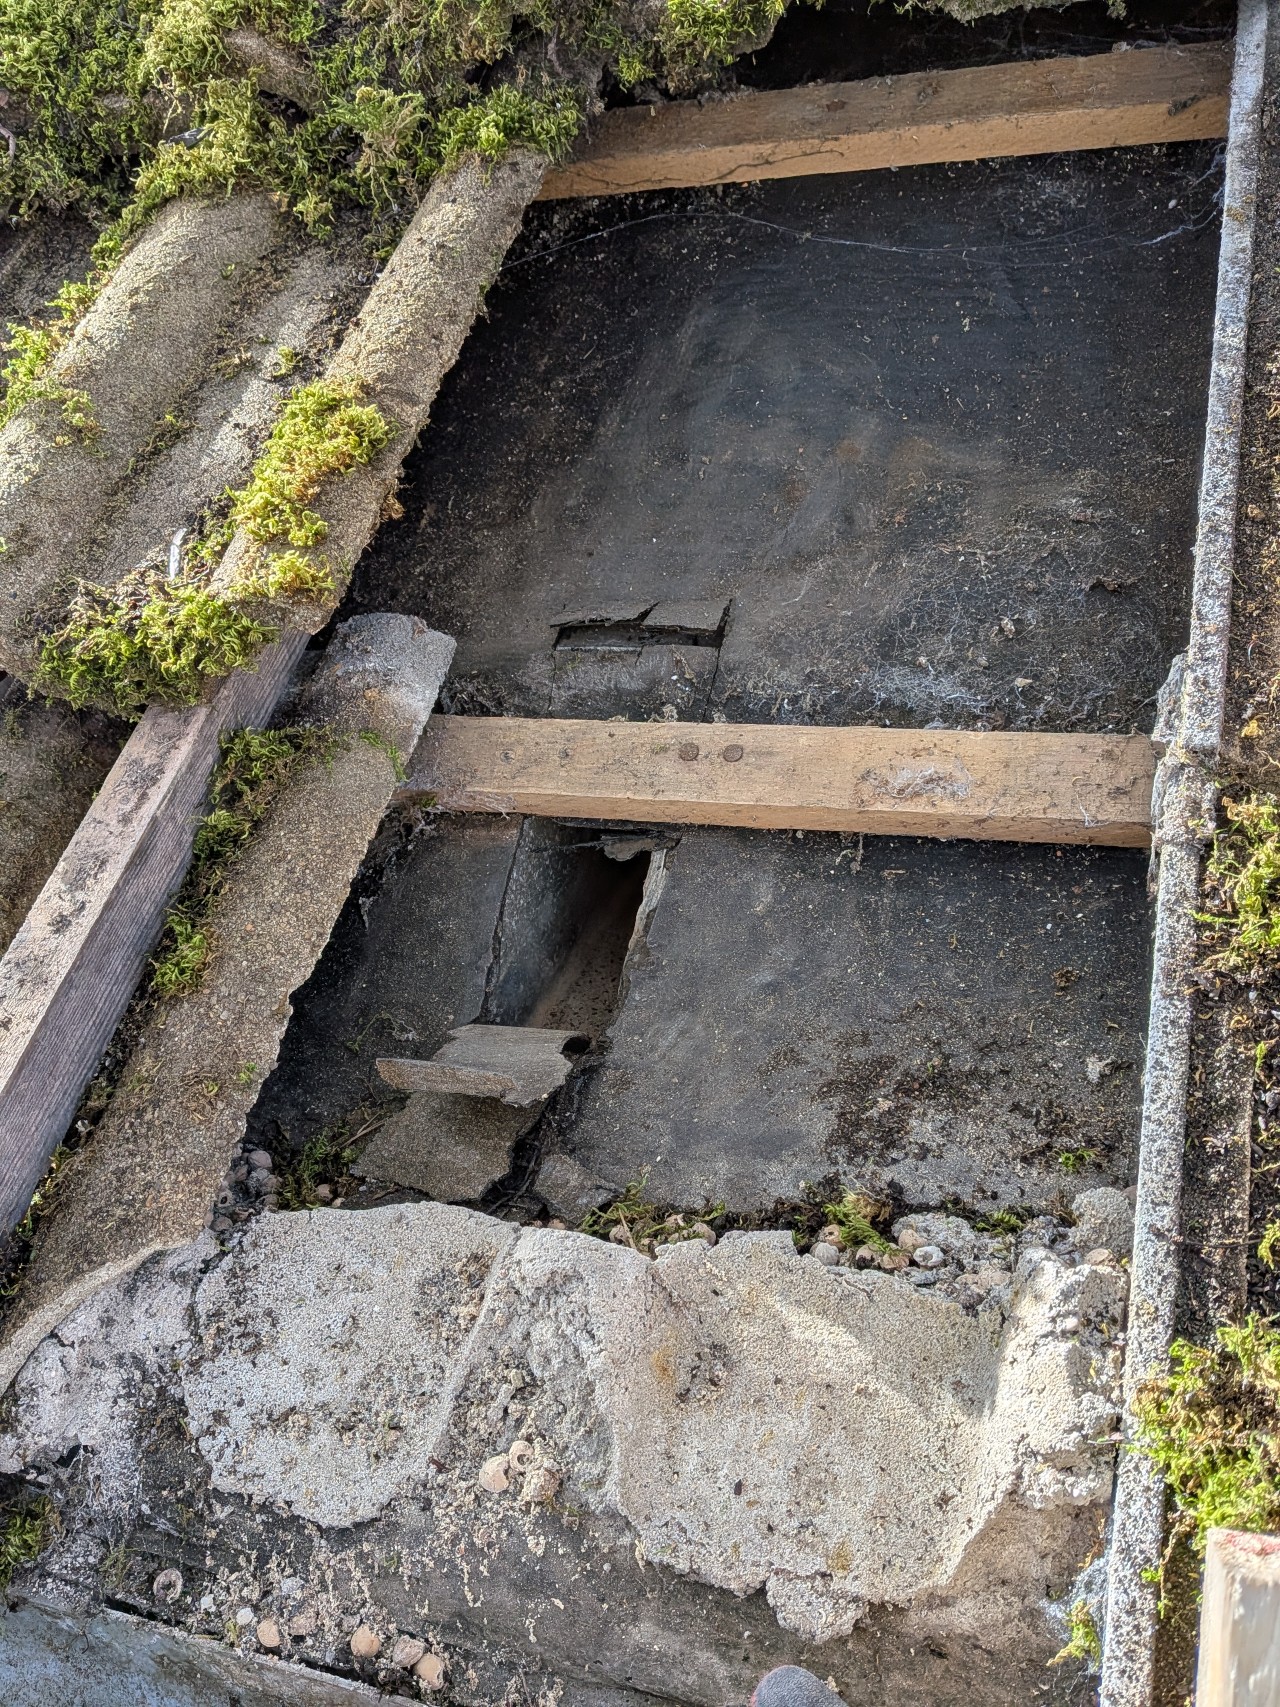
Removing the pantiles and cutting the felt and a batten gave better access
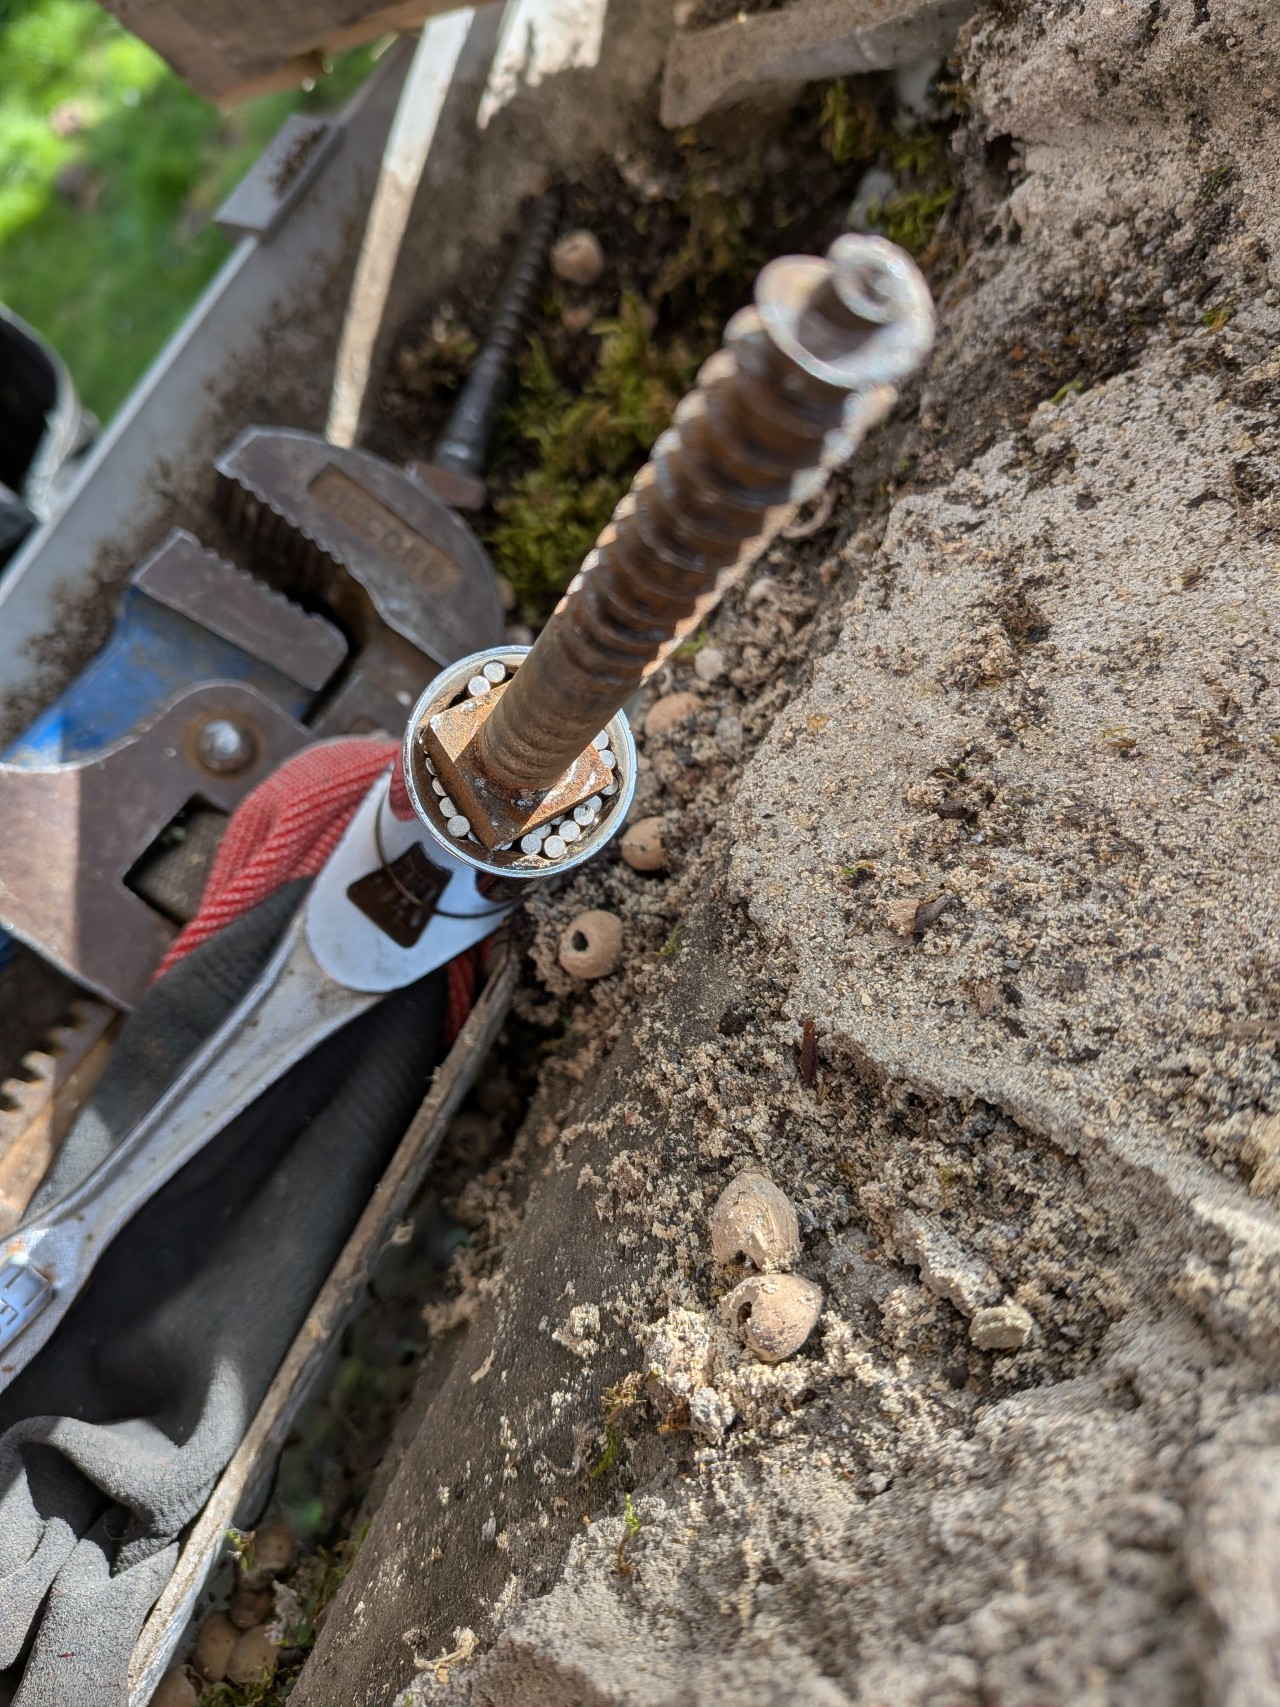
The old square head setscrews securing the beam to the timber wallplate required use of an adaptive socket to undo them
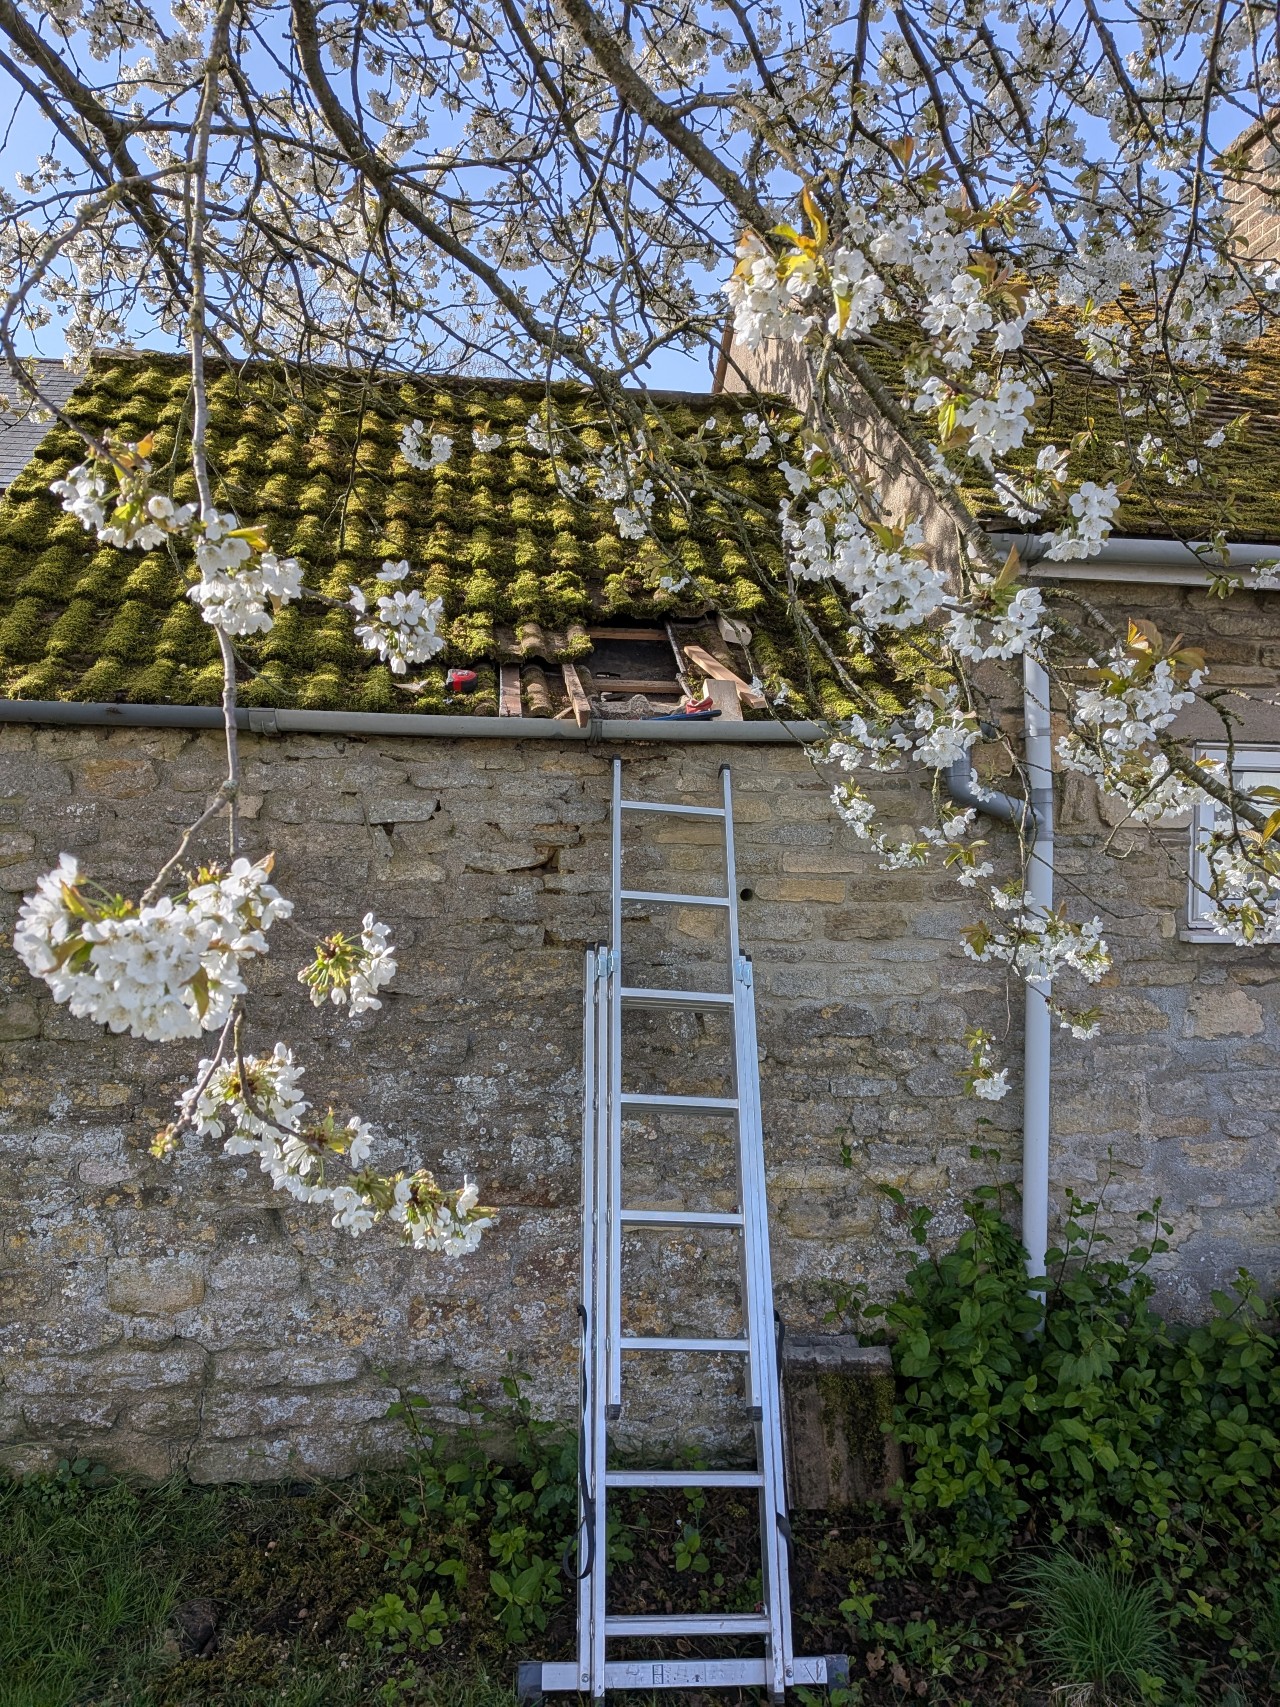
The beam position at the School Lane end
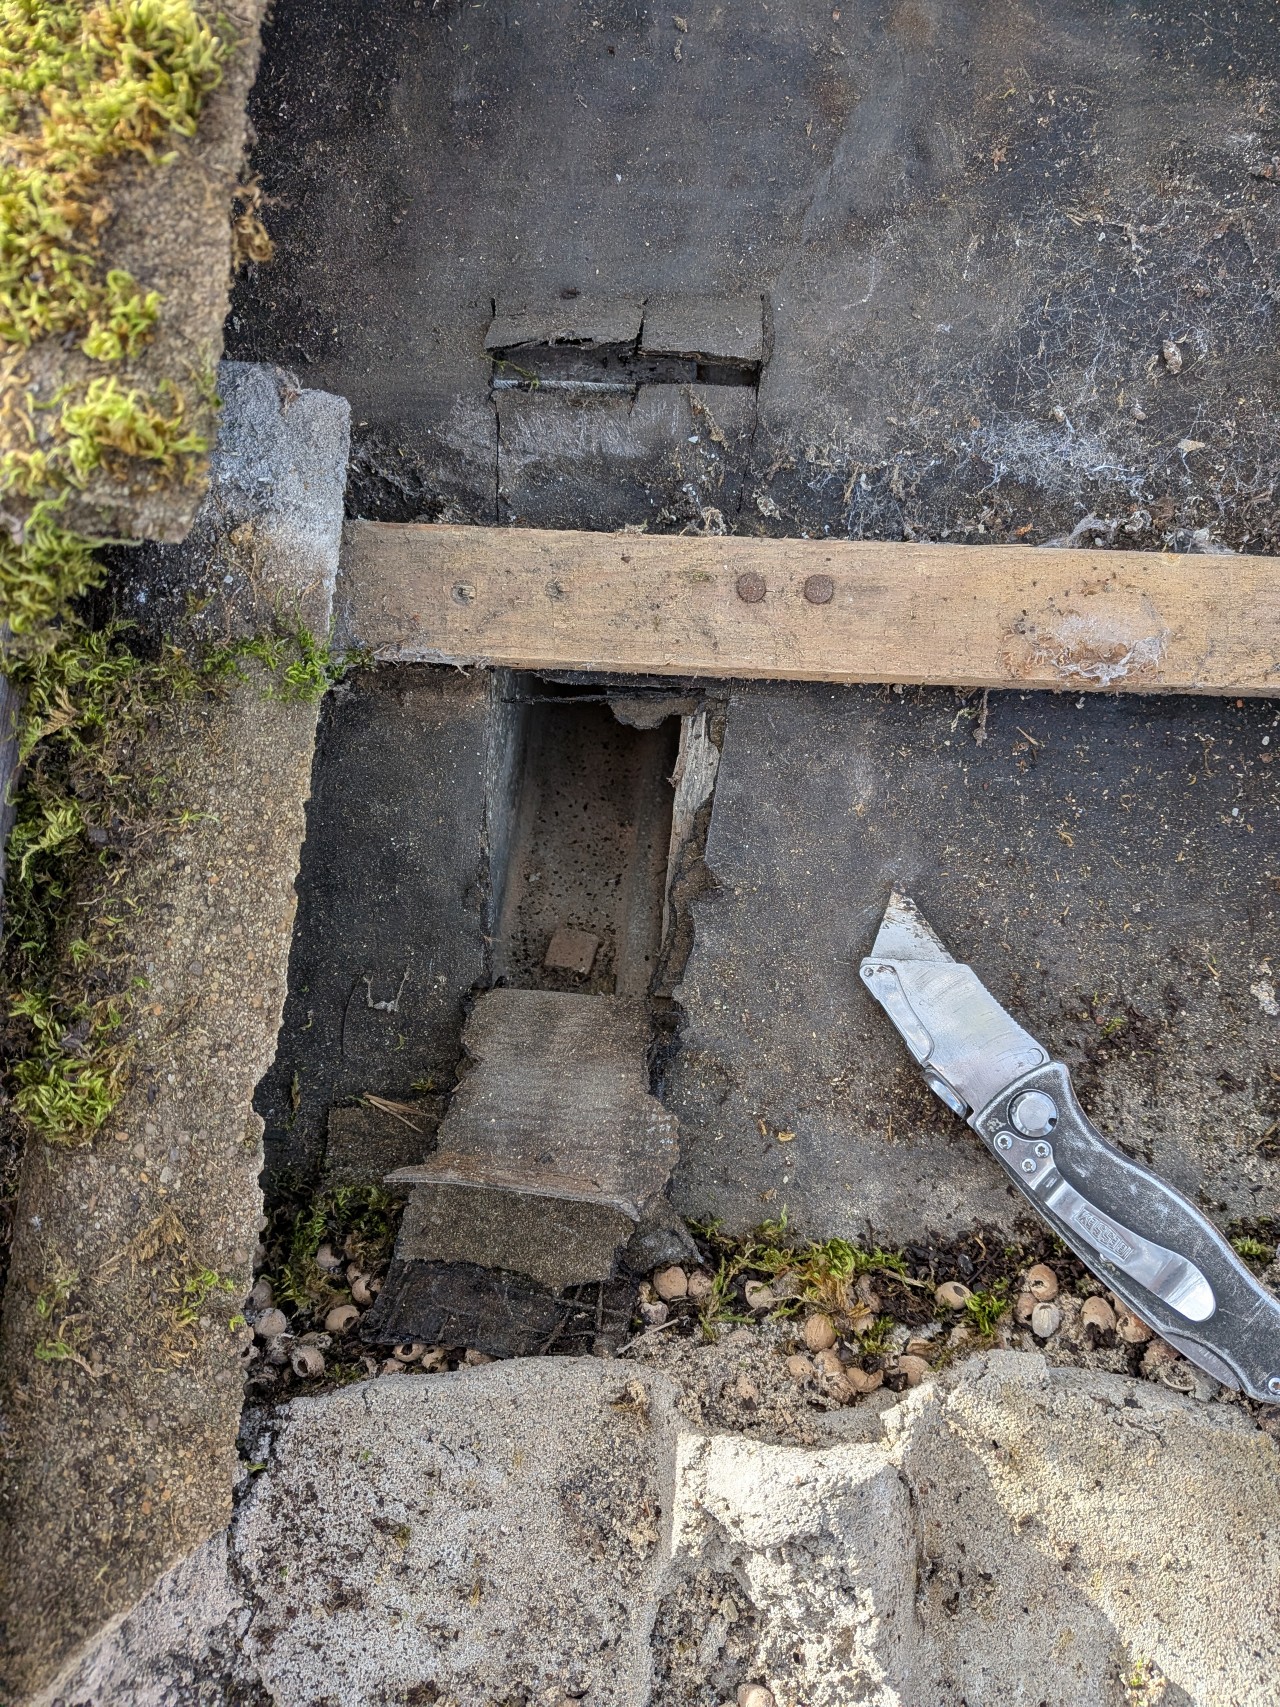
The other end of the beam onto School Lane was over the wider stone wall and required careful measurement to find it.
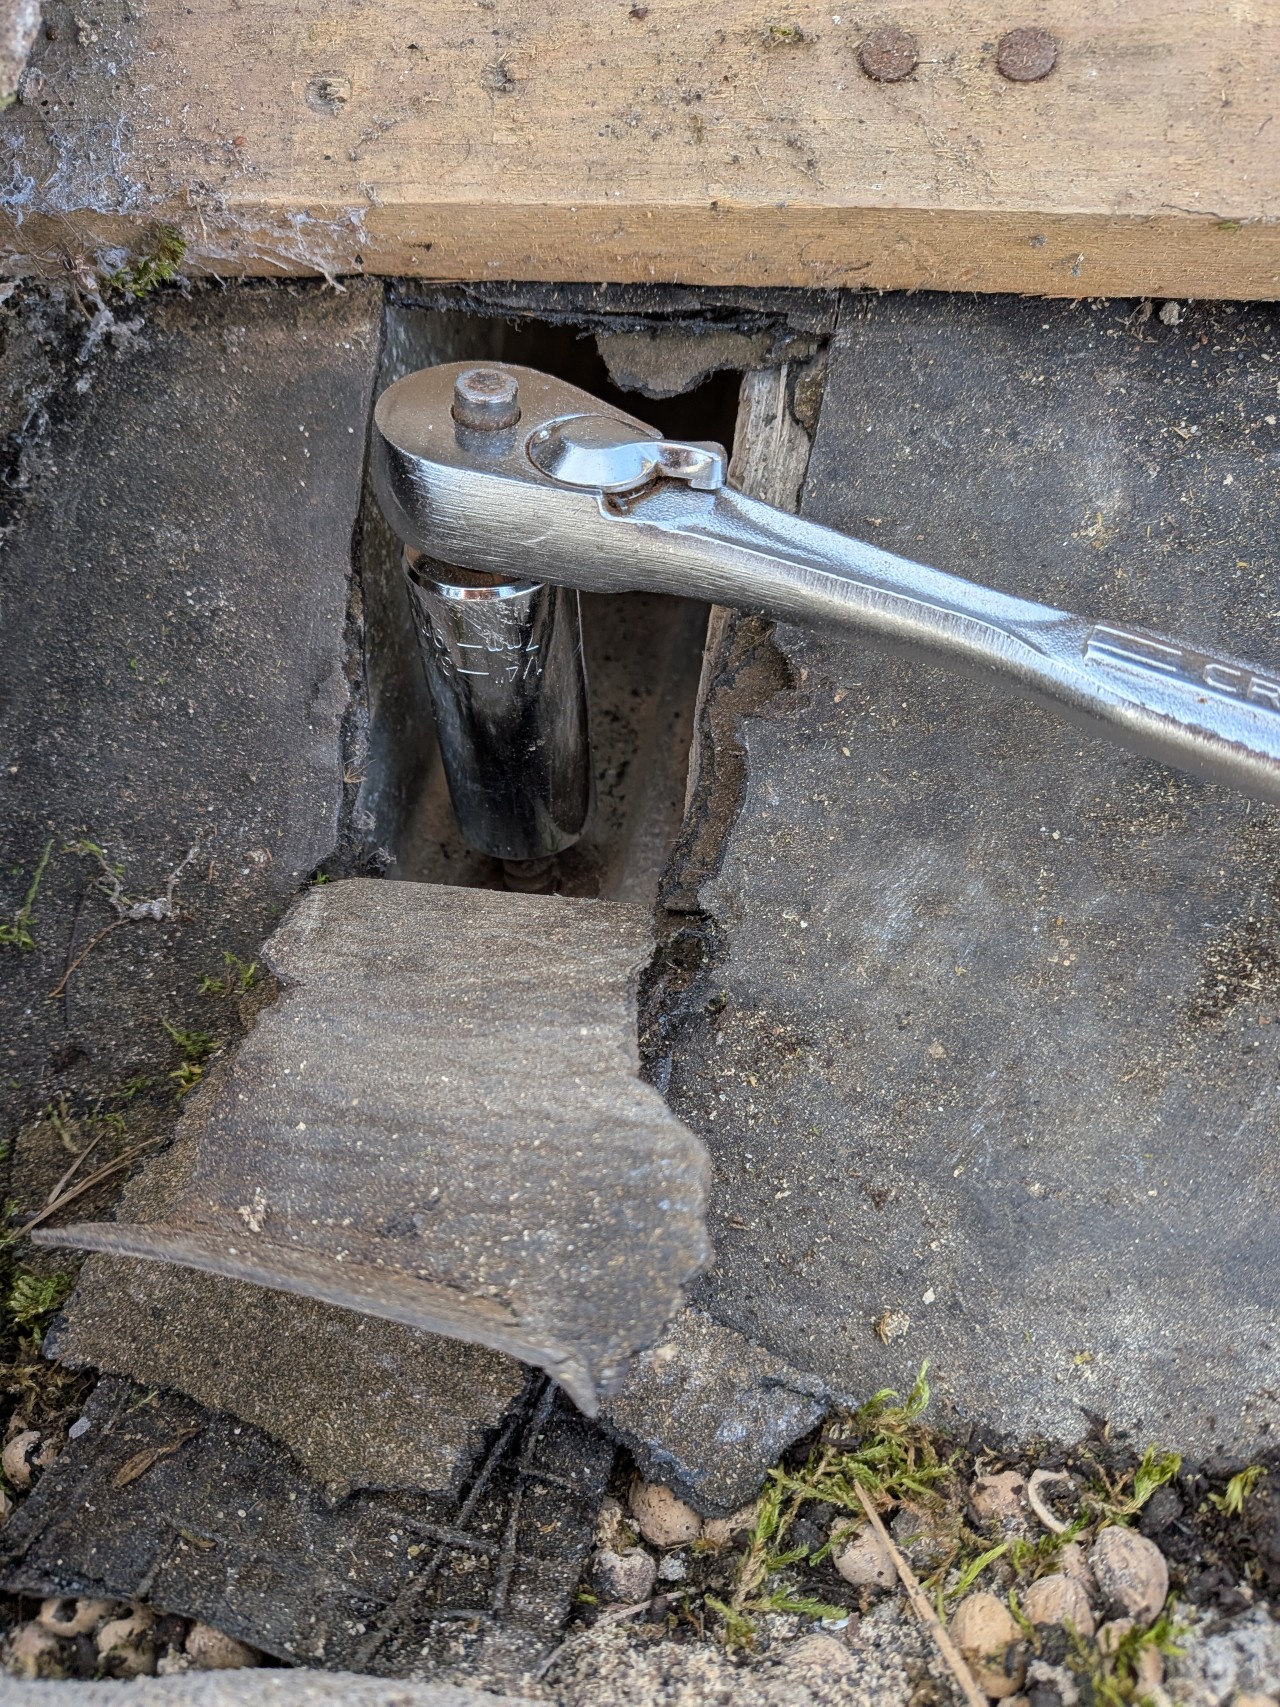
Distrubance of the felt and tiles was kept to a minimum
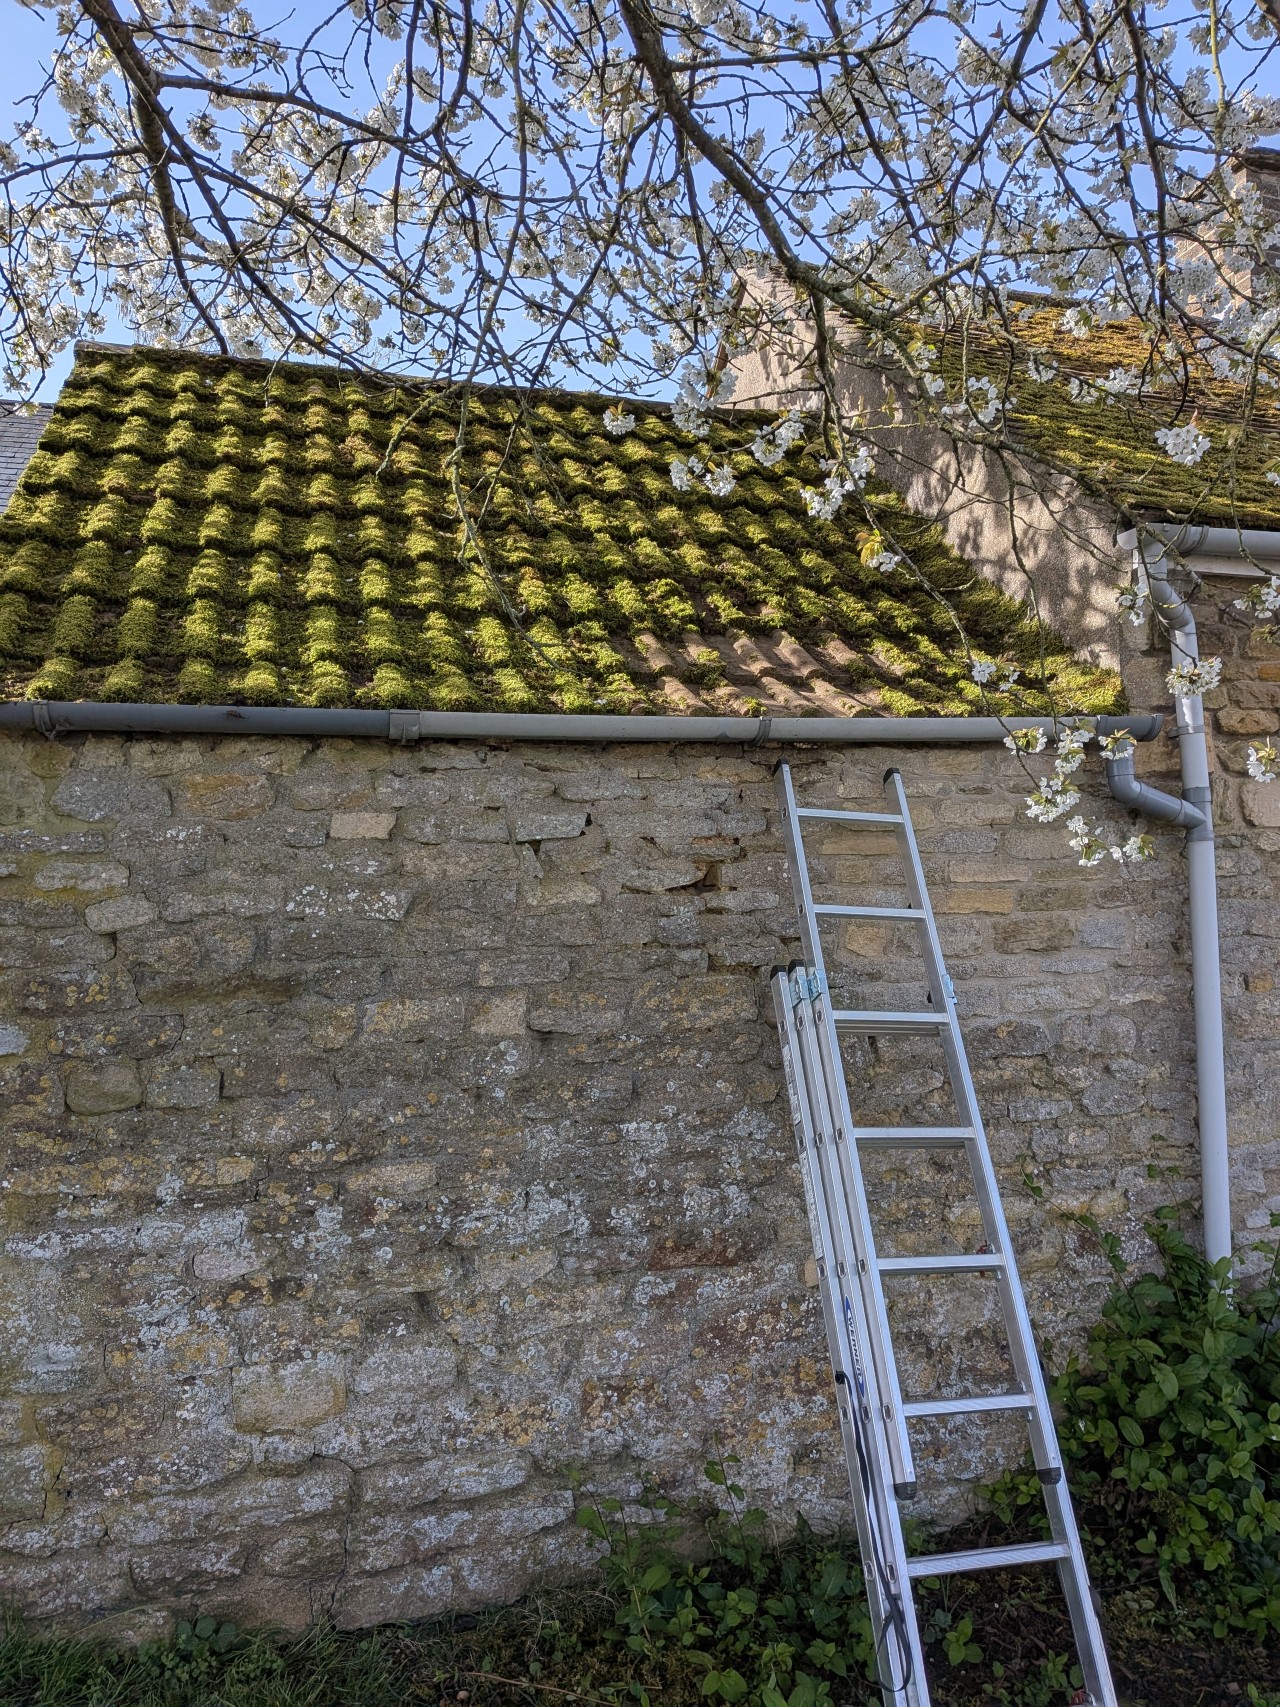
The tiles reinstated at the School Lane side
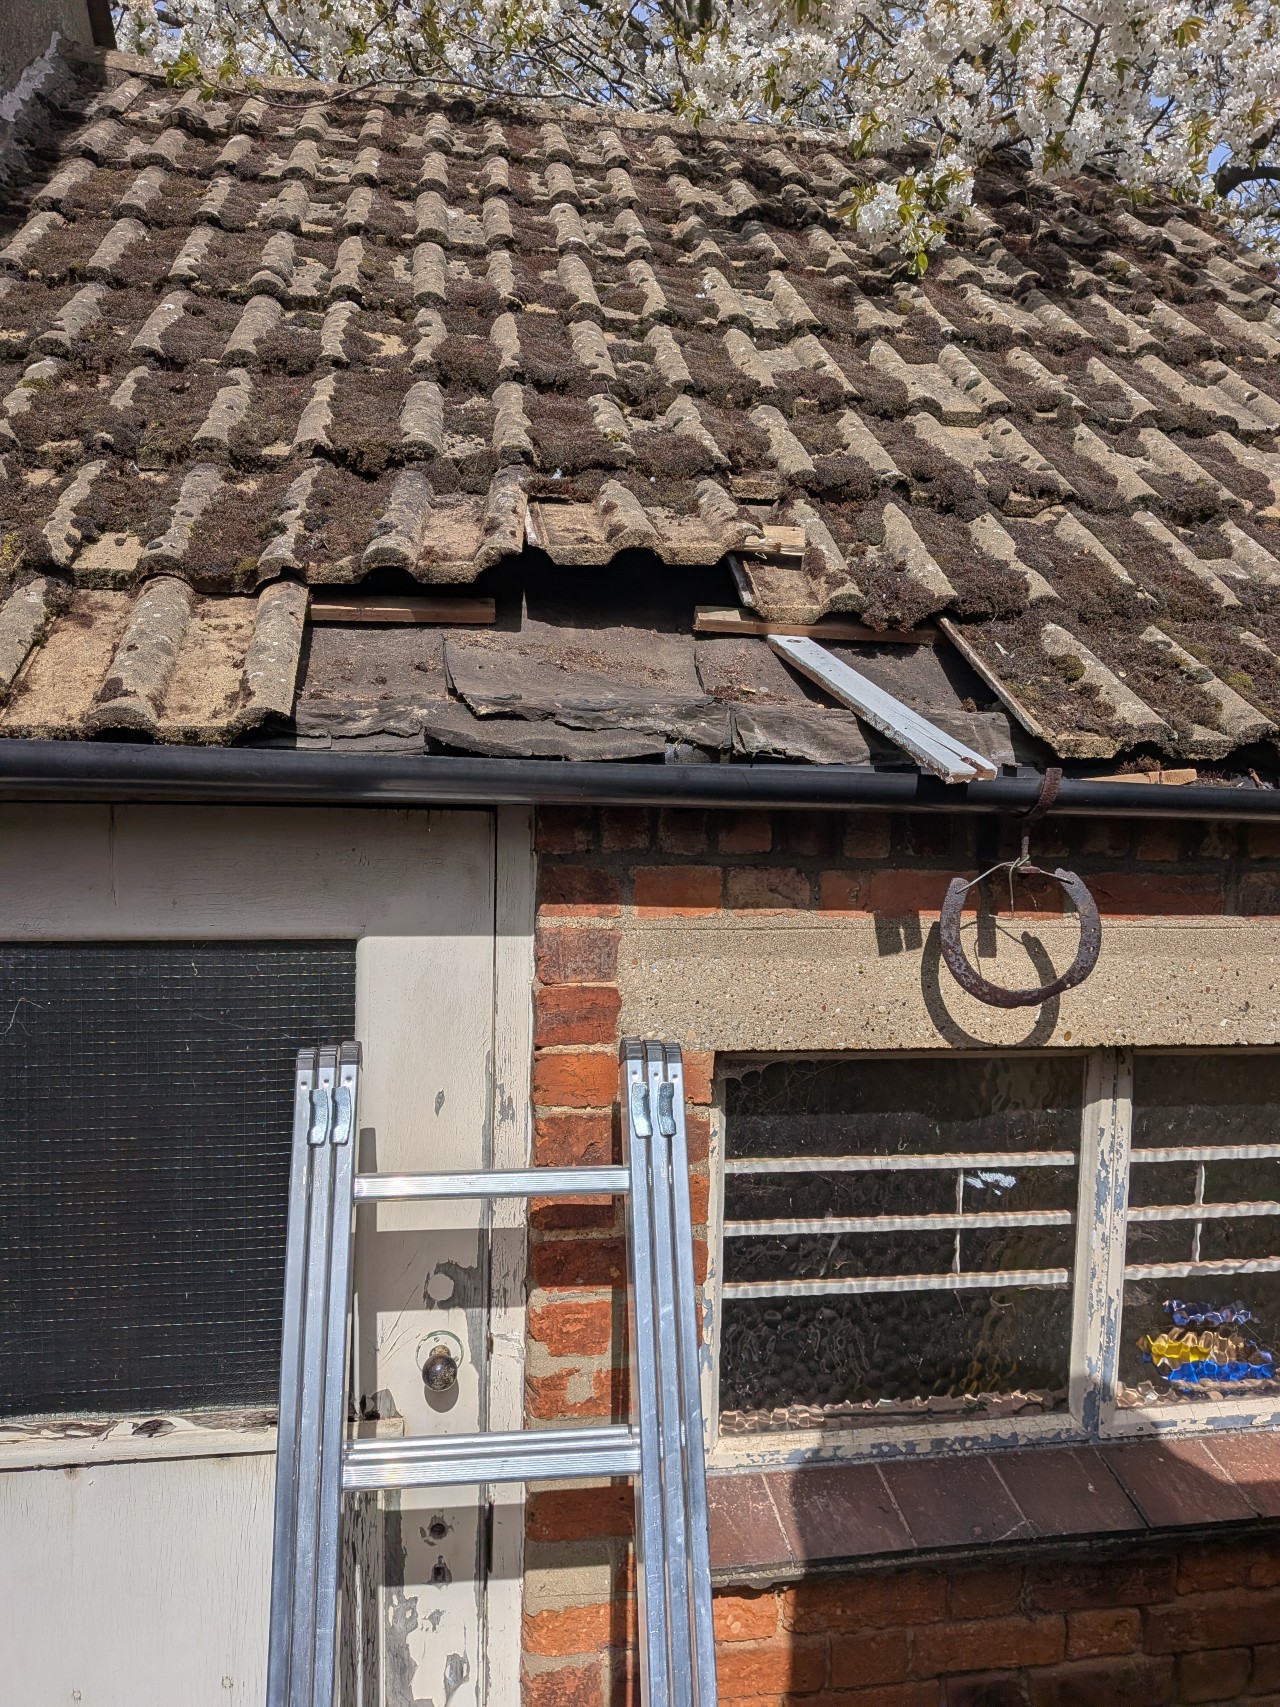
The garden side after the beam was removed, felt relaid and battens awaiting repair before retiling
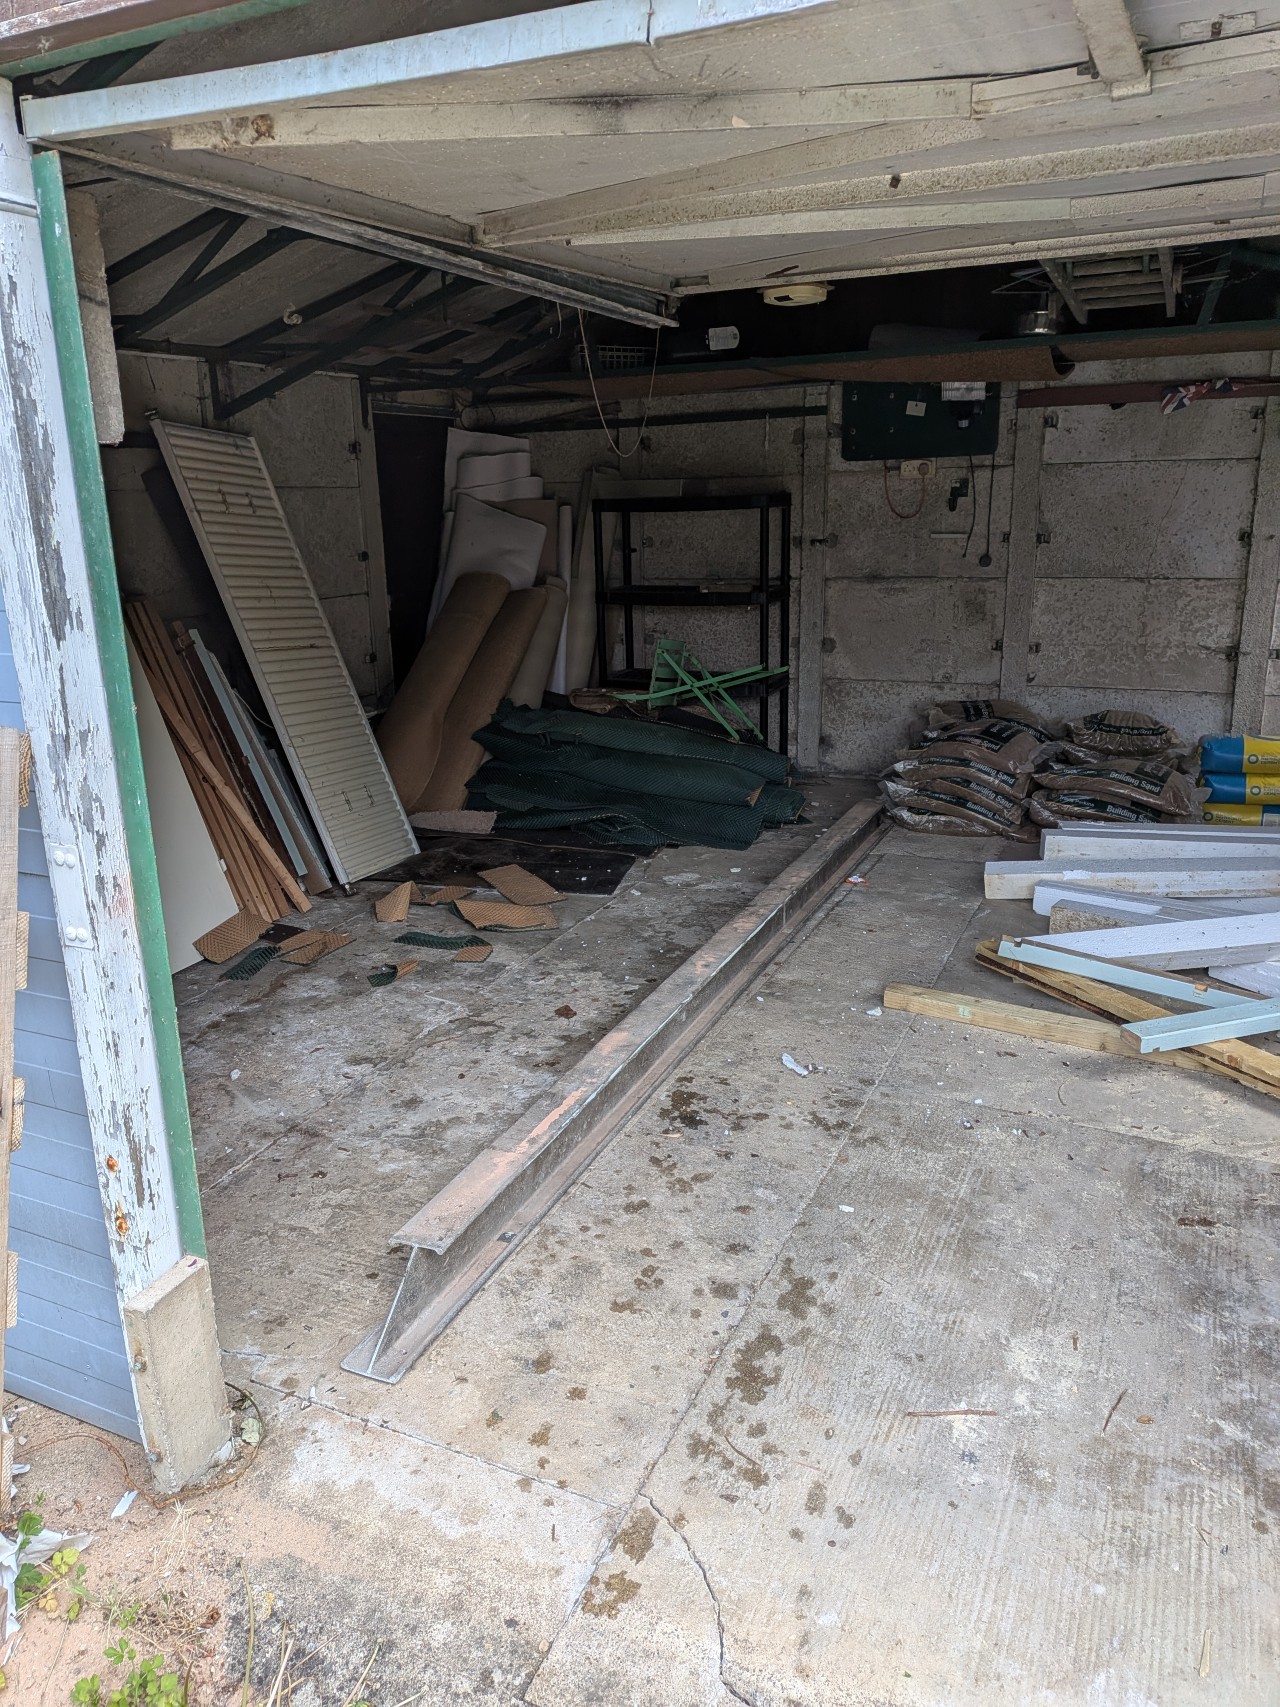
The removed beam - it was made of aluminium and possibly was salvaged from old war stock when it was installed in the late 40's or 50's
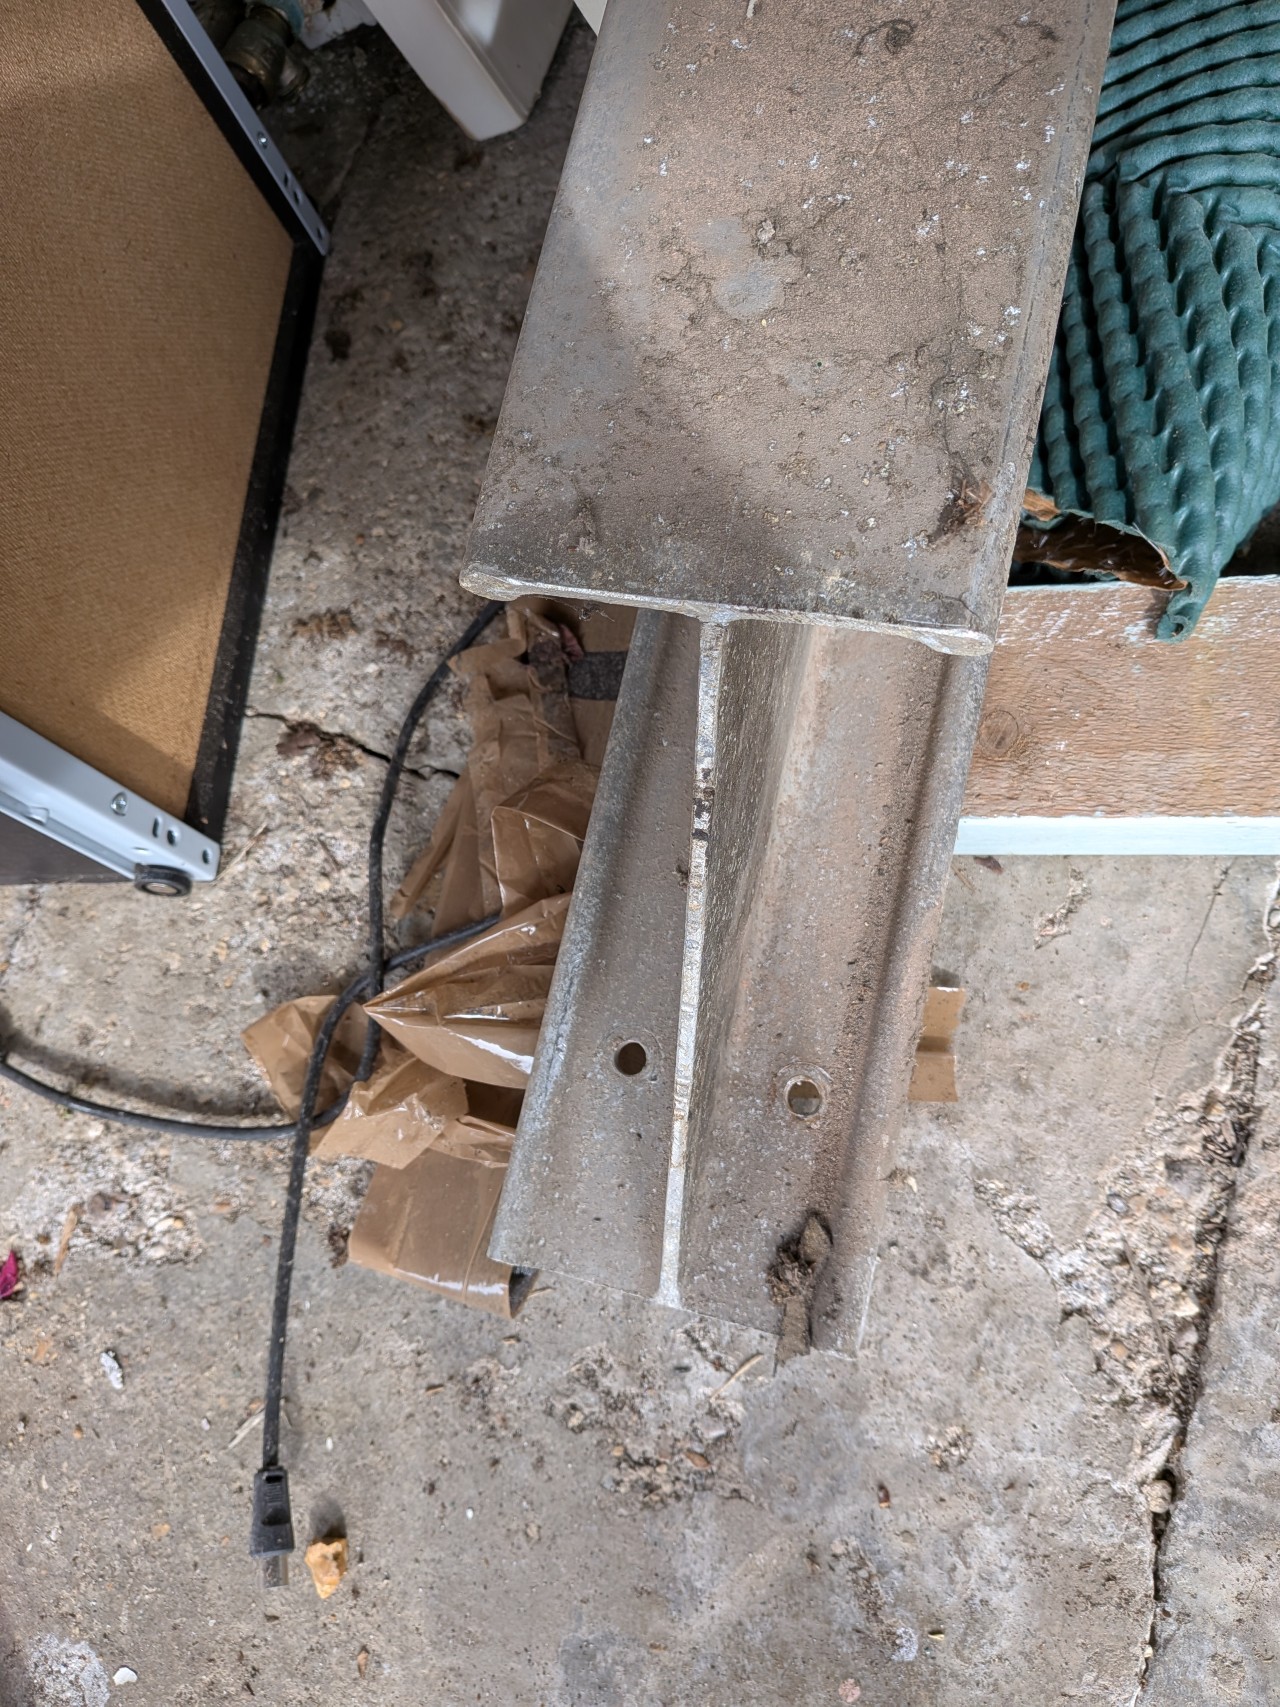
The ends were trimmed to fit closely under the tiles at the eaves
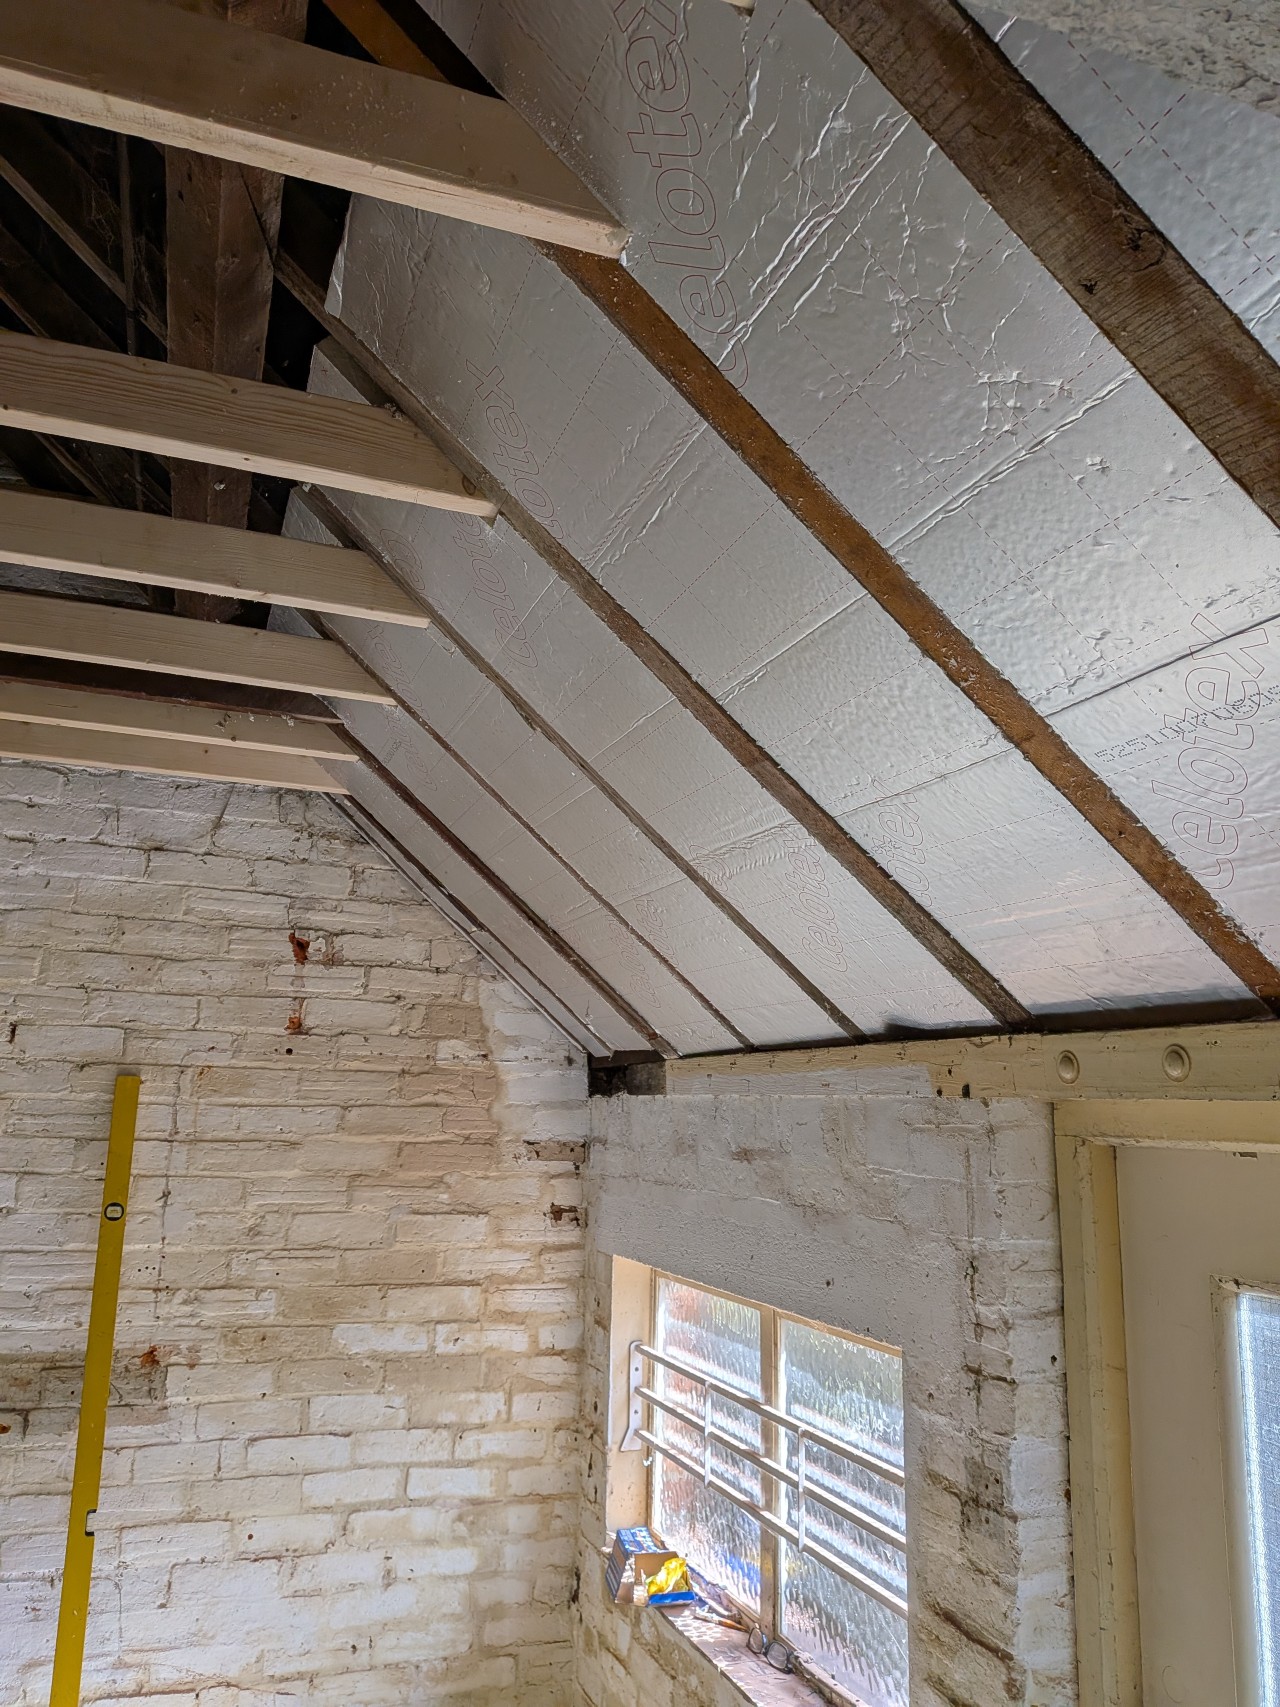
The pitched roof was insulated between rafters to start with, further insulation was then installed under and this secured with battens fastened through onto the rafters
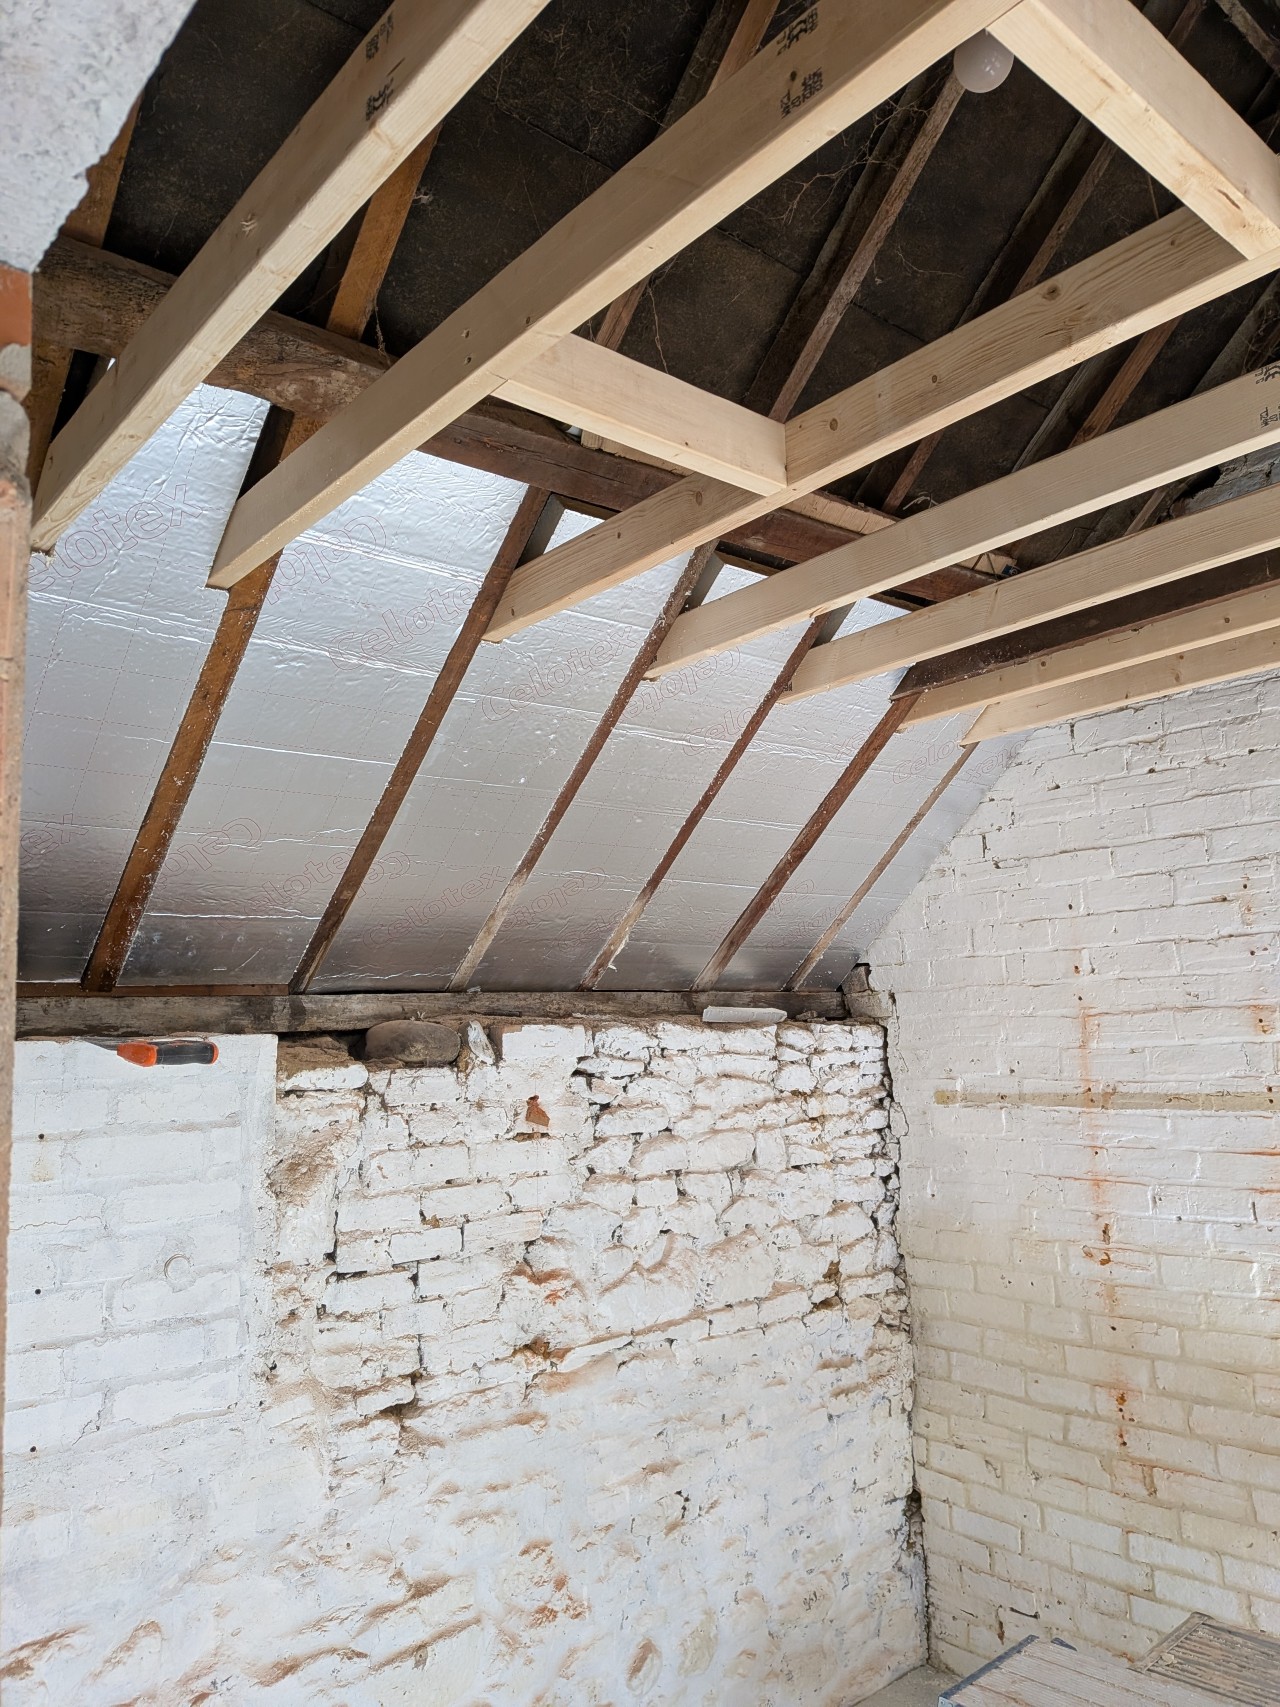
The pitched rafter lengths to each side were not the same because the thick stone wall to the School Lane side was higher than the brick wall to the garden side
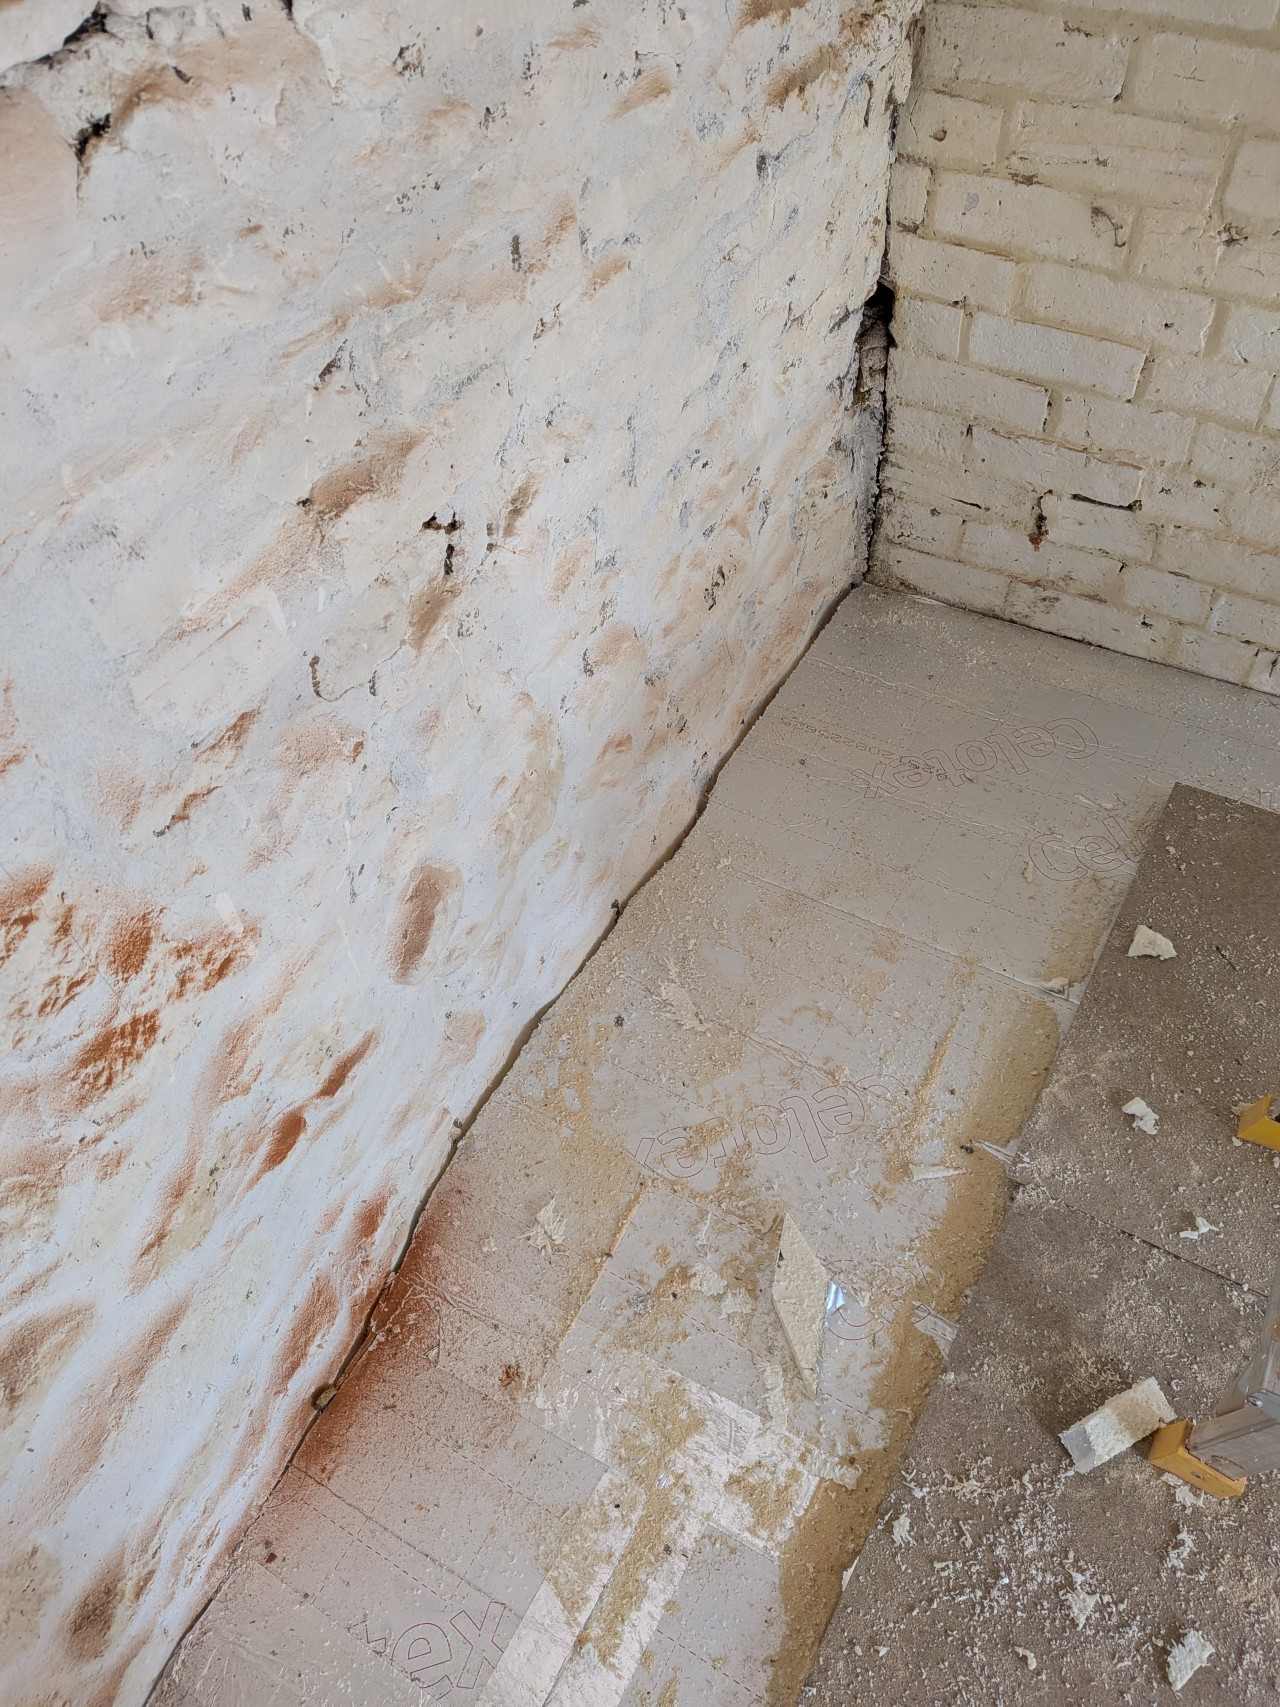
The floor insulation cut to fit the irregular wall
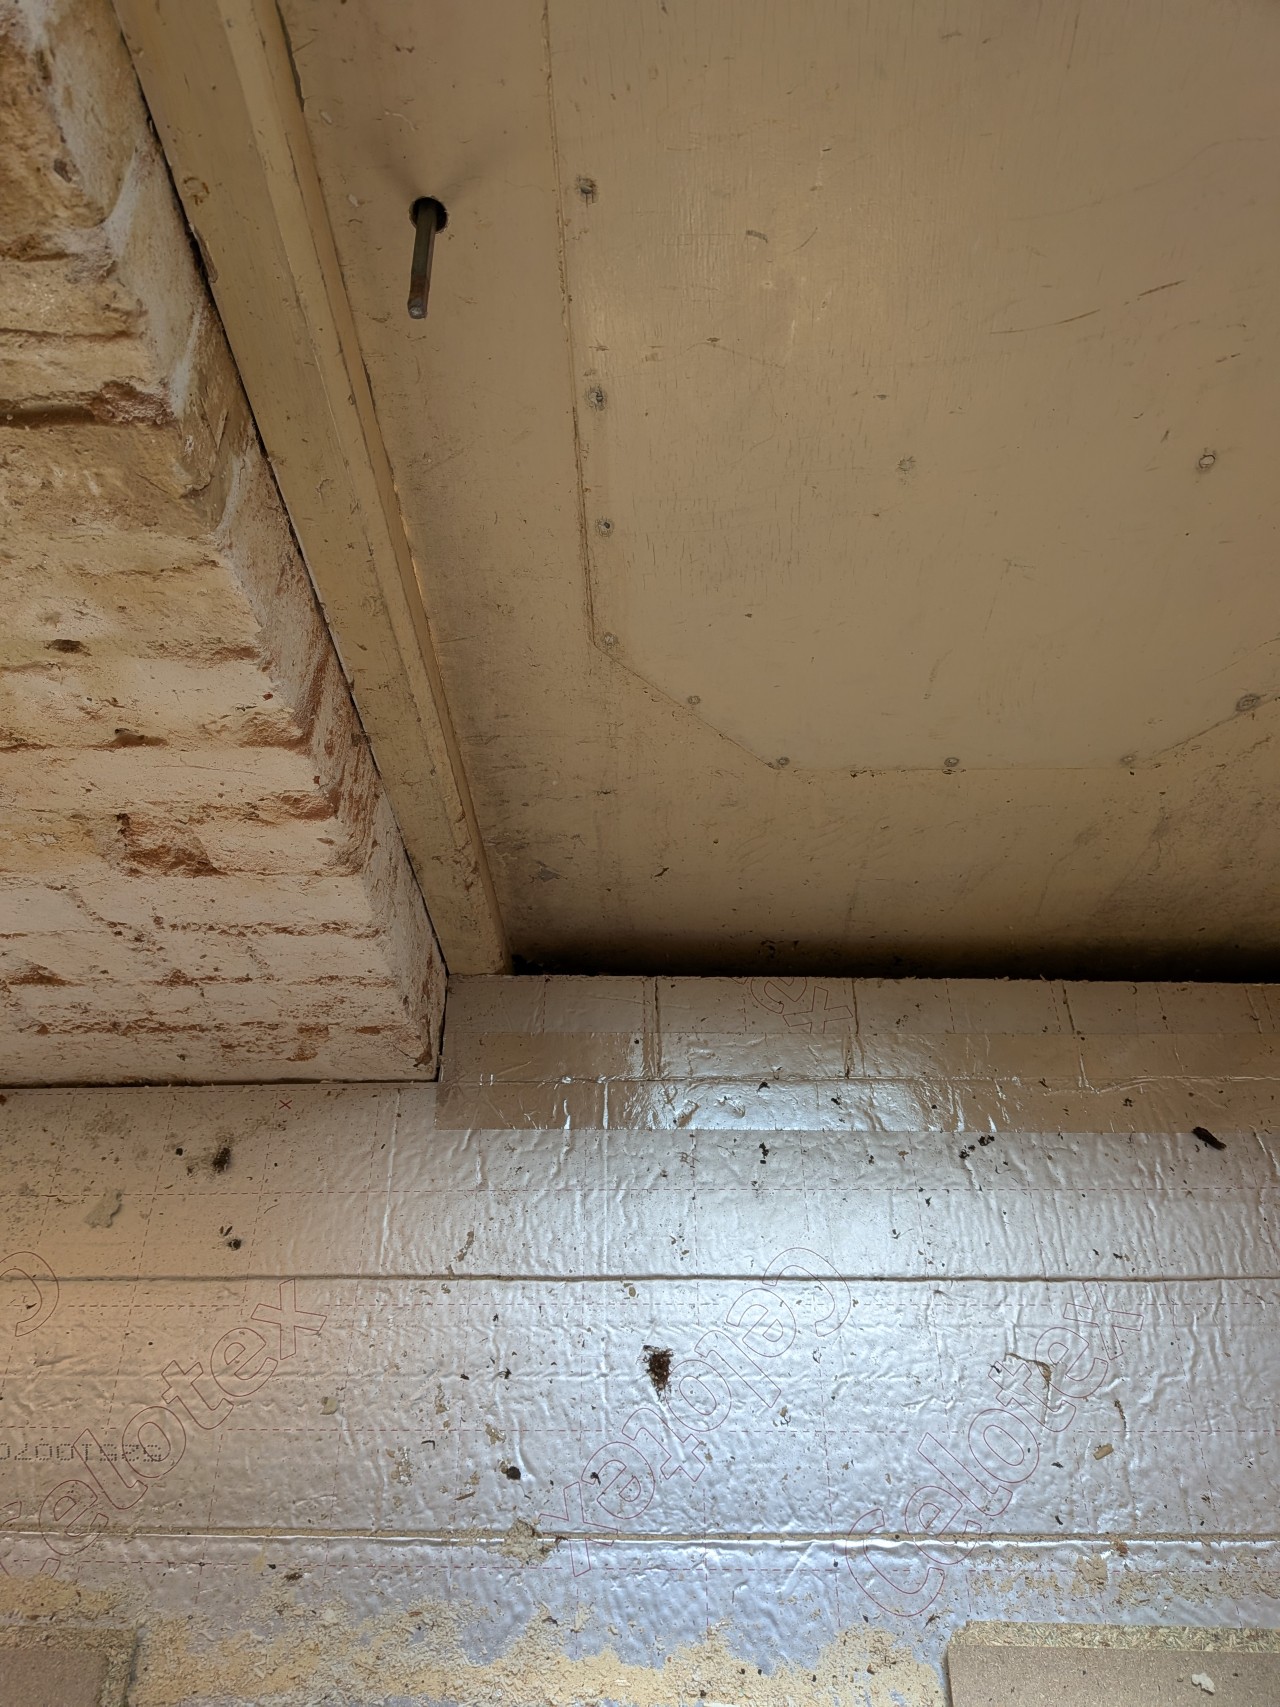
The door reveal was filled up to the frame which was to be replaced at a later stage
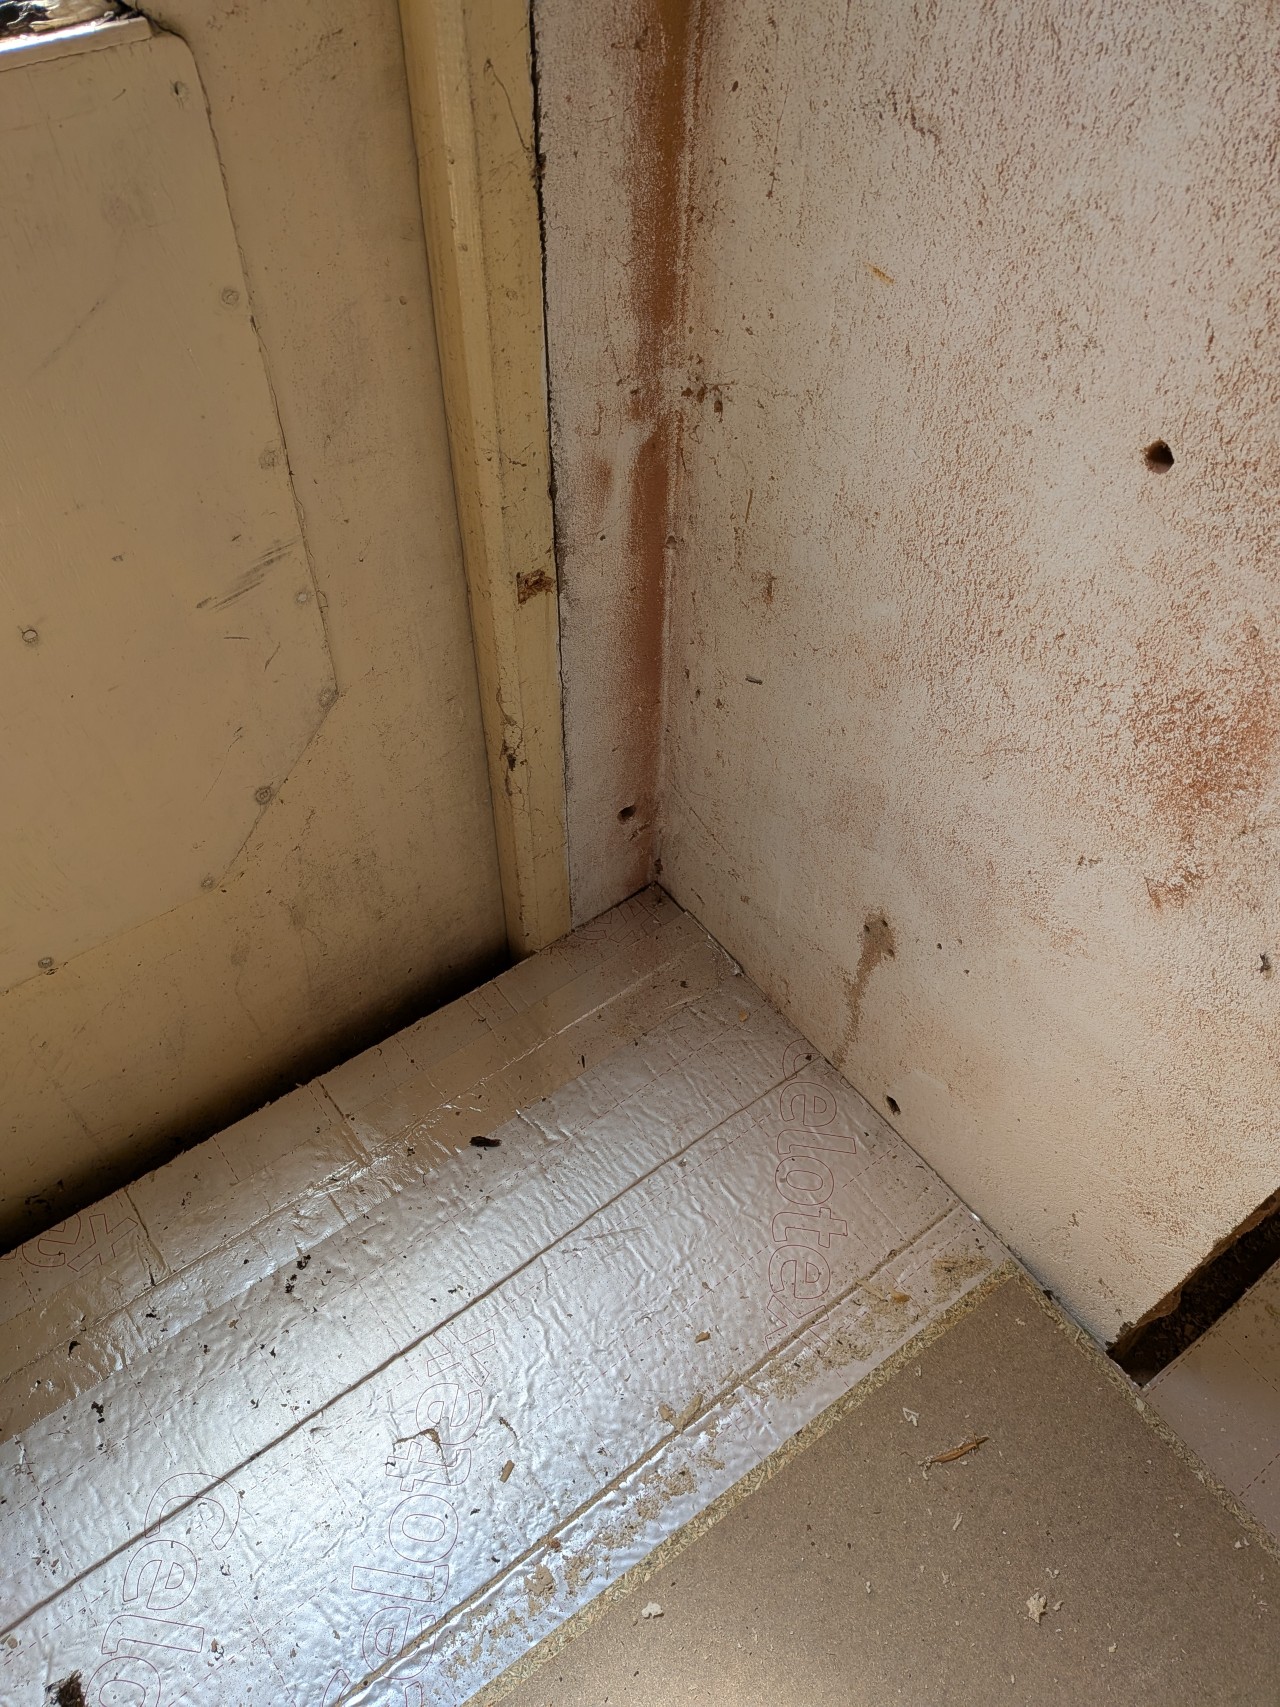
The door was immediately adjacent to the separating wall with the new opening into the main house
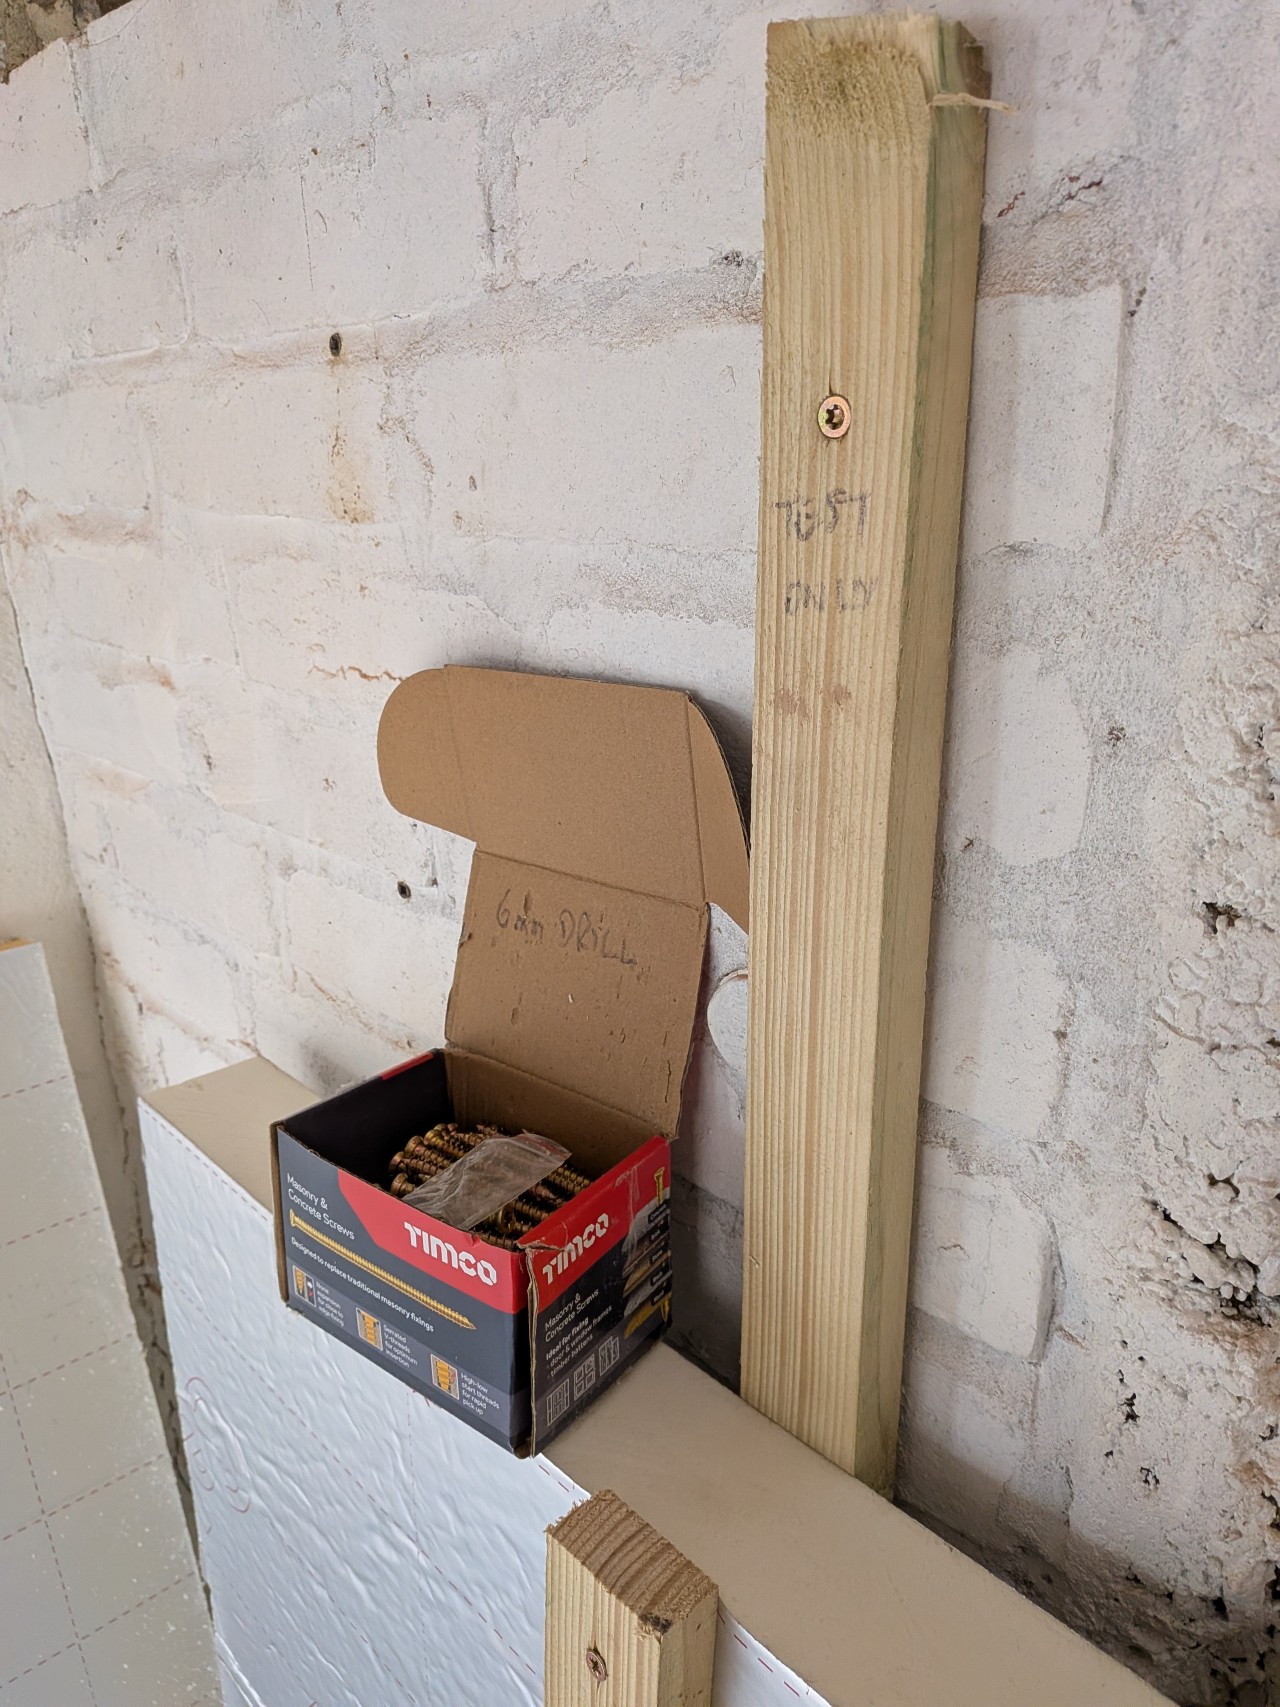
The wall insulation design required the PIR panels to be fastened with battens over to form a utility space for wiring and plumbing. The walls were battened to provide a cavity prior to the insulation being installed, the wall battens were fixed with concrete screws as in this test arrangement
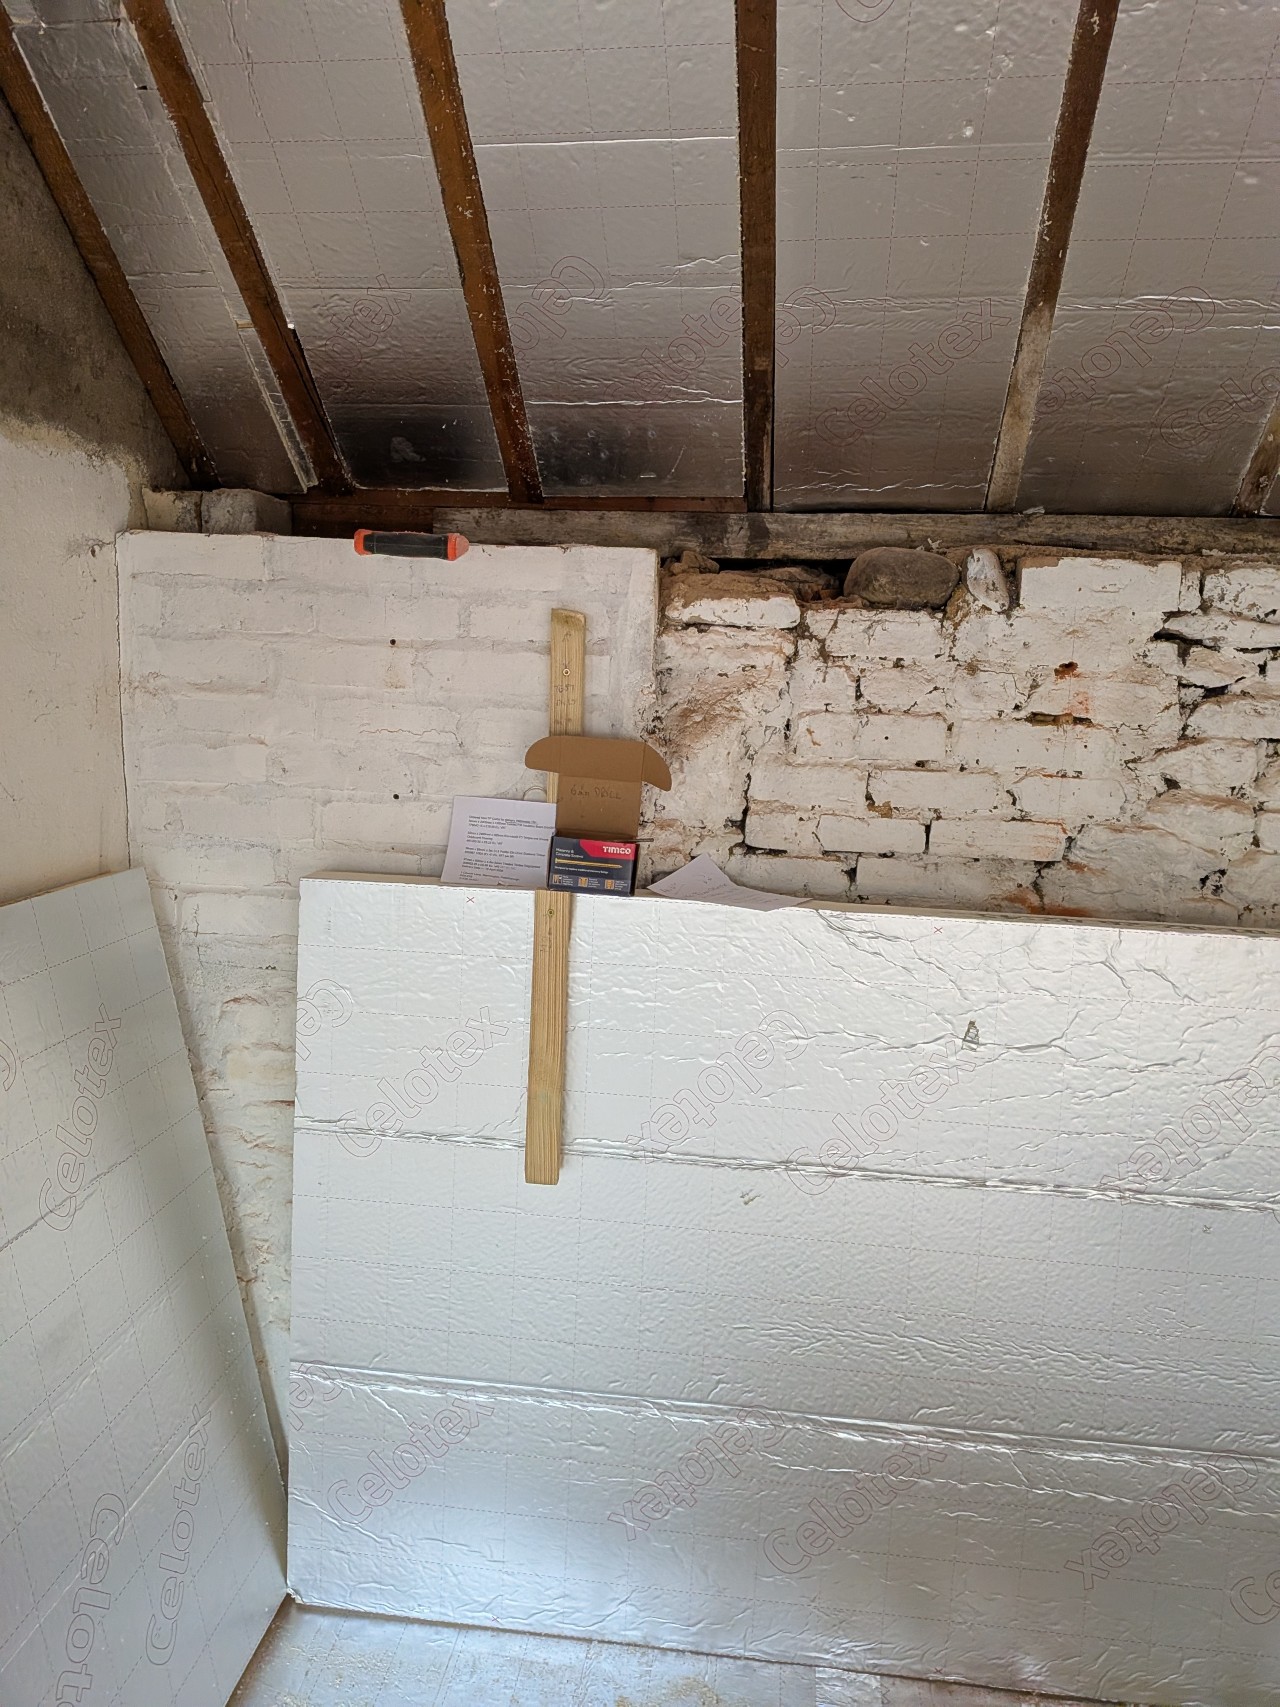
The wall to School Lane was a mix of new (1940/50's brick with older Warmington brick with a stone outer
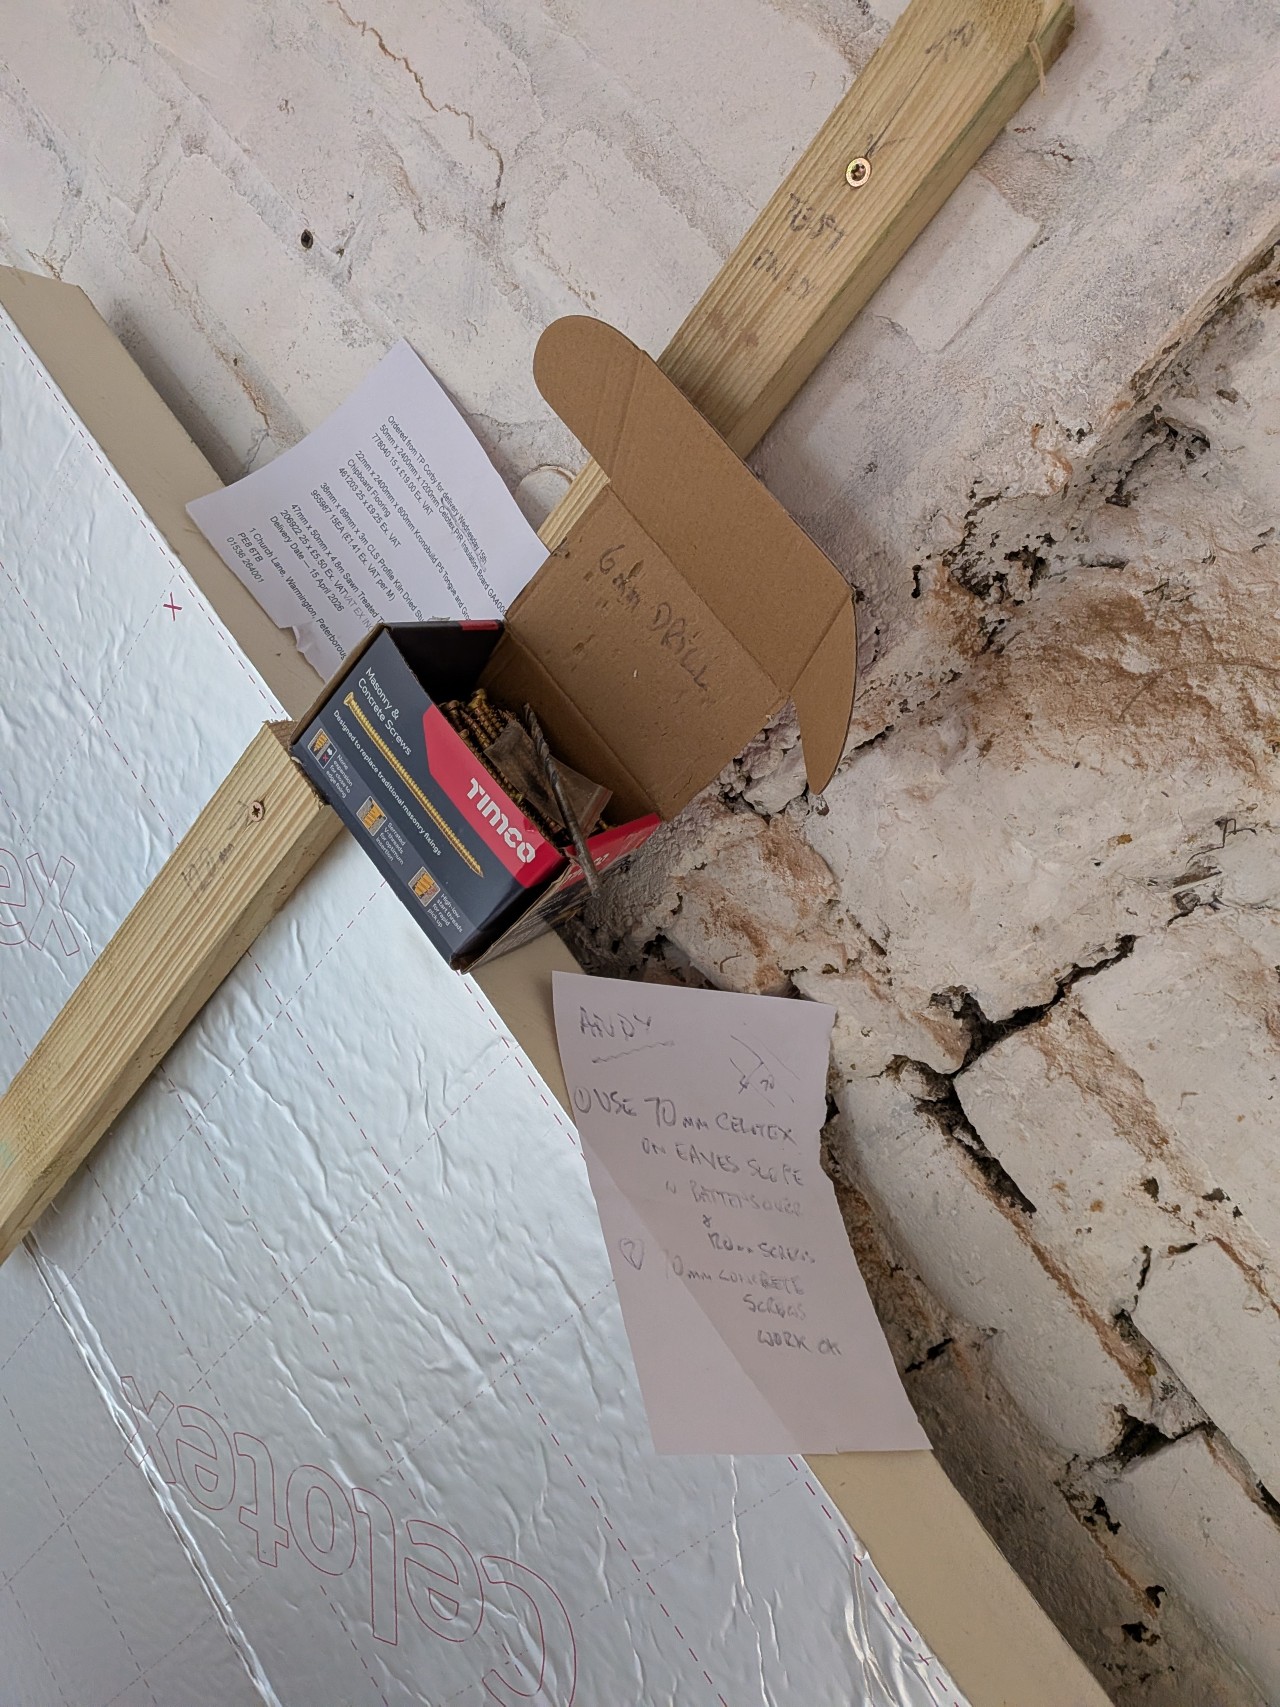
Designer's notes to the builder!
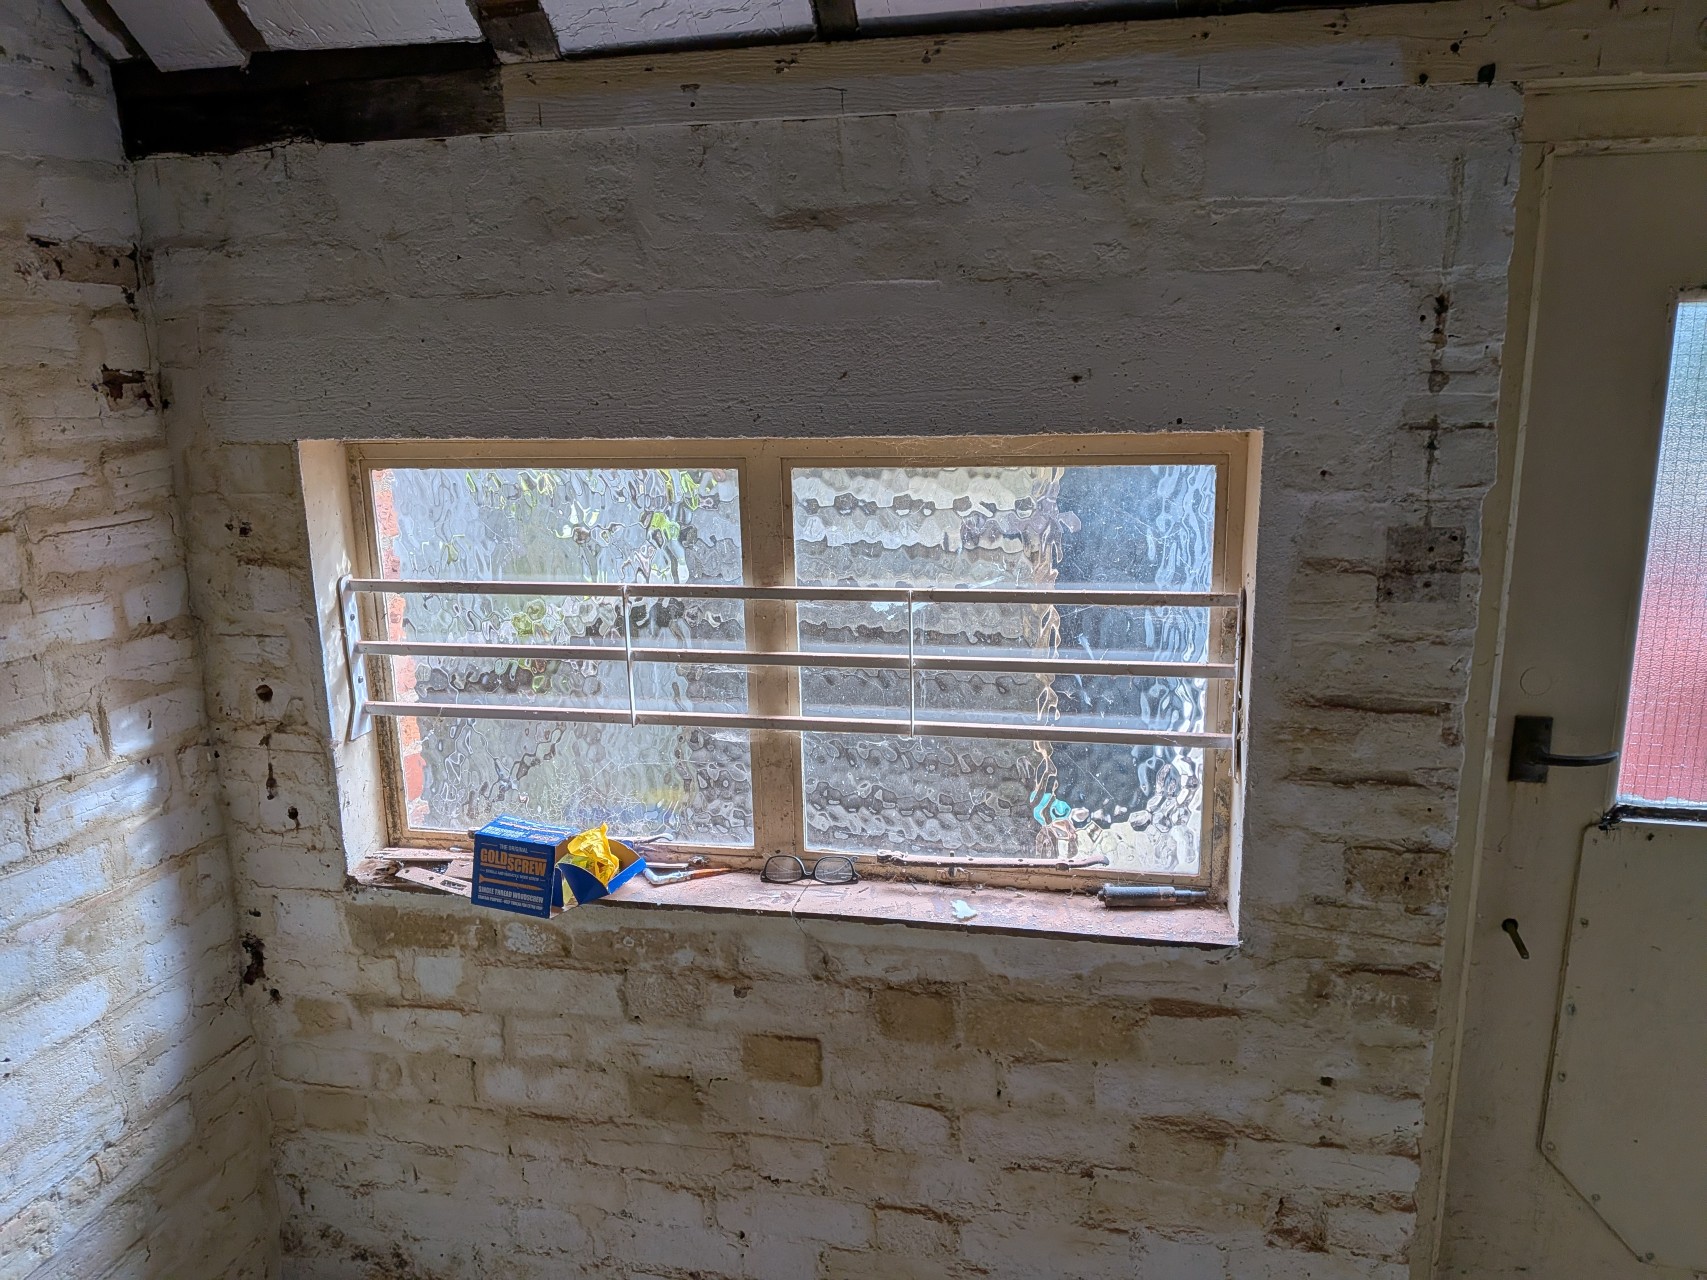
The double brick garden wall of Warmington brick
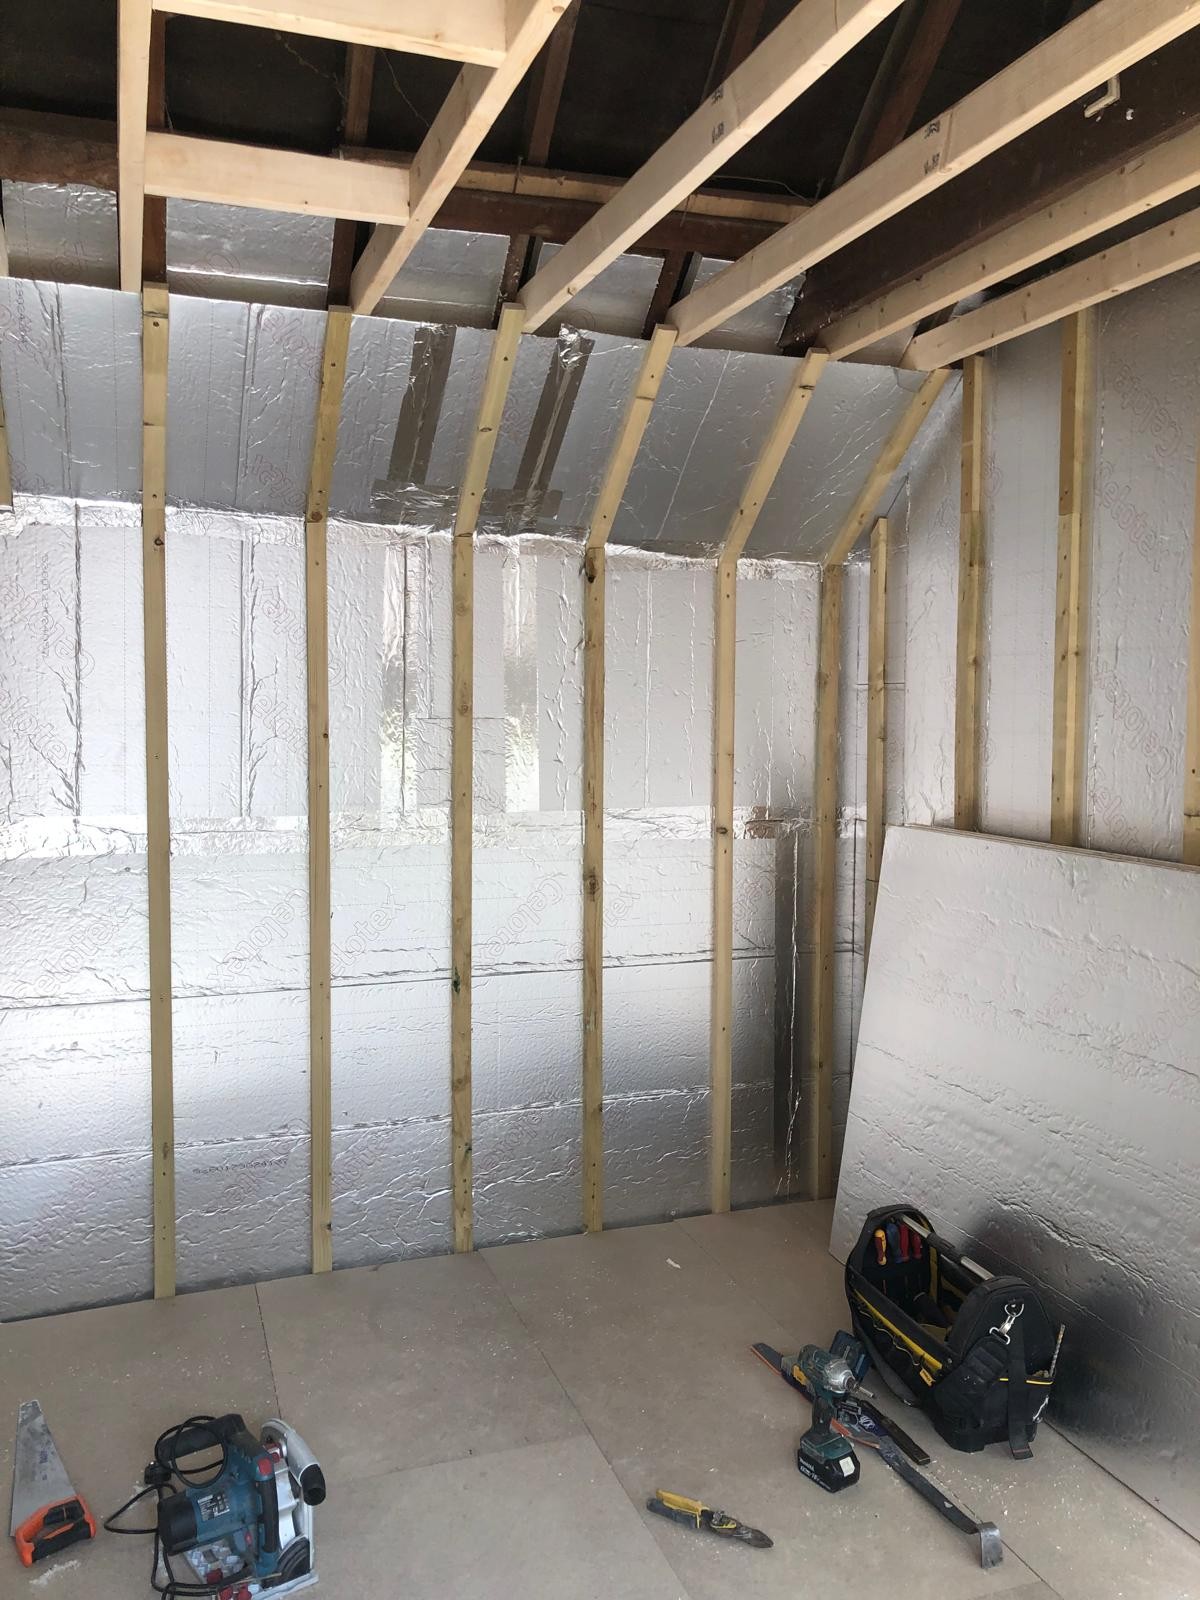
The wall and pitched eaves with battens securing the second layer of insulation to the rafters
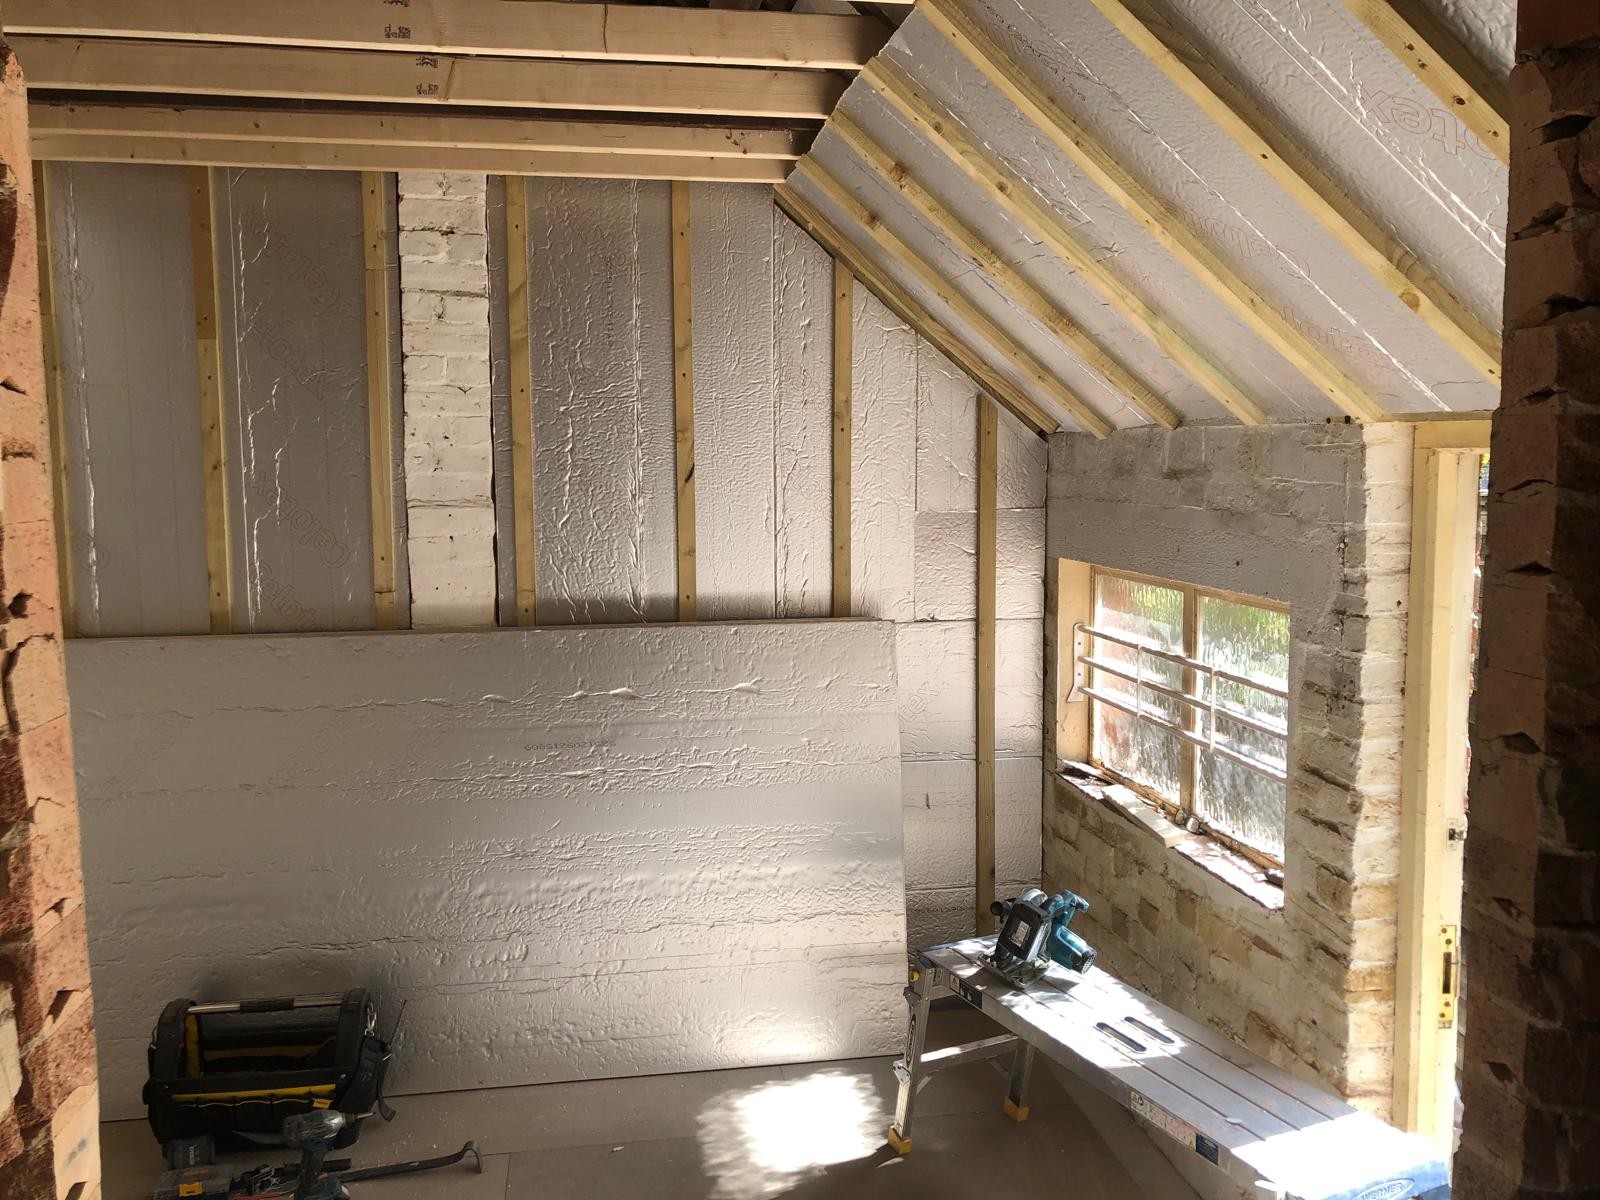
Mostly complete awaiting the garden wall insulation
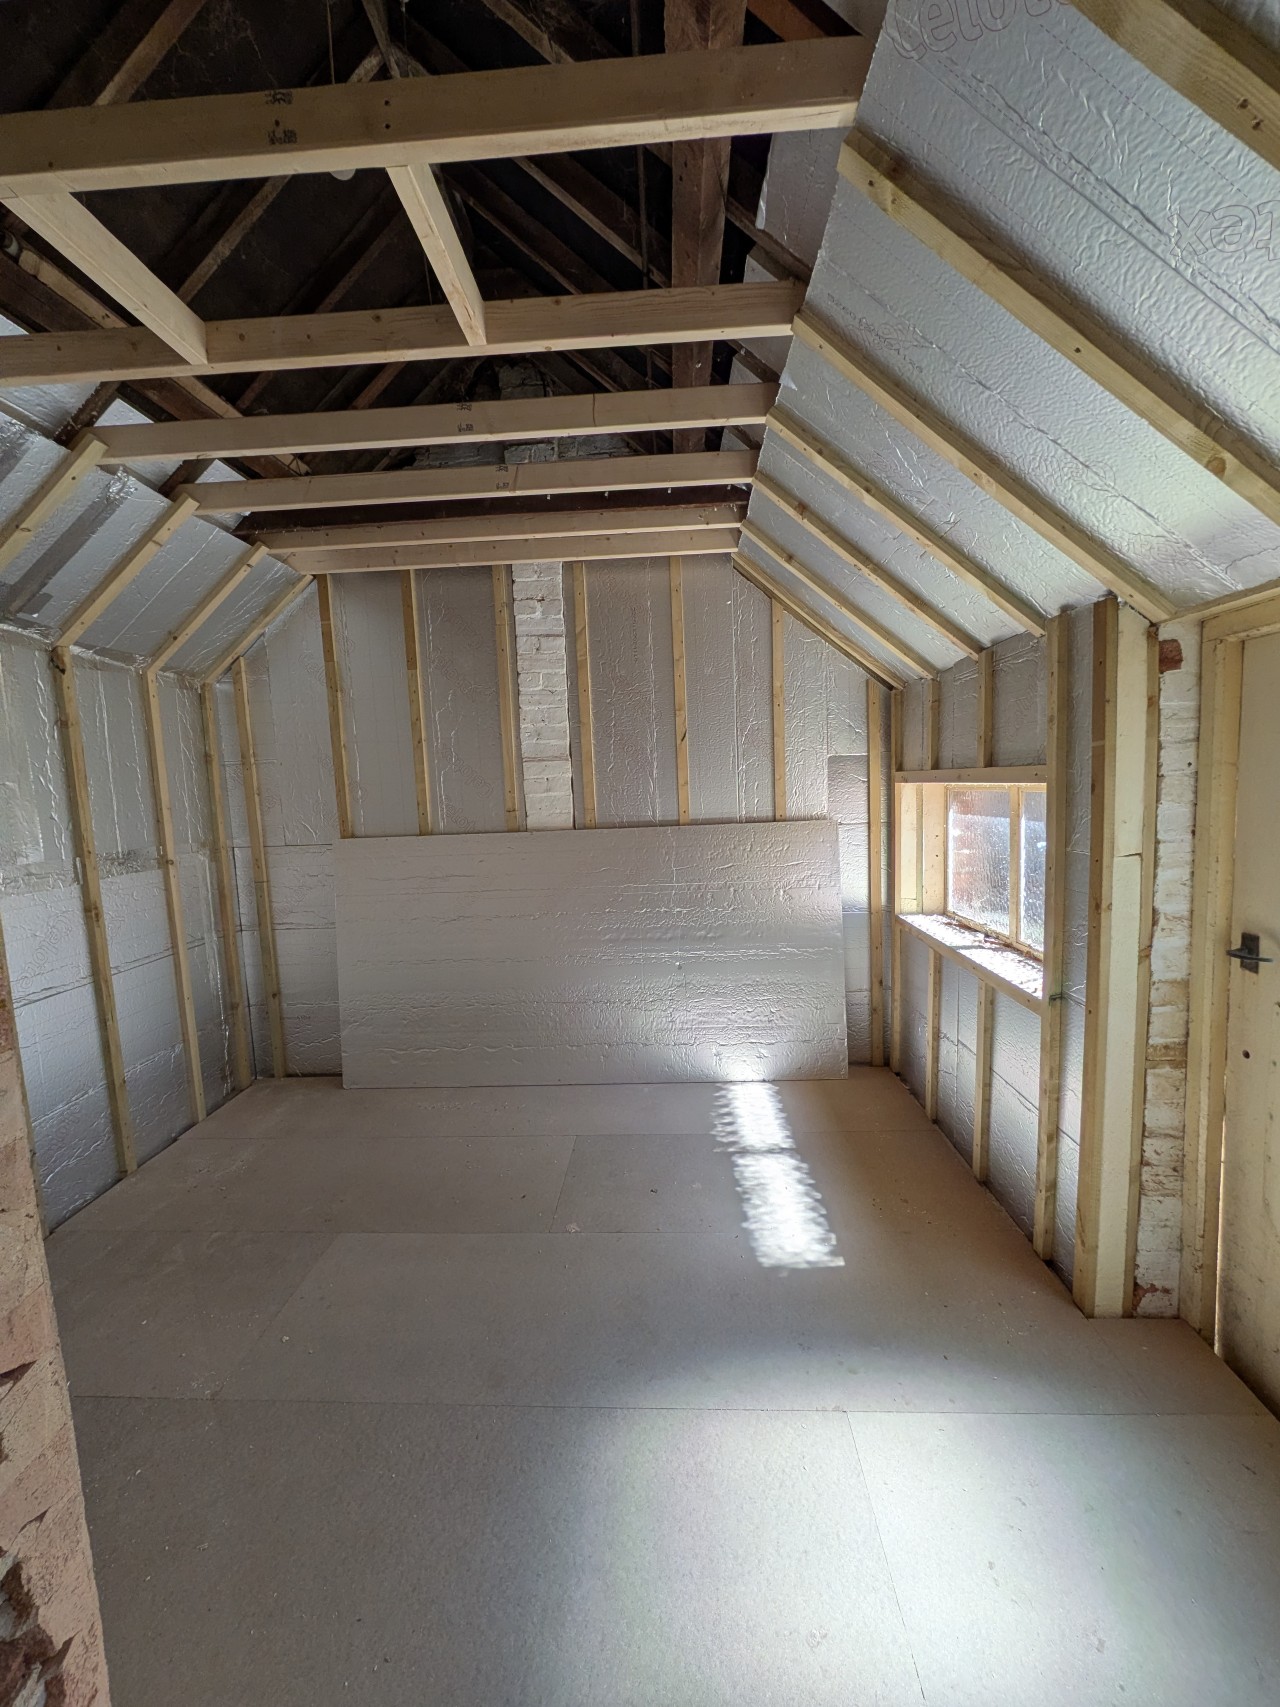
All insulation completed
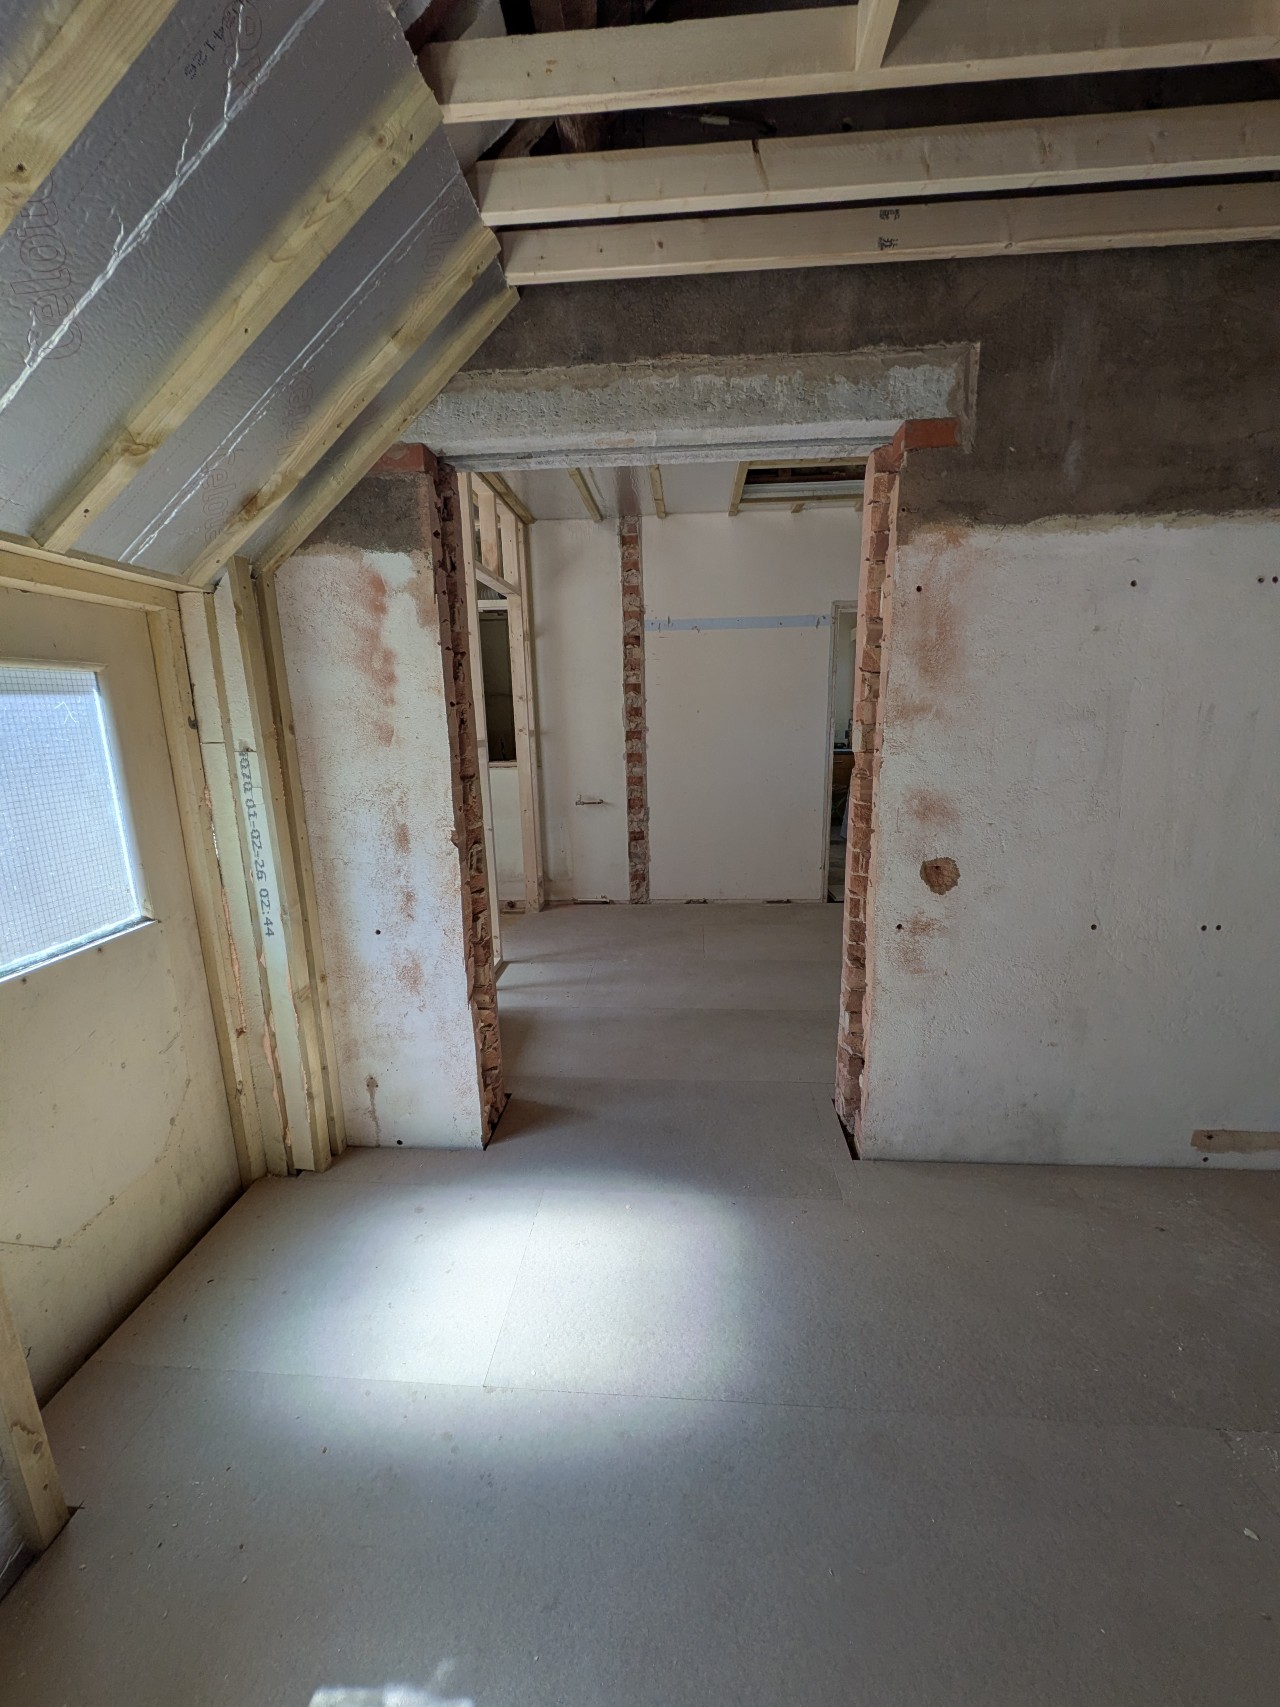
The new opening tight at top left to the new pitched eaves which have insulation between and under with battens to secure - adding depth to the roof
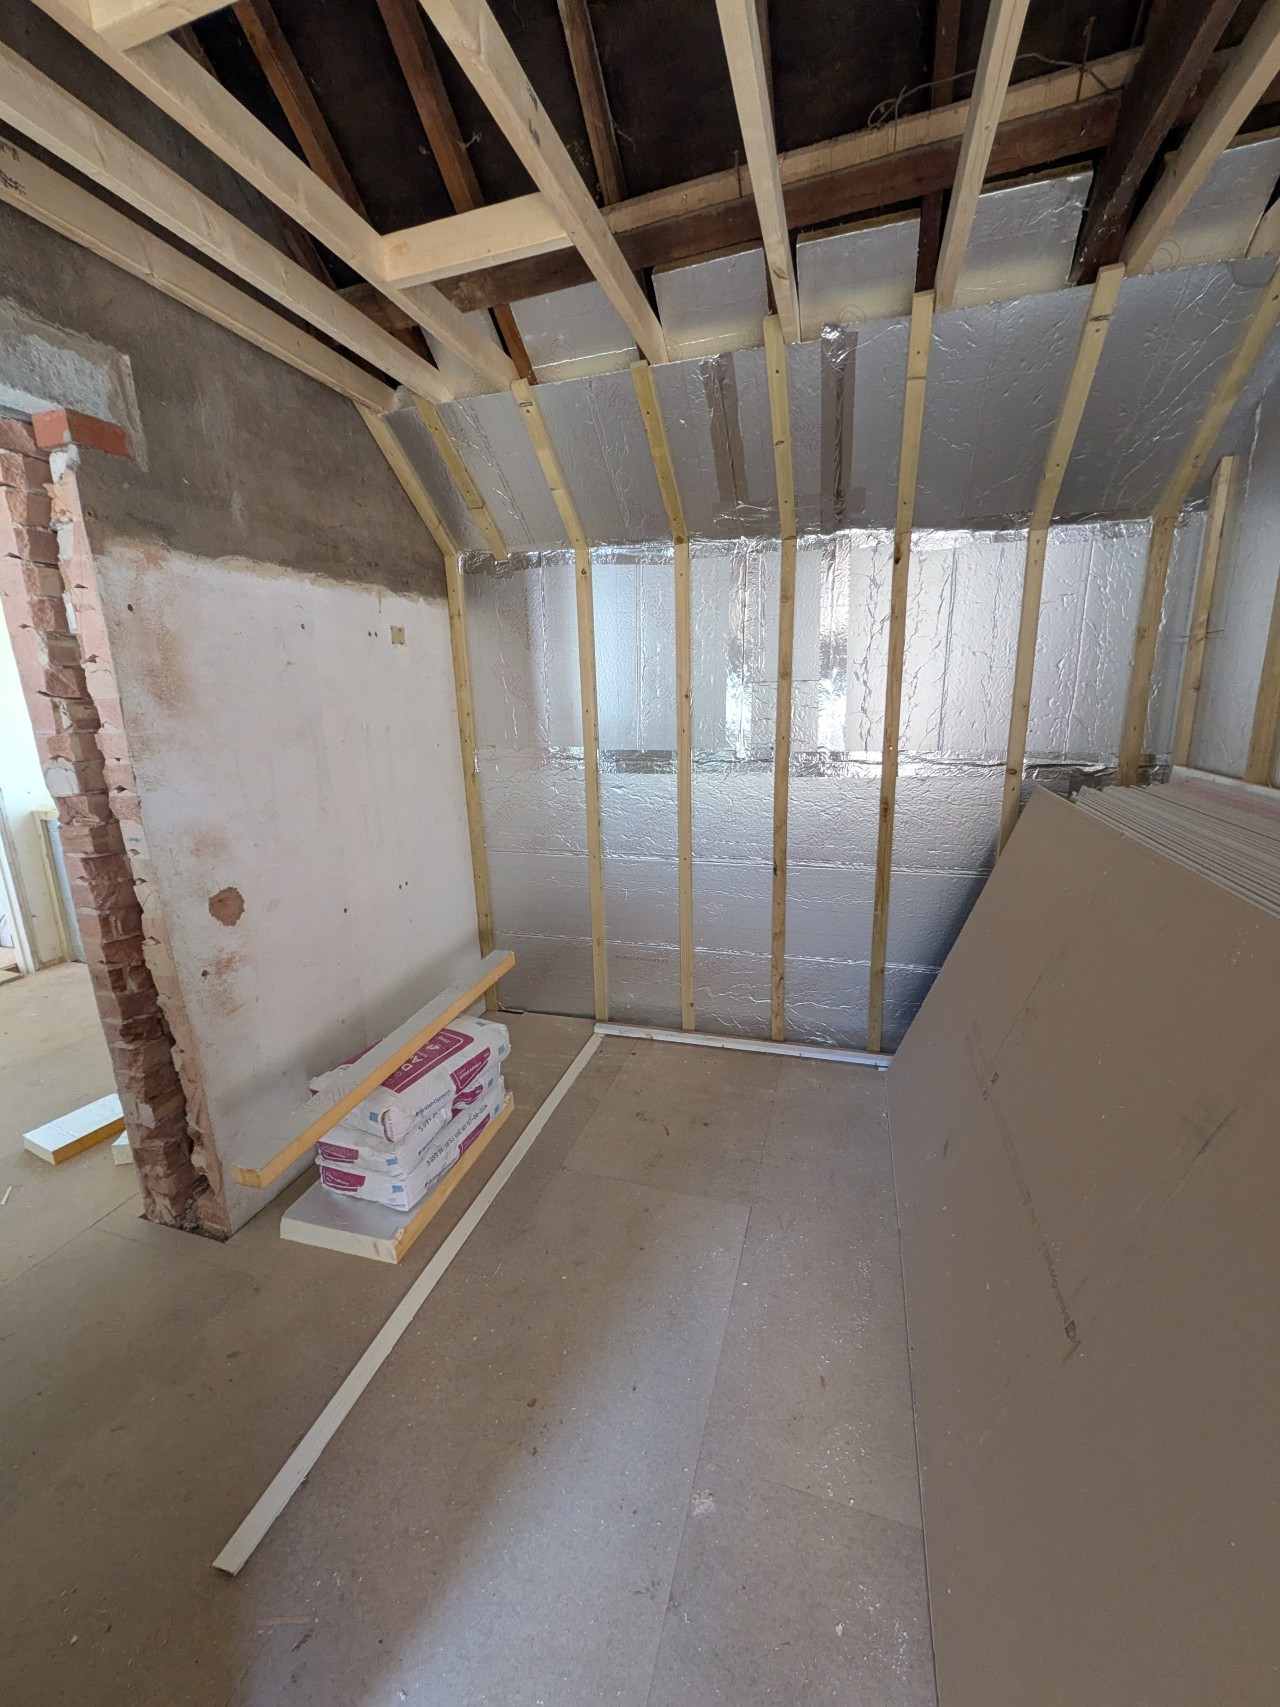
Showing insulation taped and ready for electrics and plumbing first fix, plasterboard stored ready for use
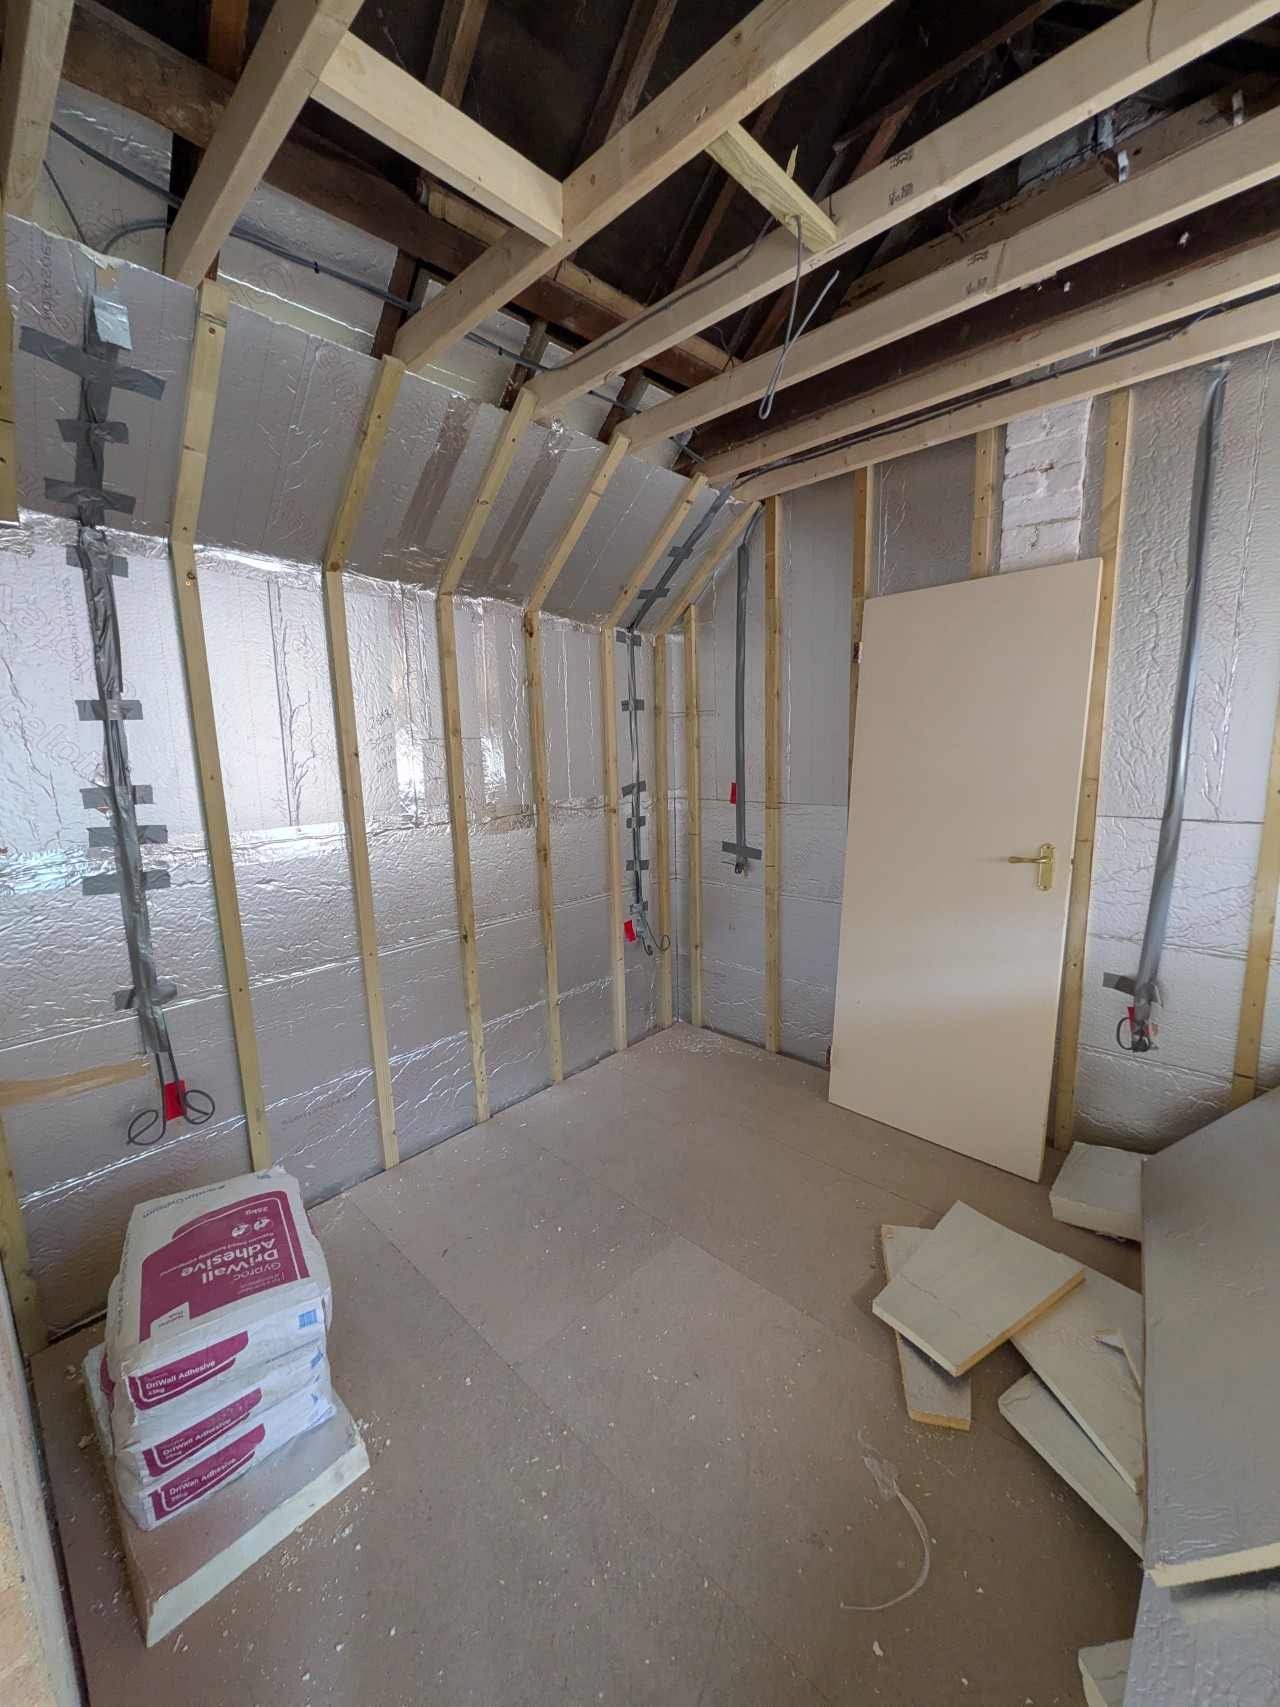
Electrics first fix completed
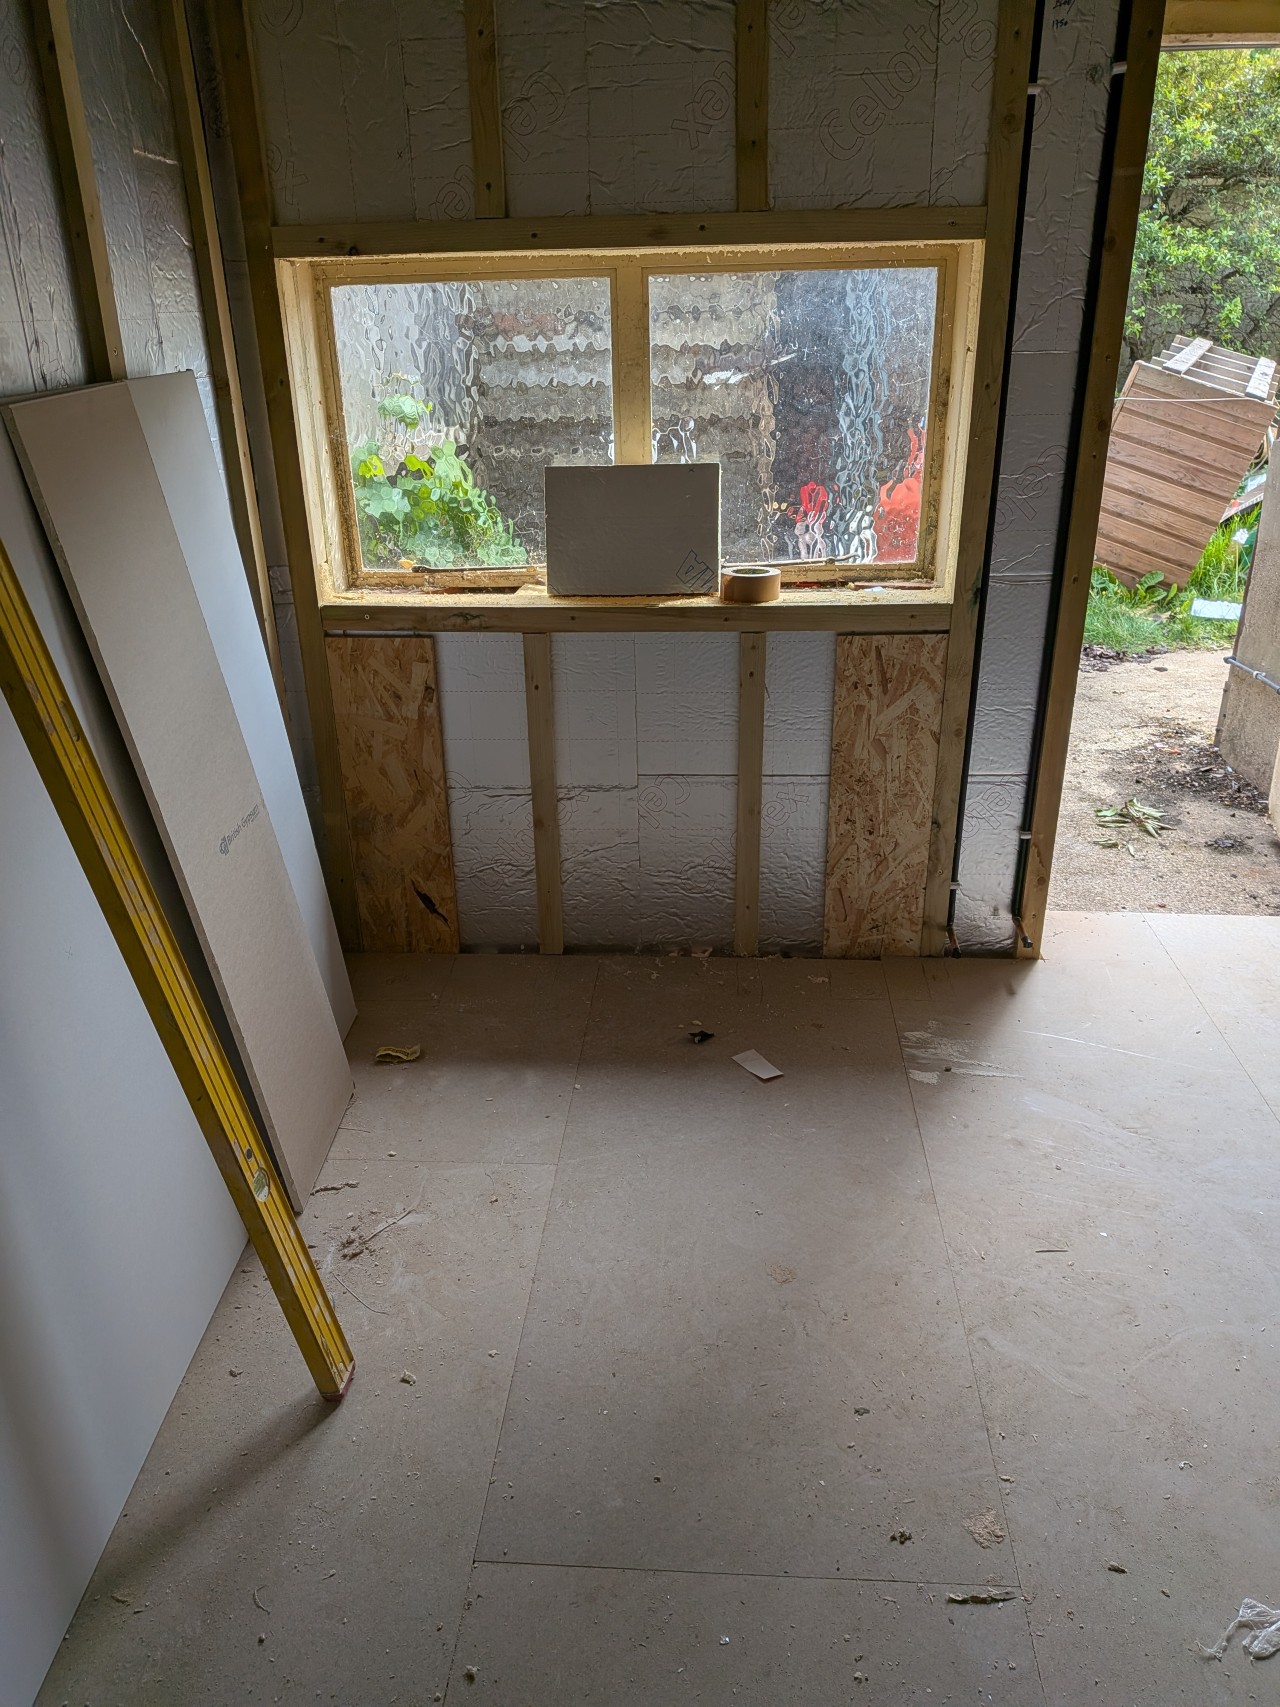
Radiator plumbing installed and 18mm OSB radiator supports onto garden wall
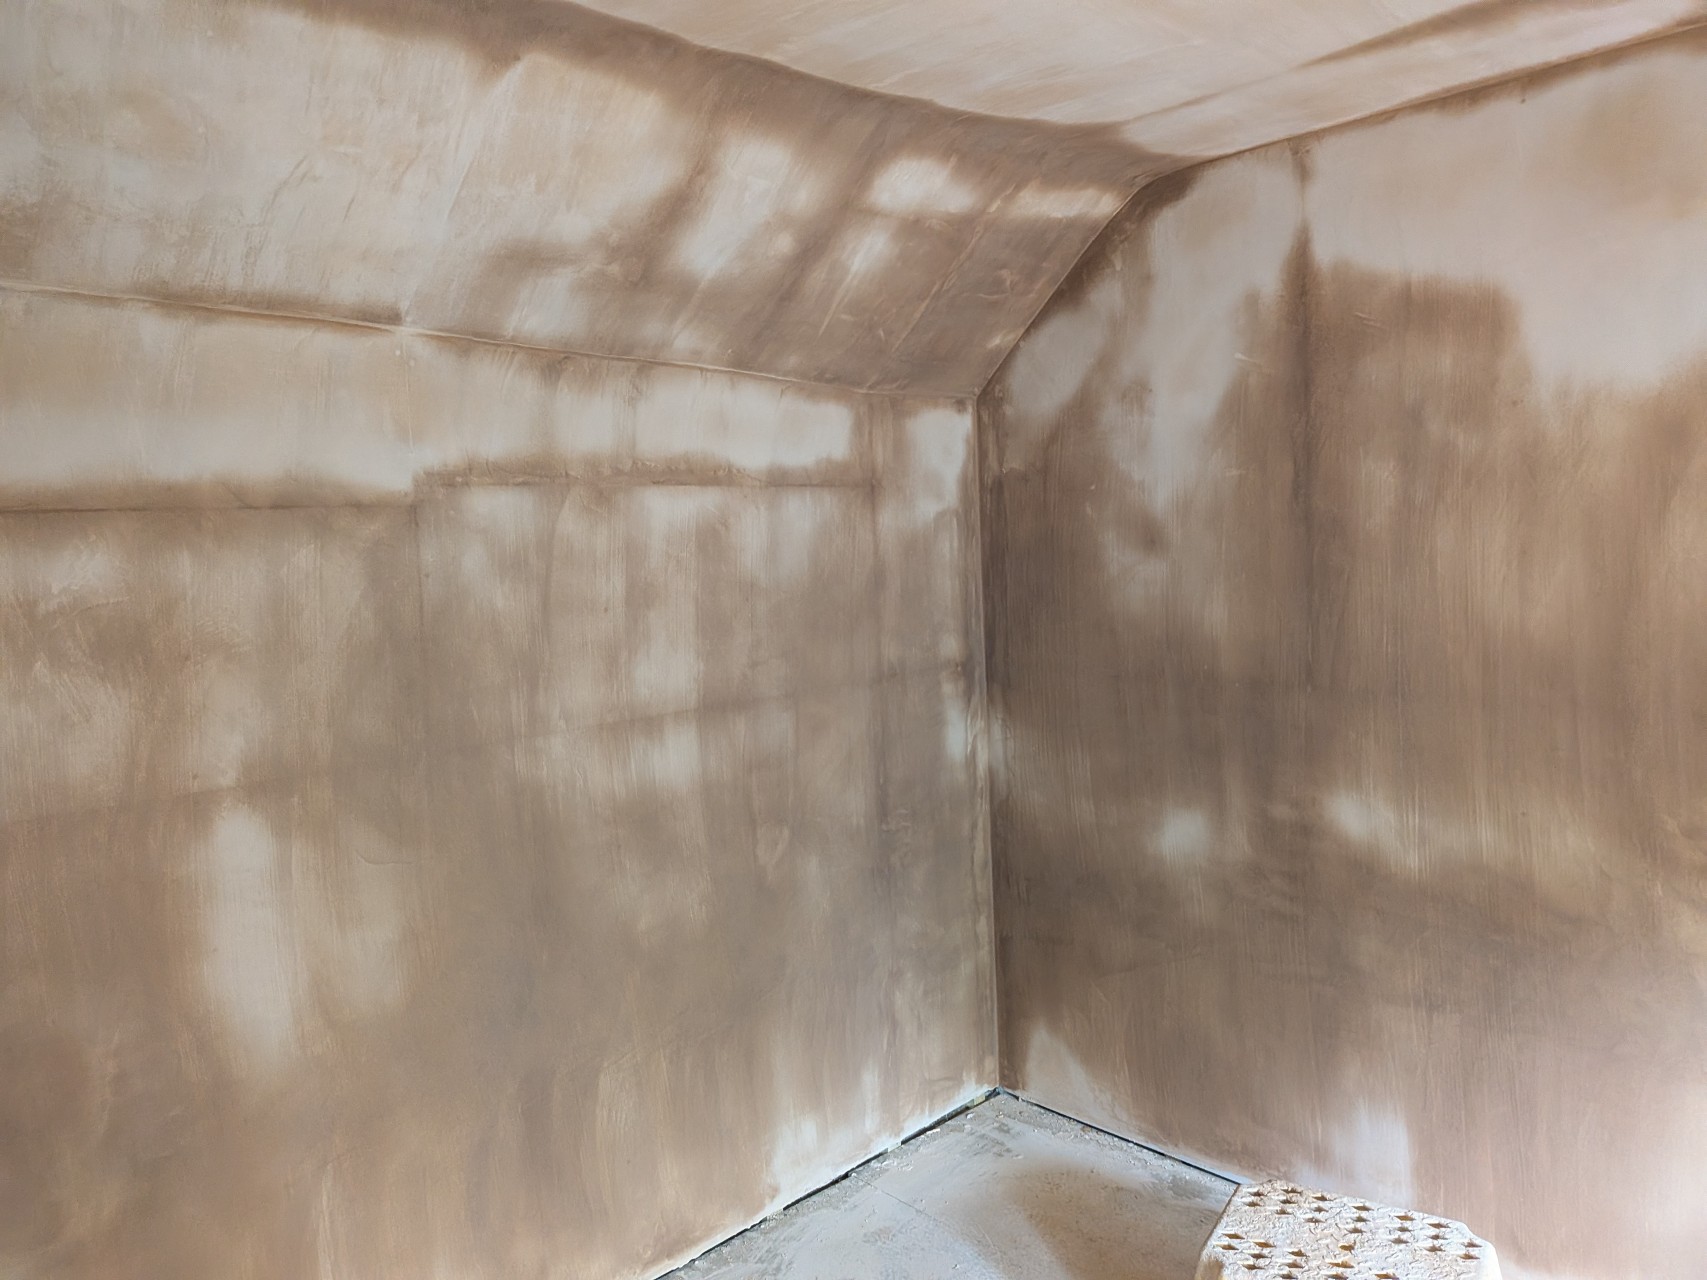
Plasterboarded and plastered
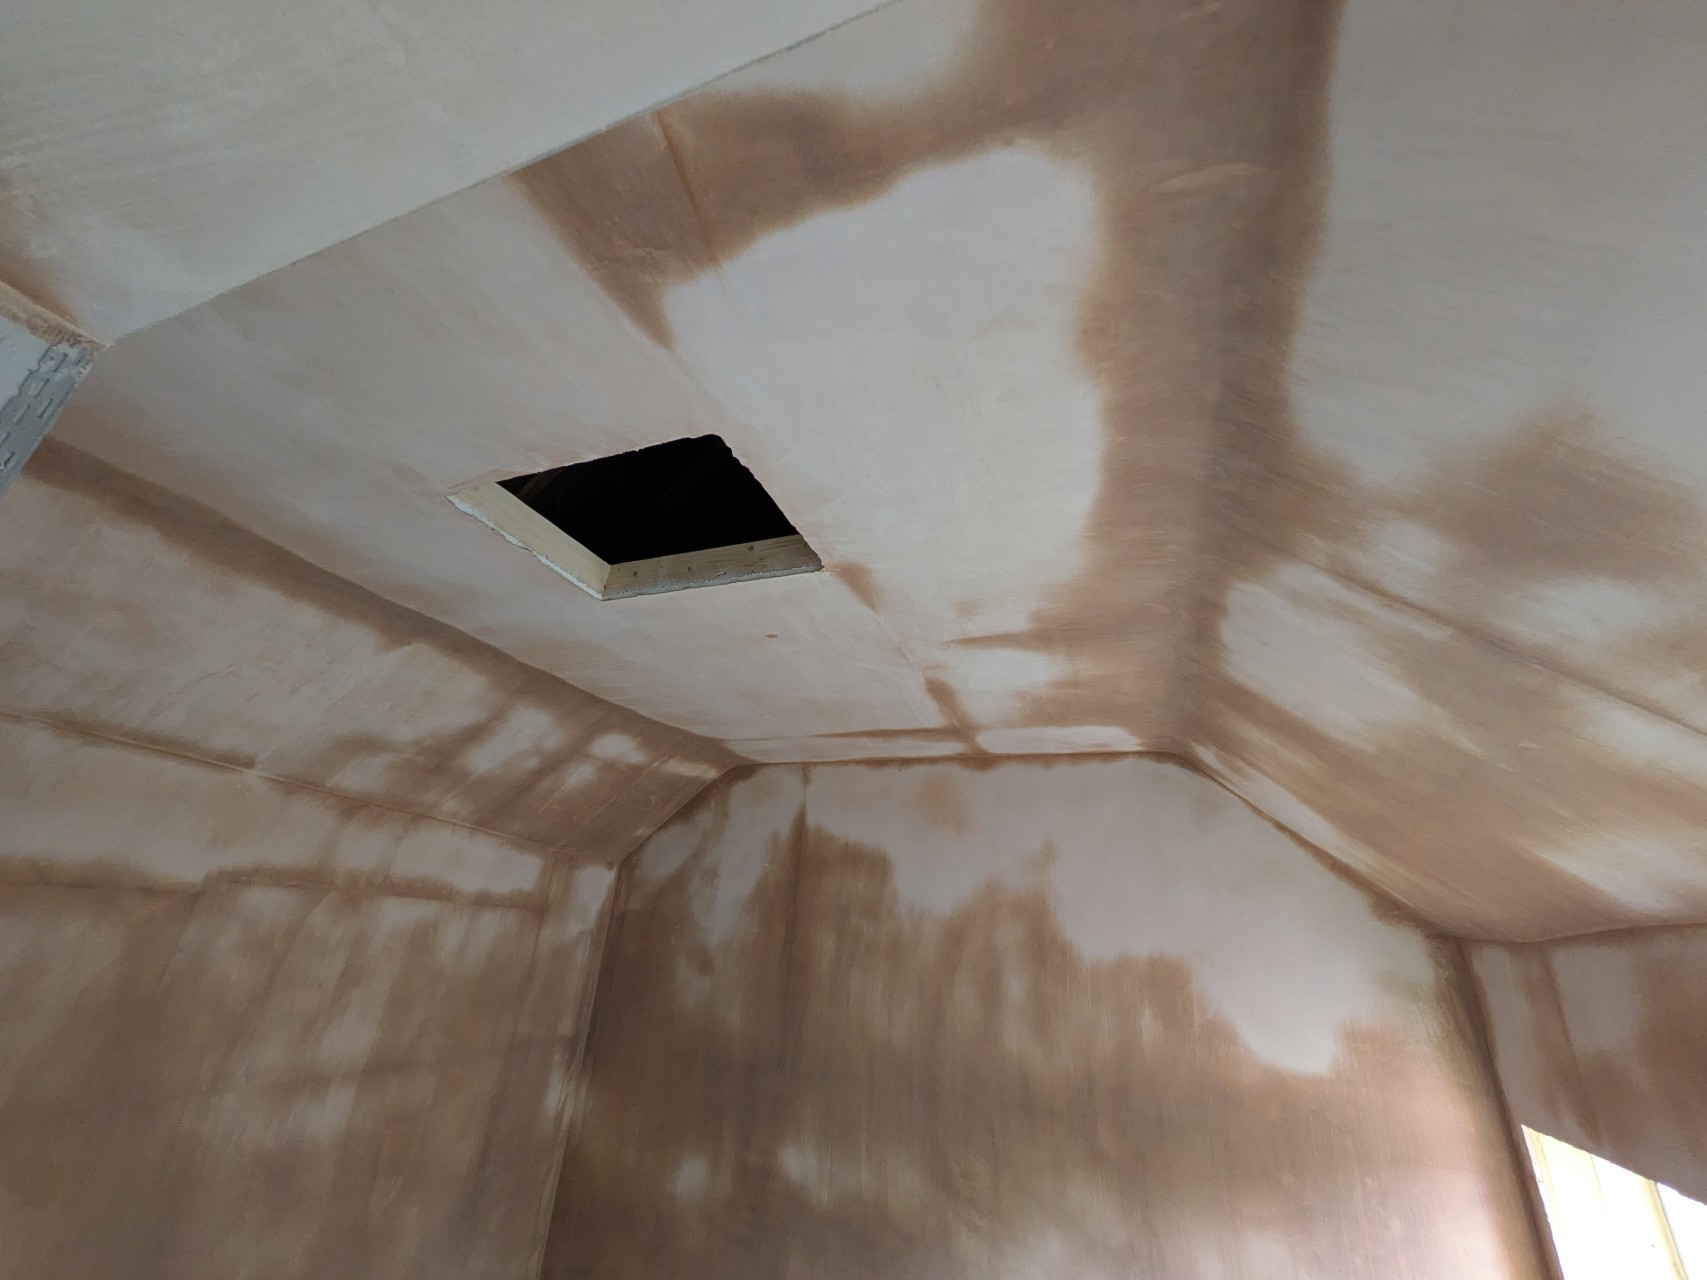
Ceiling and loft hatch all done
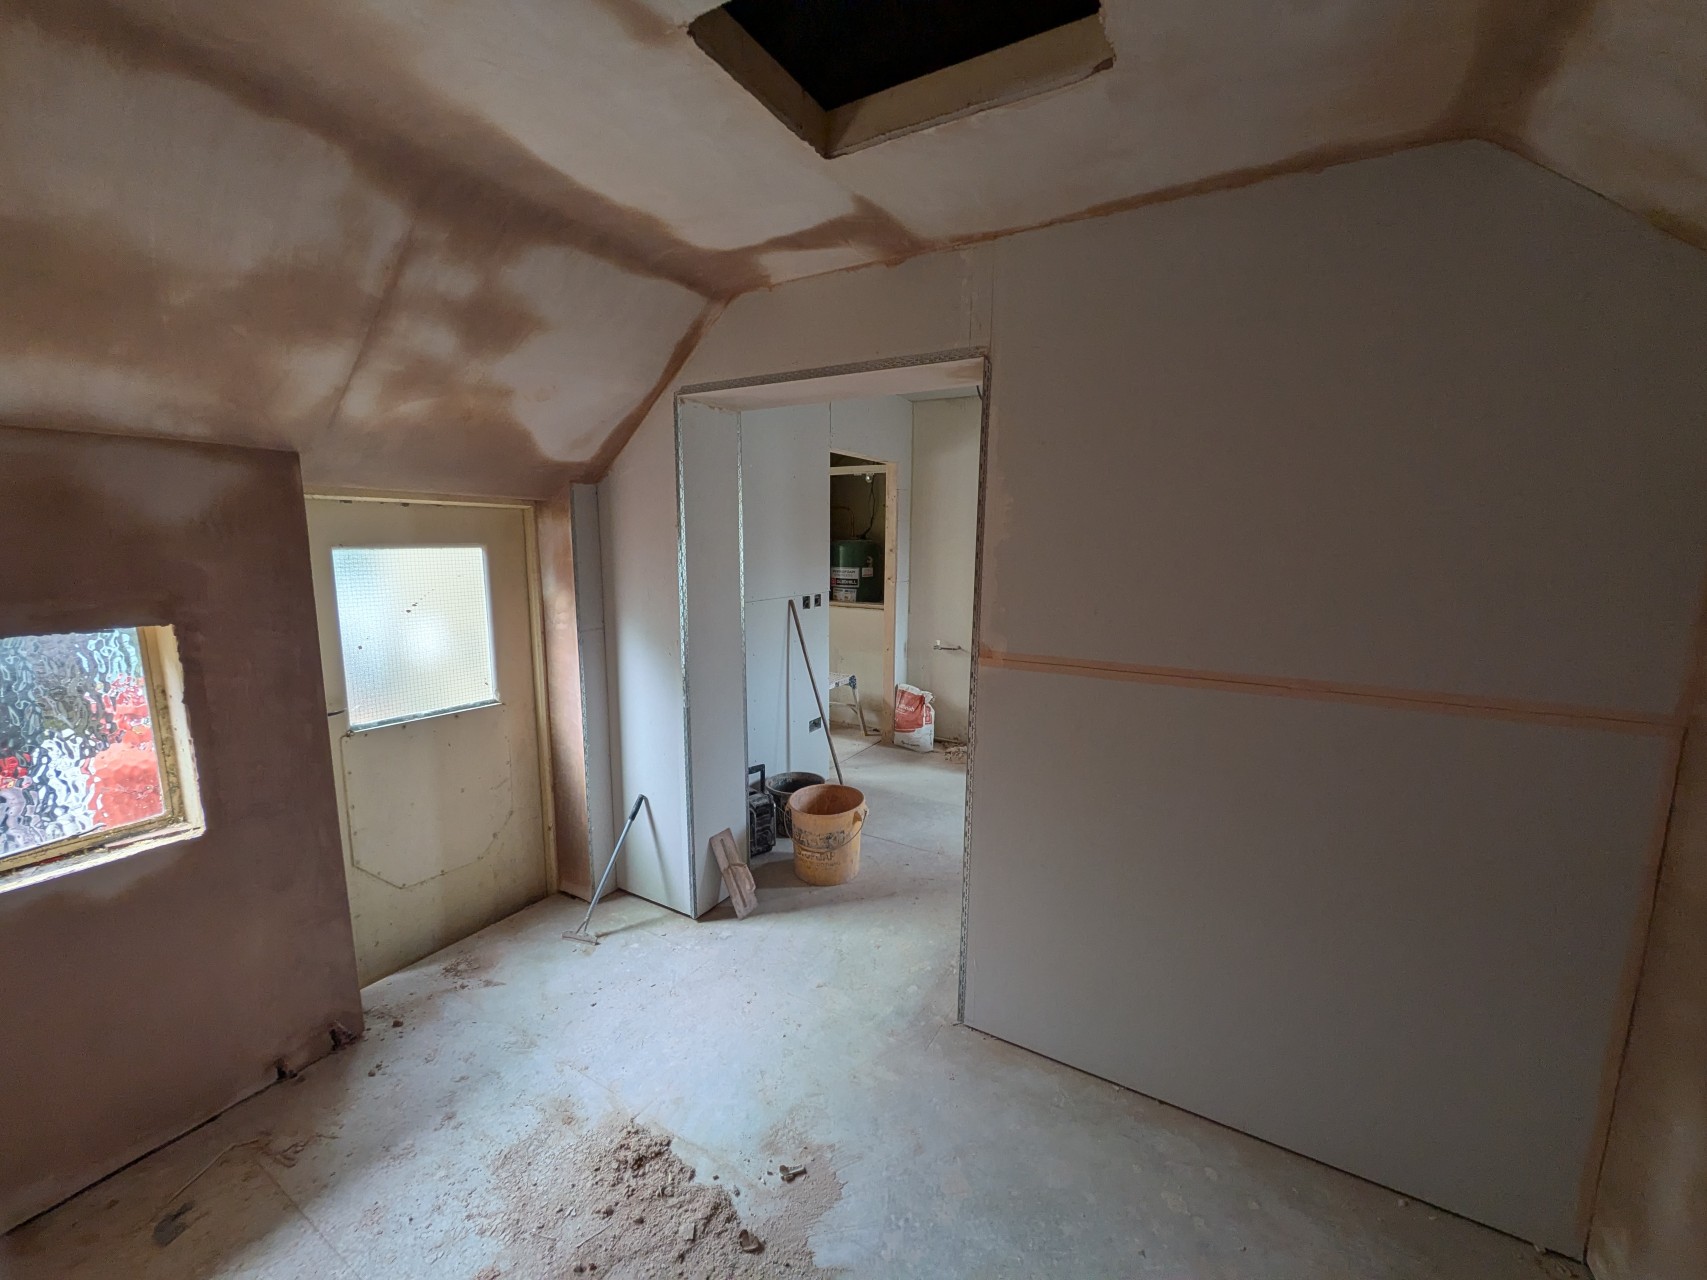
Doorway and opening squared off with boarding
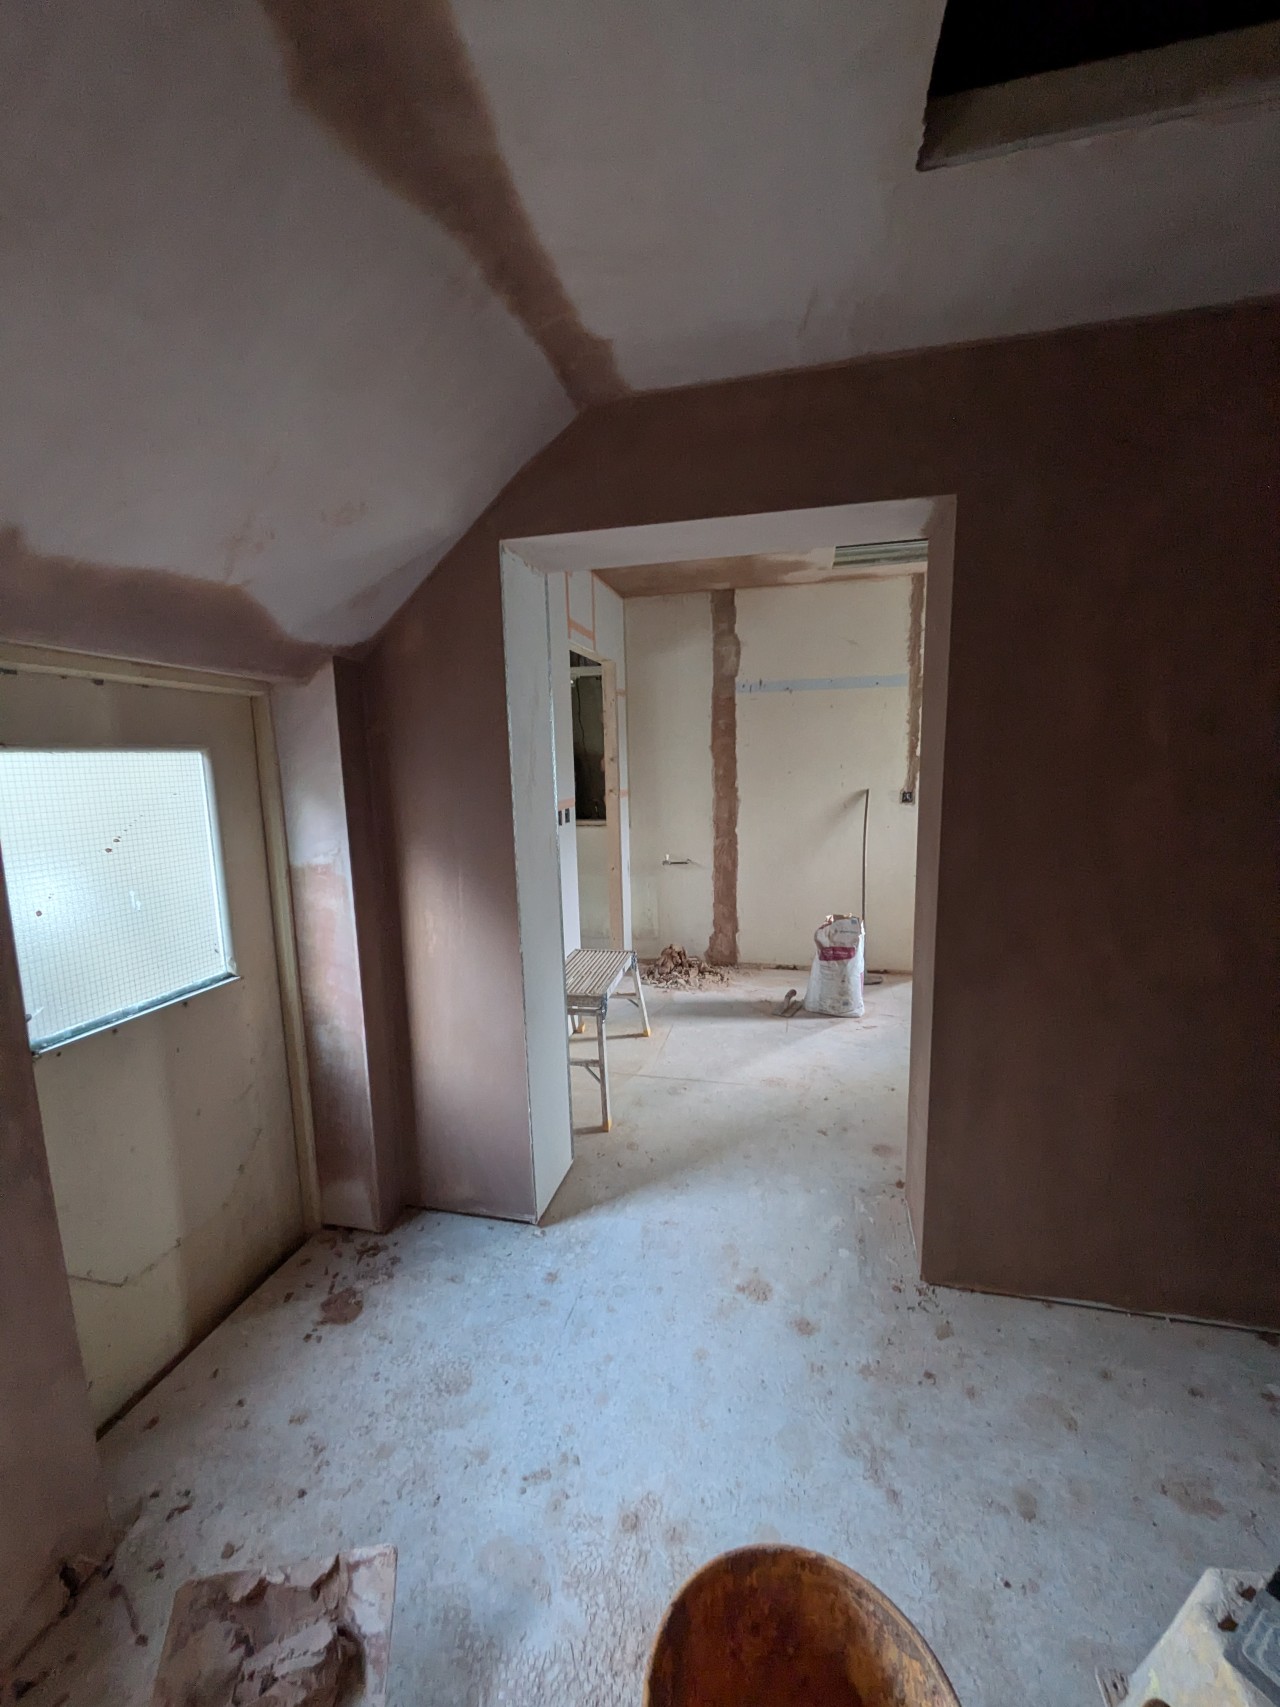
All plastered
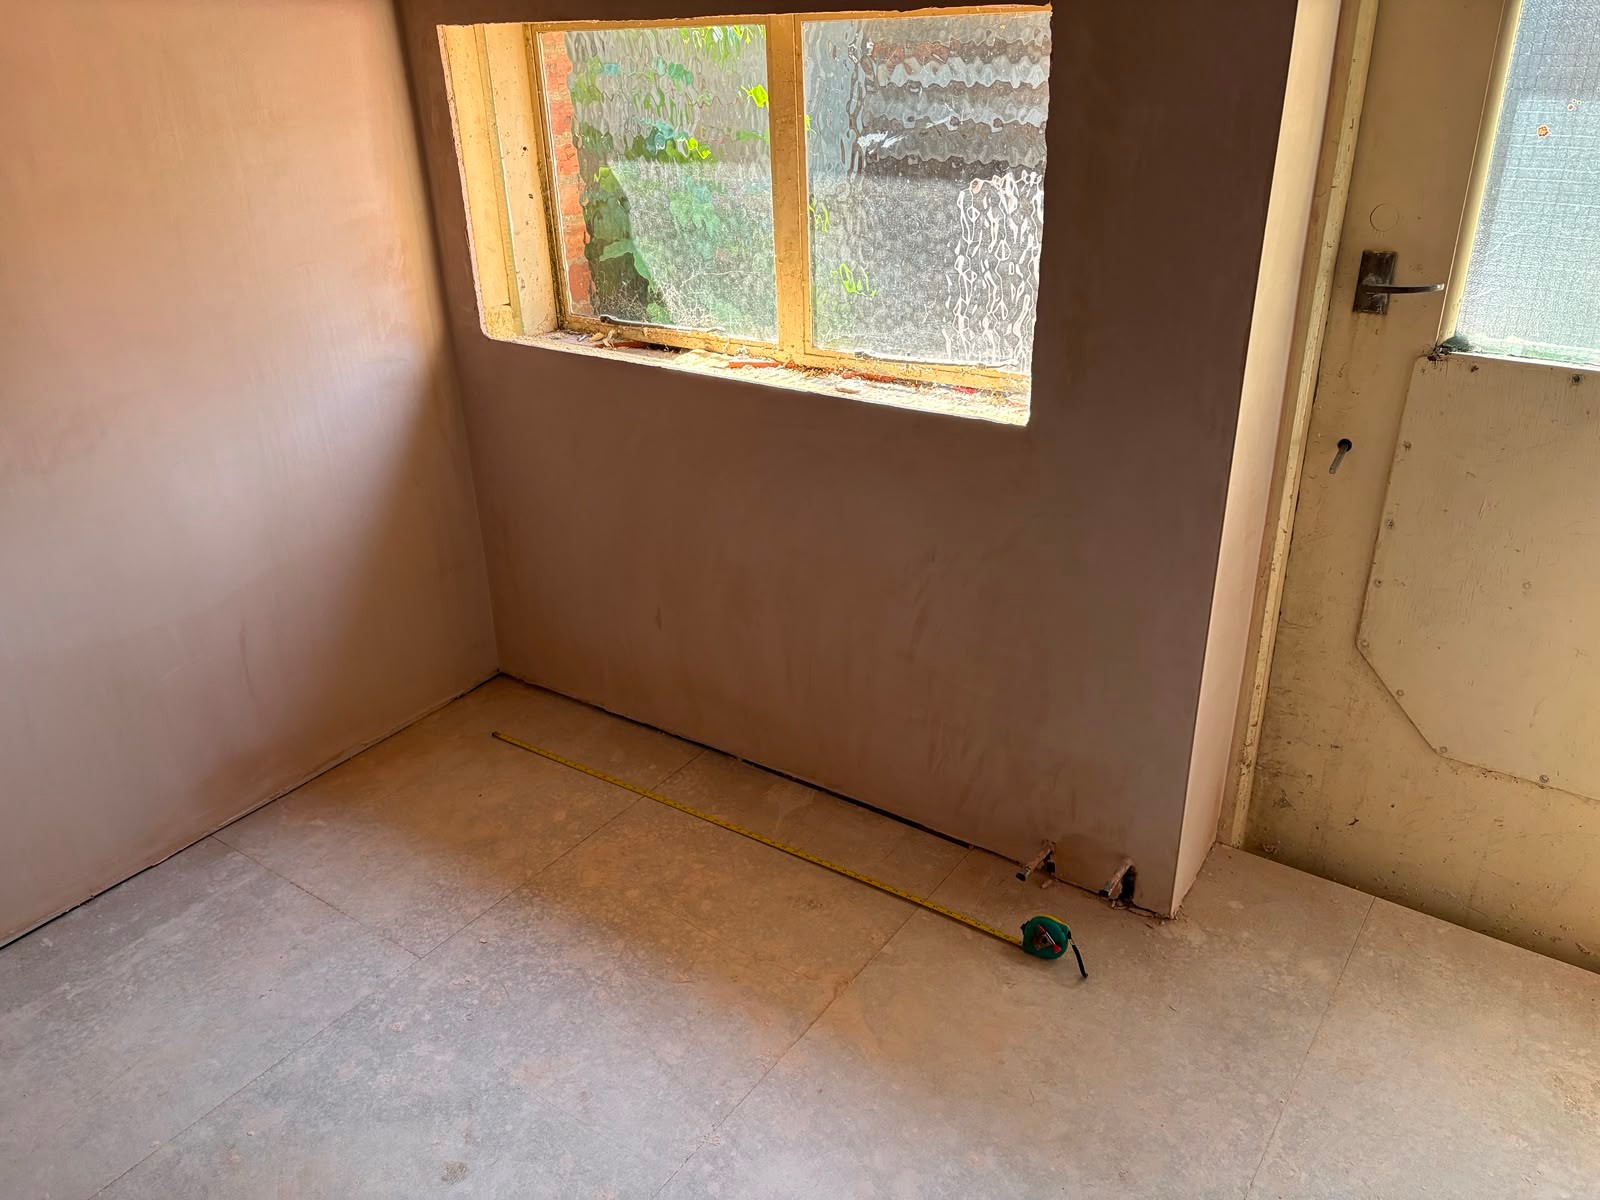
Awaiting radiator
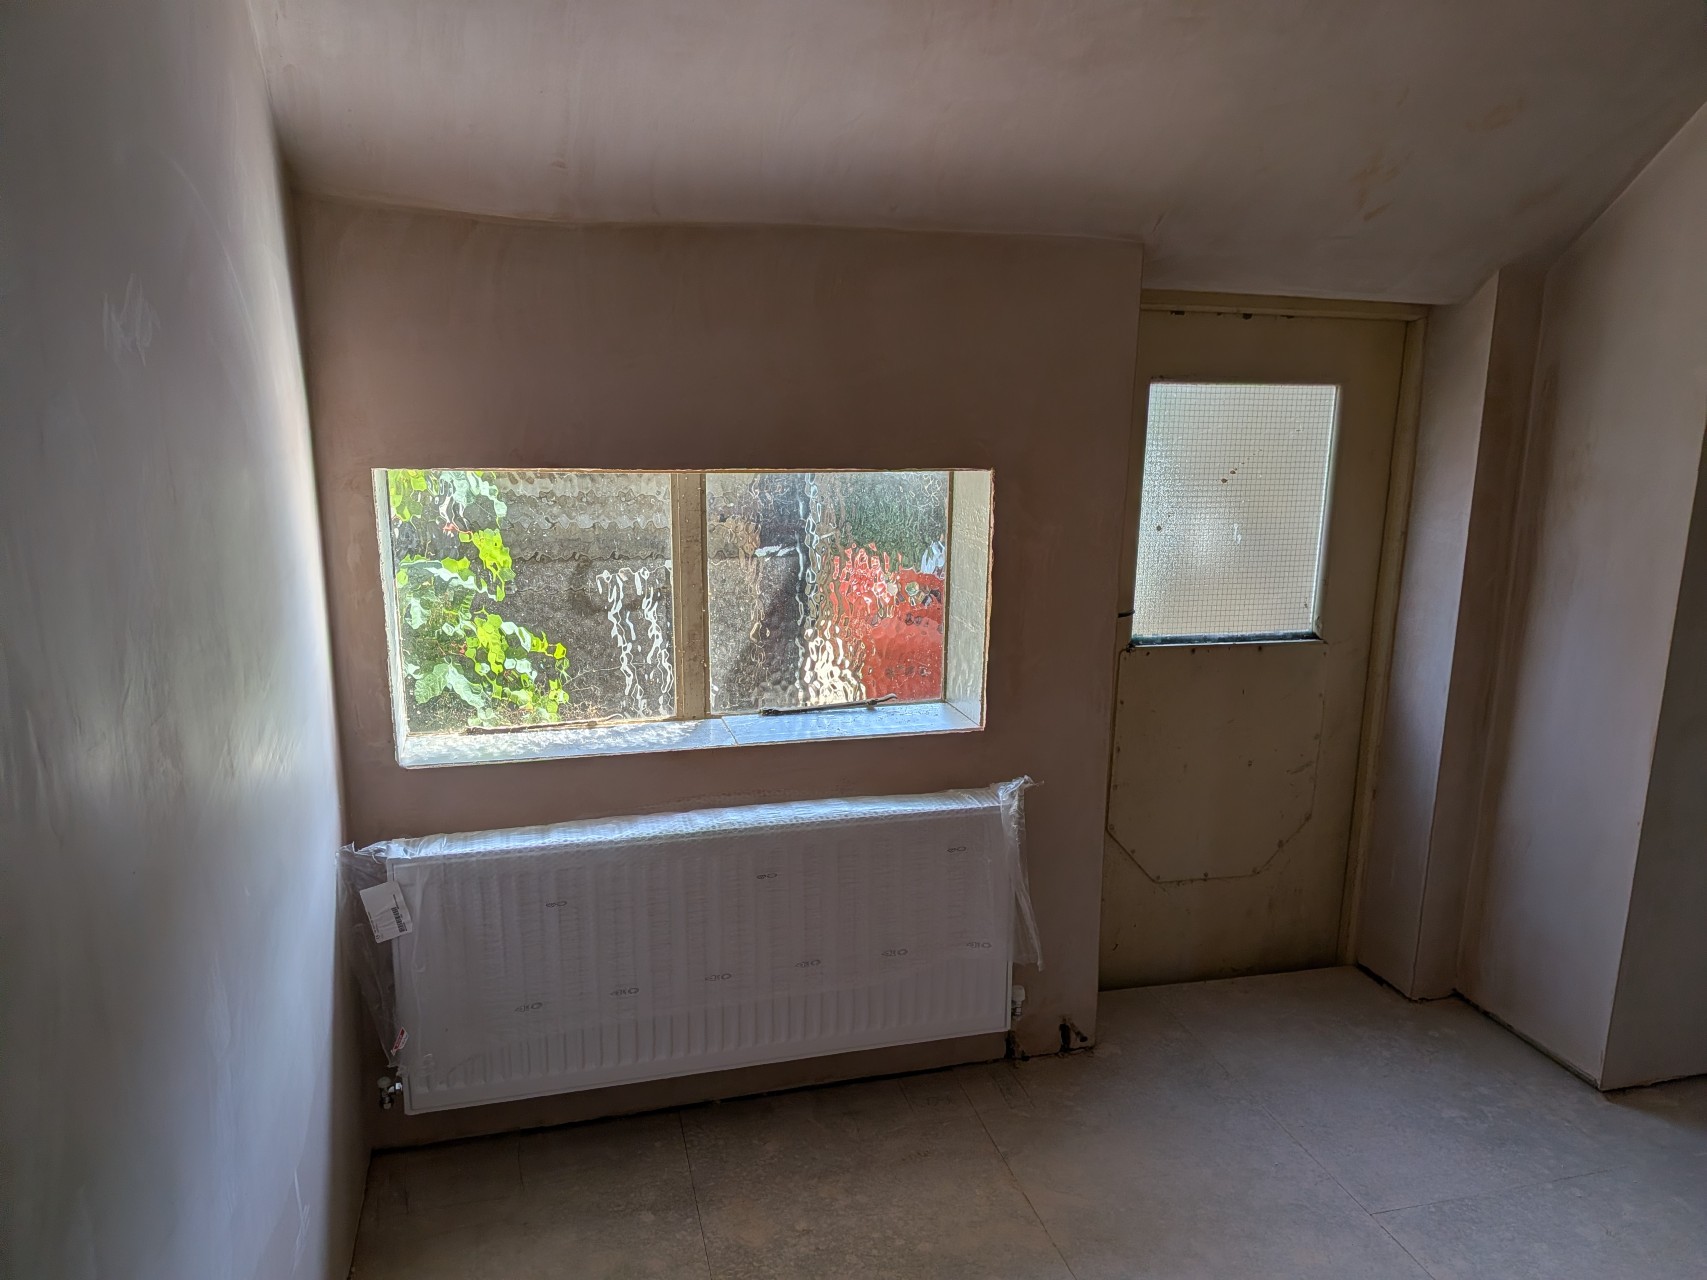
Radiator installed with old window and door still in place
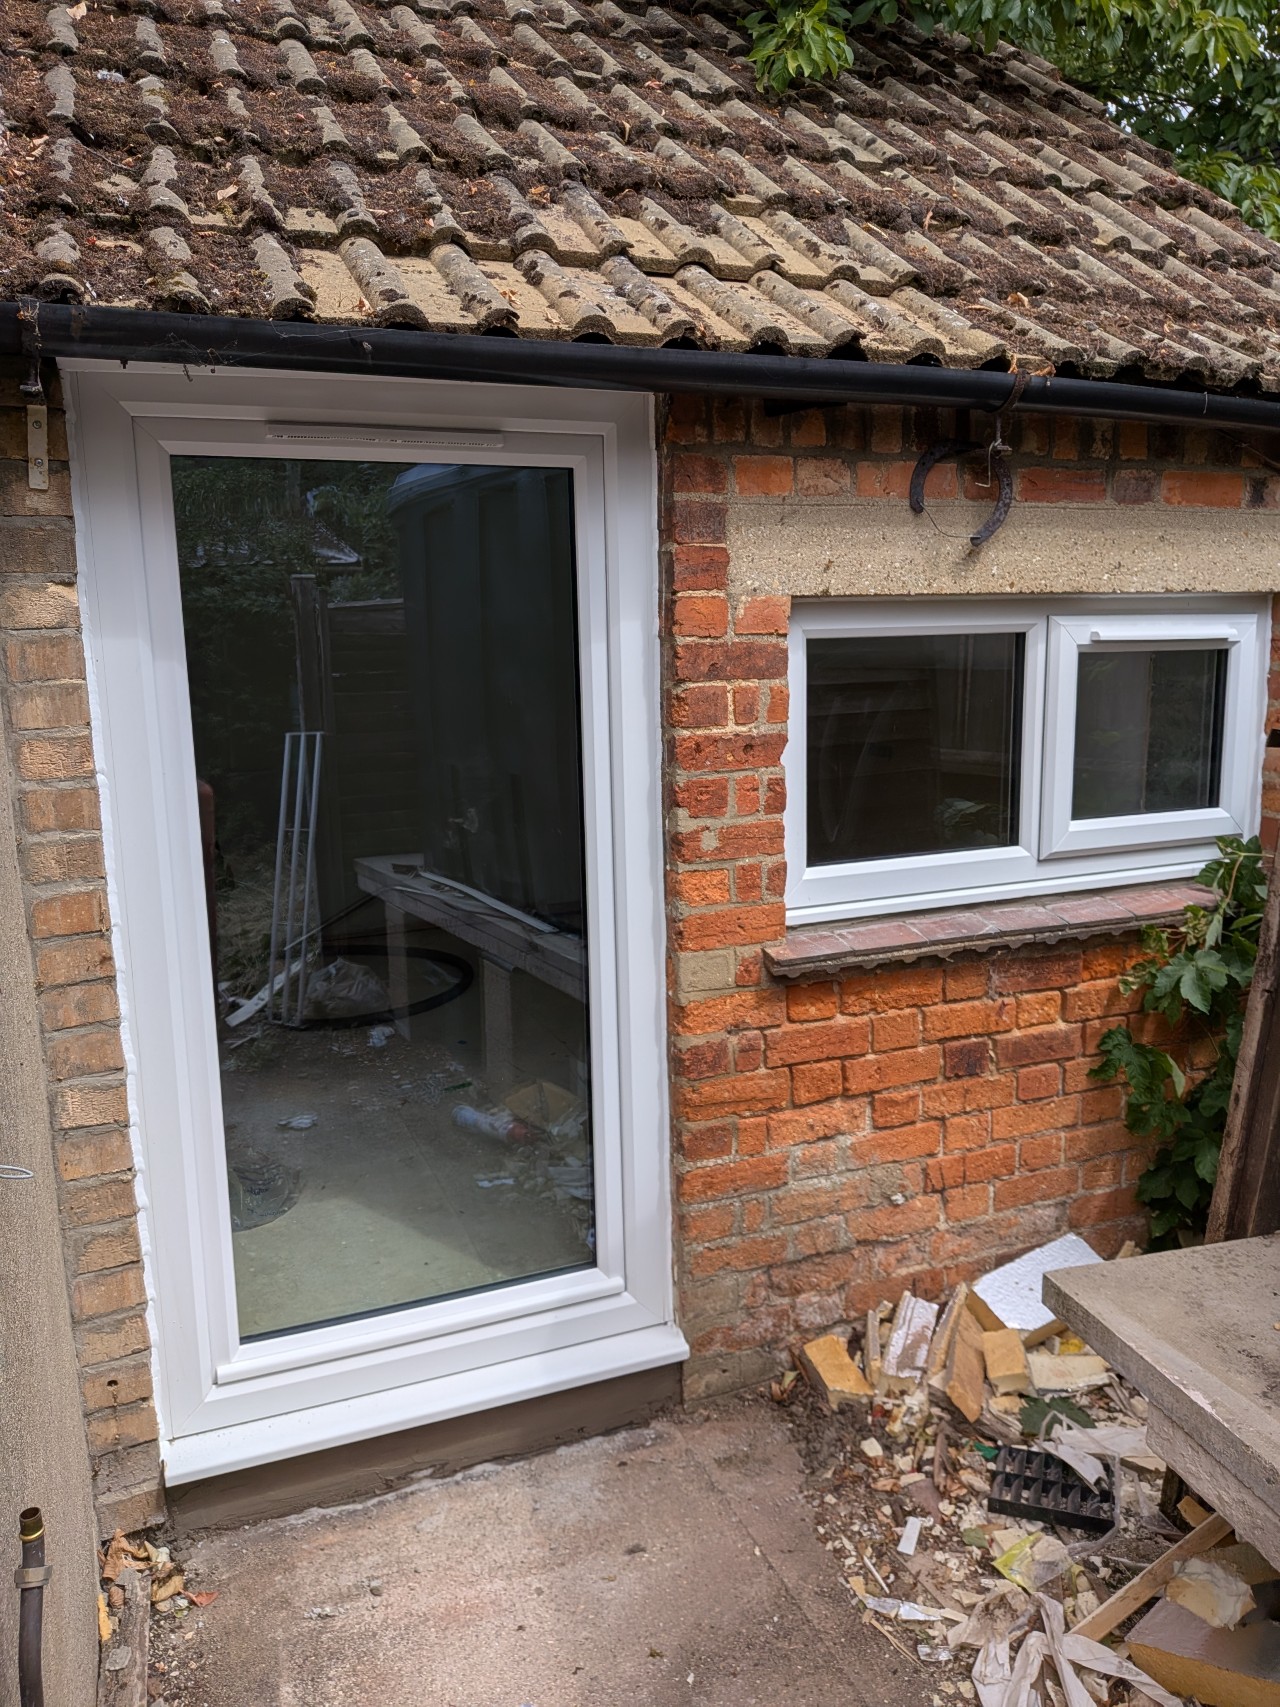
A new tilt and turn window replaced the old door, it can act as a door from inside so providing an alternate fire escape route. A new window replaced the old one. Both are South facing and have solar glass to limit solar heat gain. The door is of laminated glass for safety
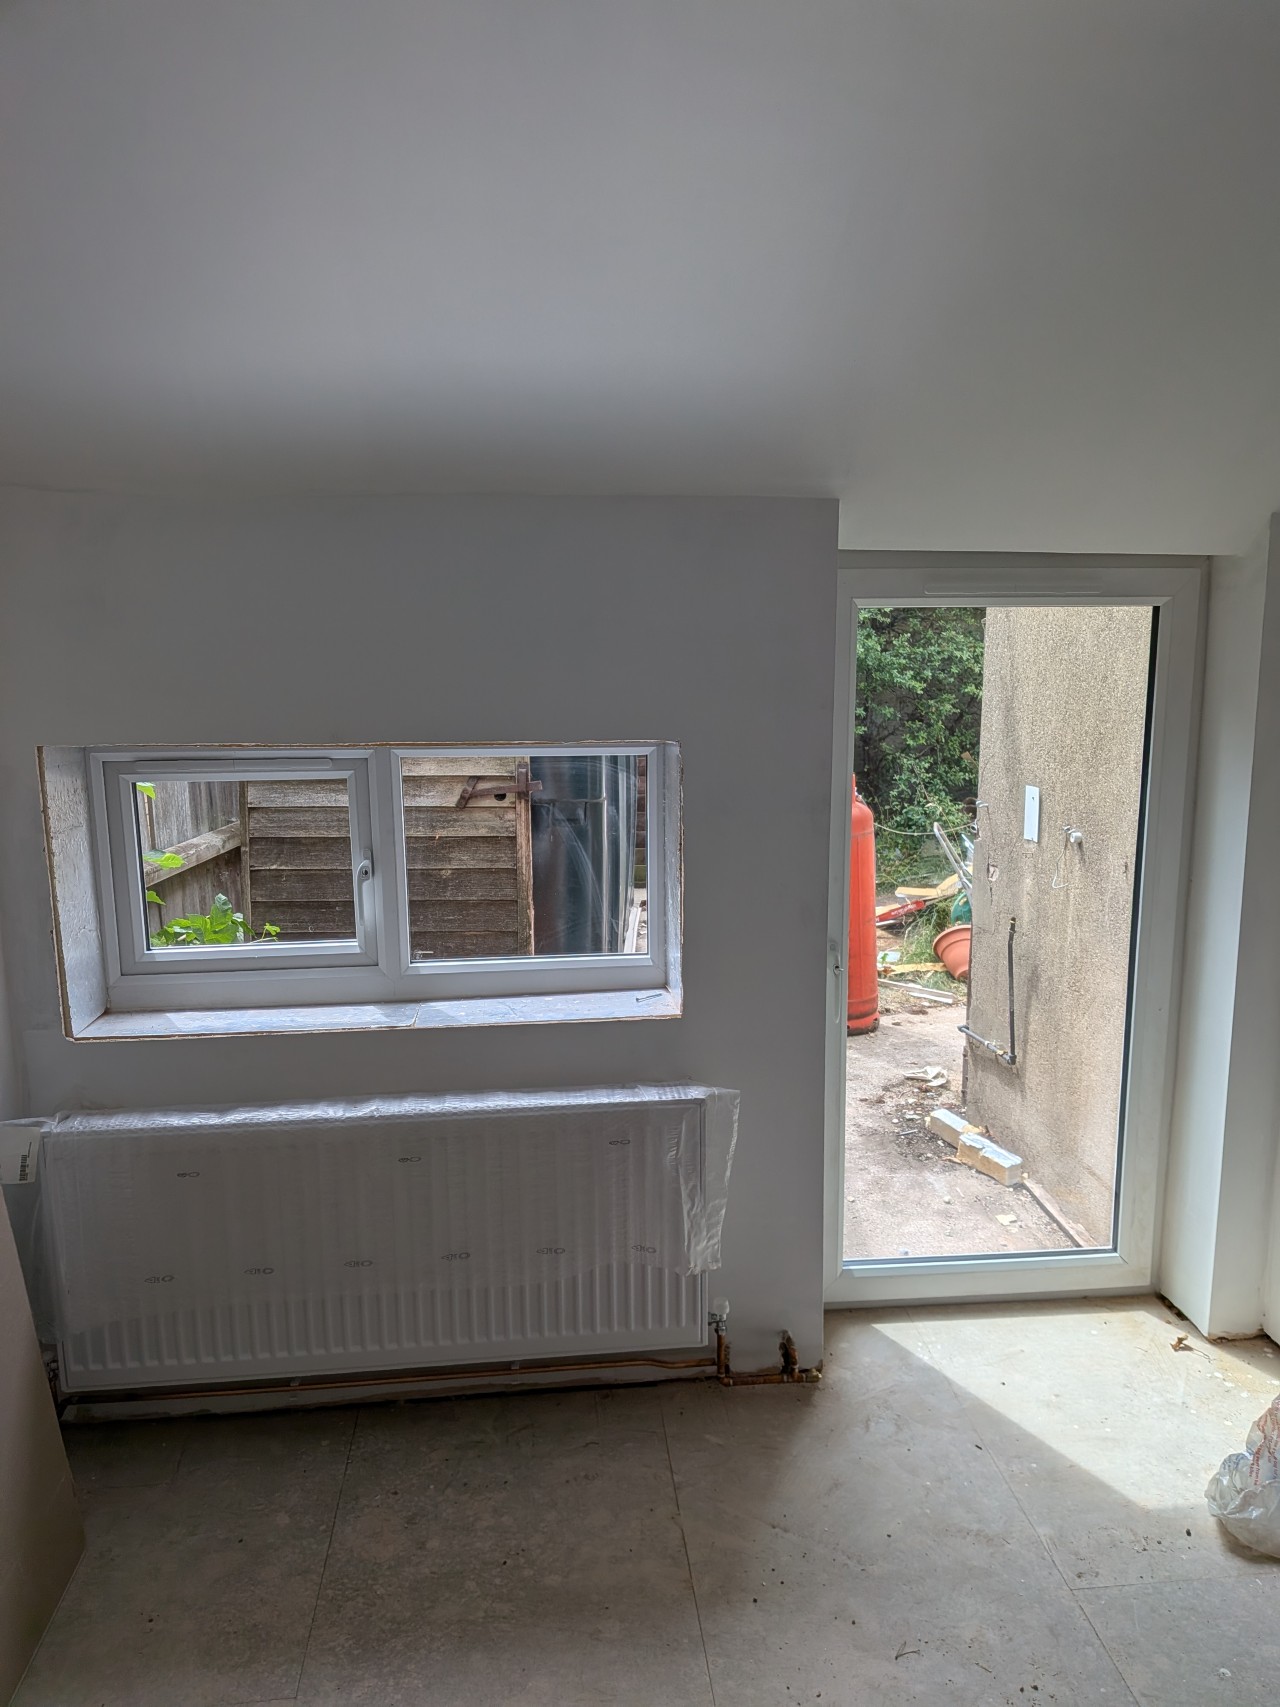
All painted with new window and 'door'
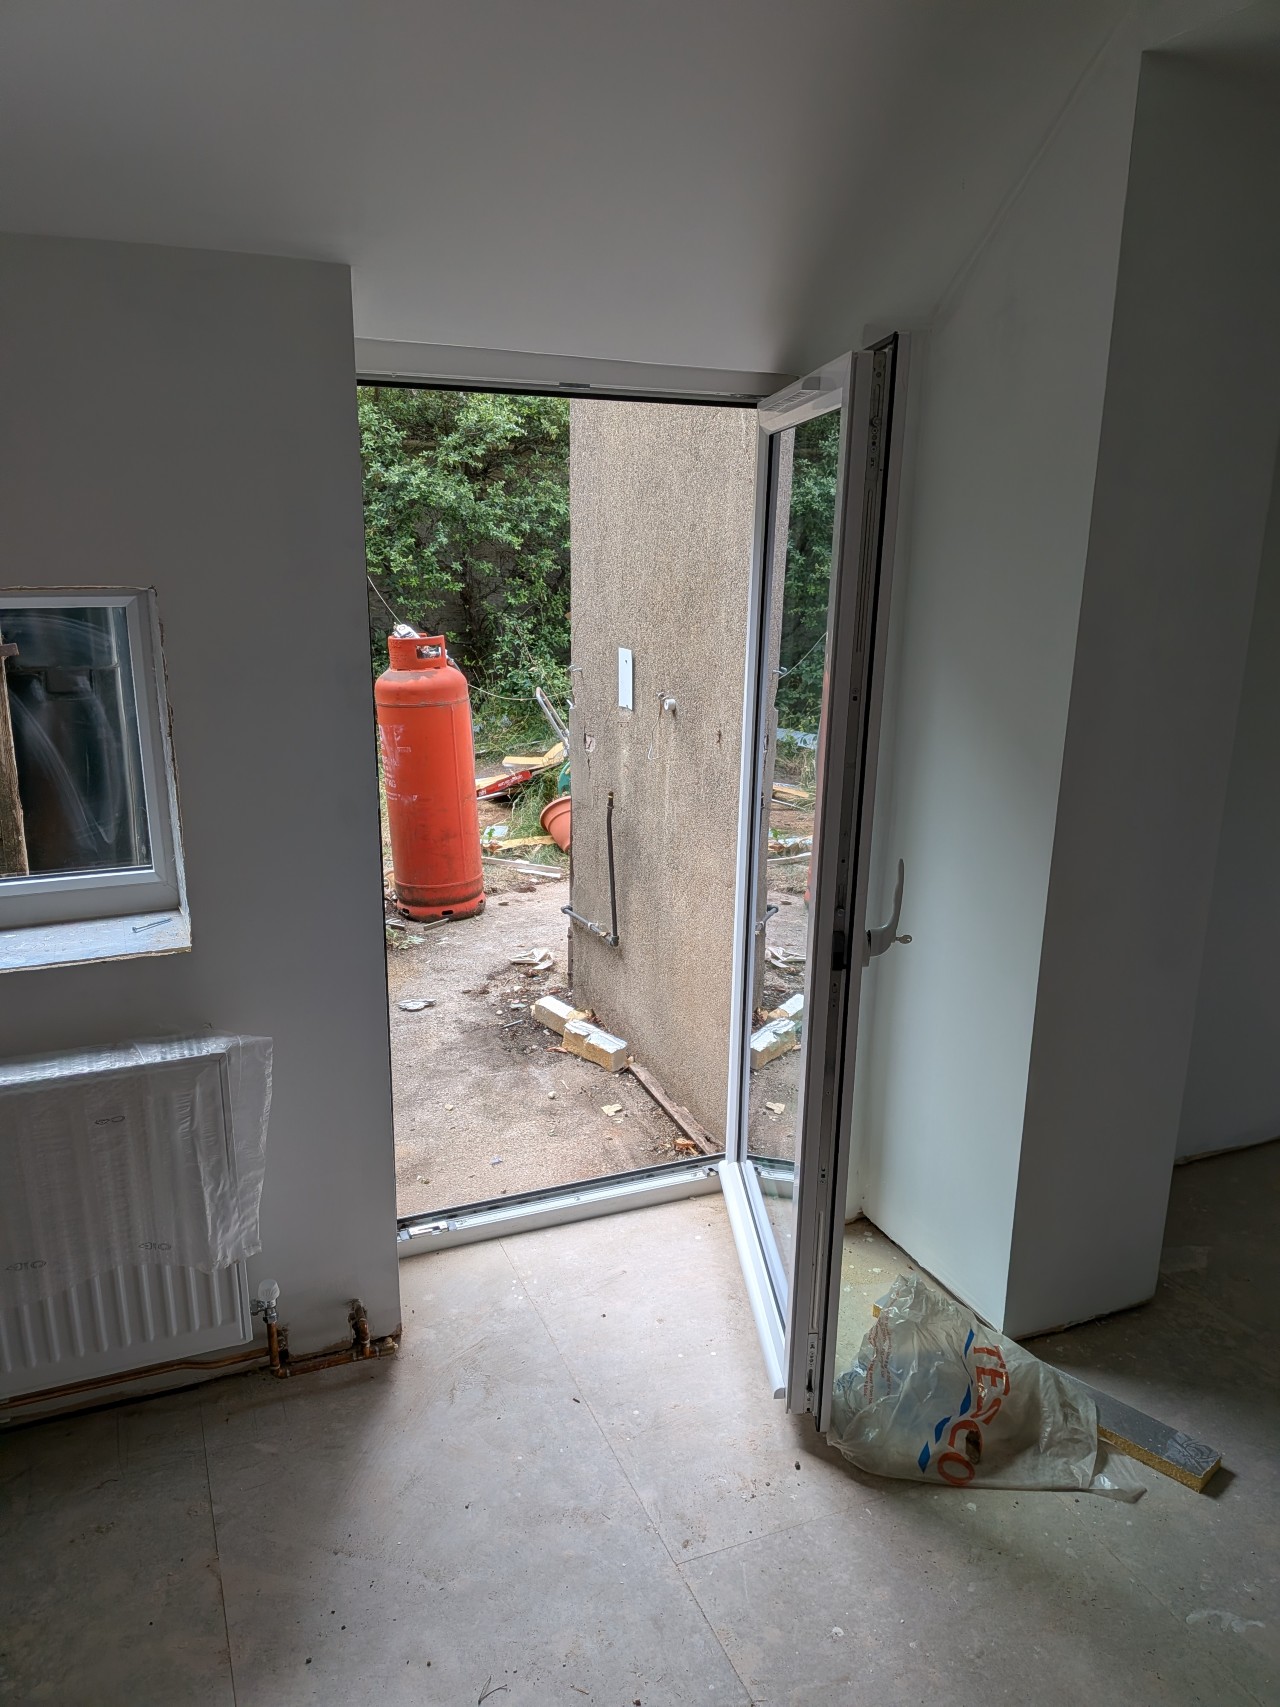
The tilt/turn window acting as a door
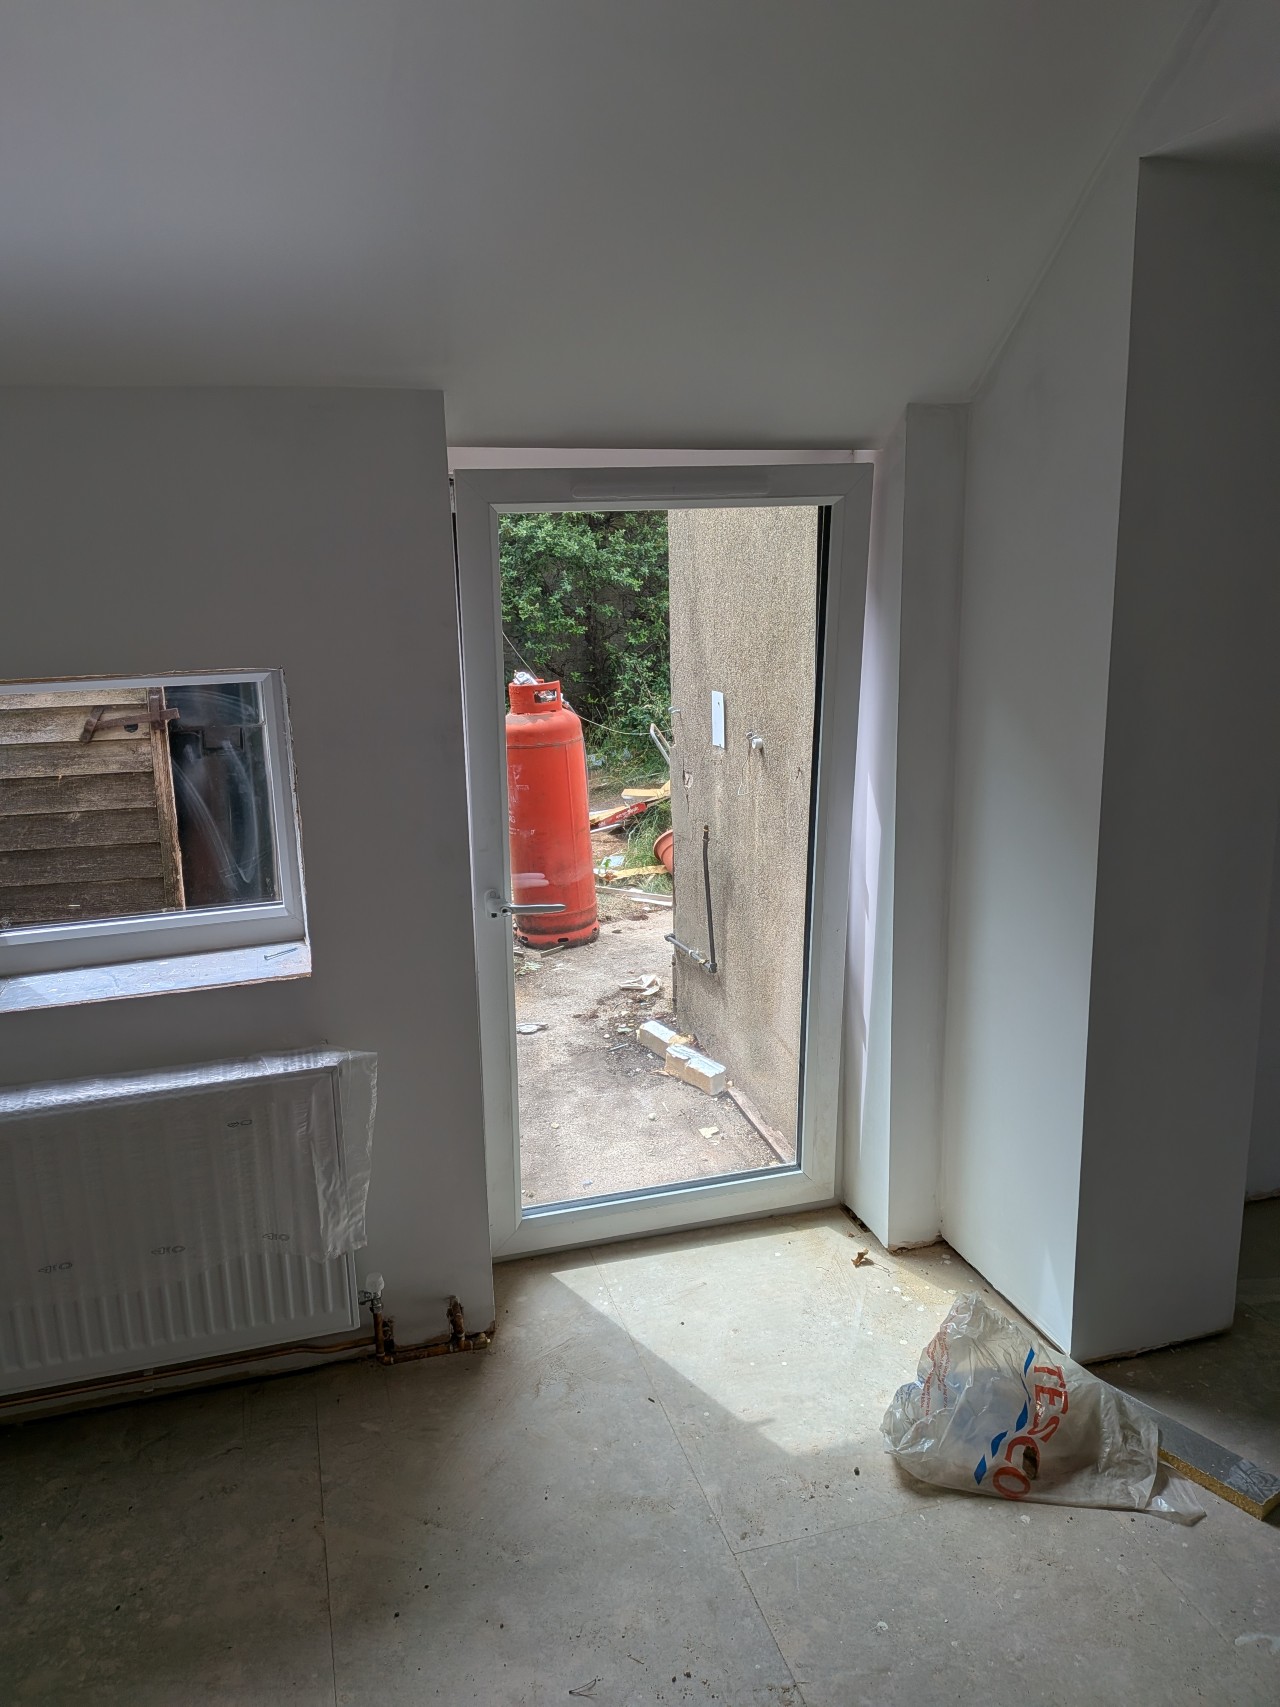
The tilt/turn window as a top opening window for ventilation
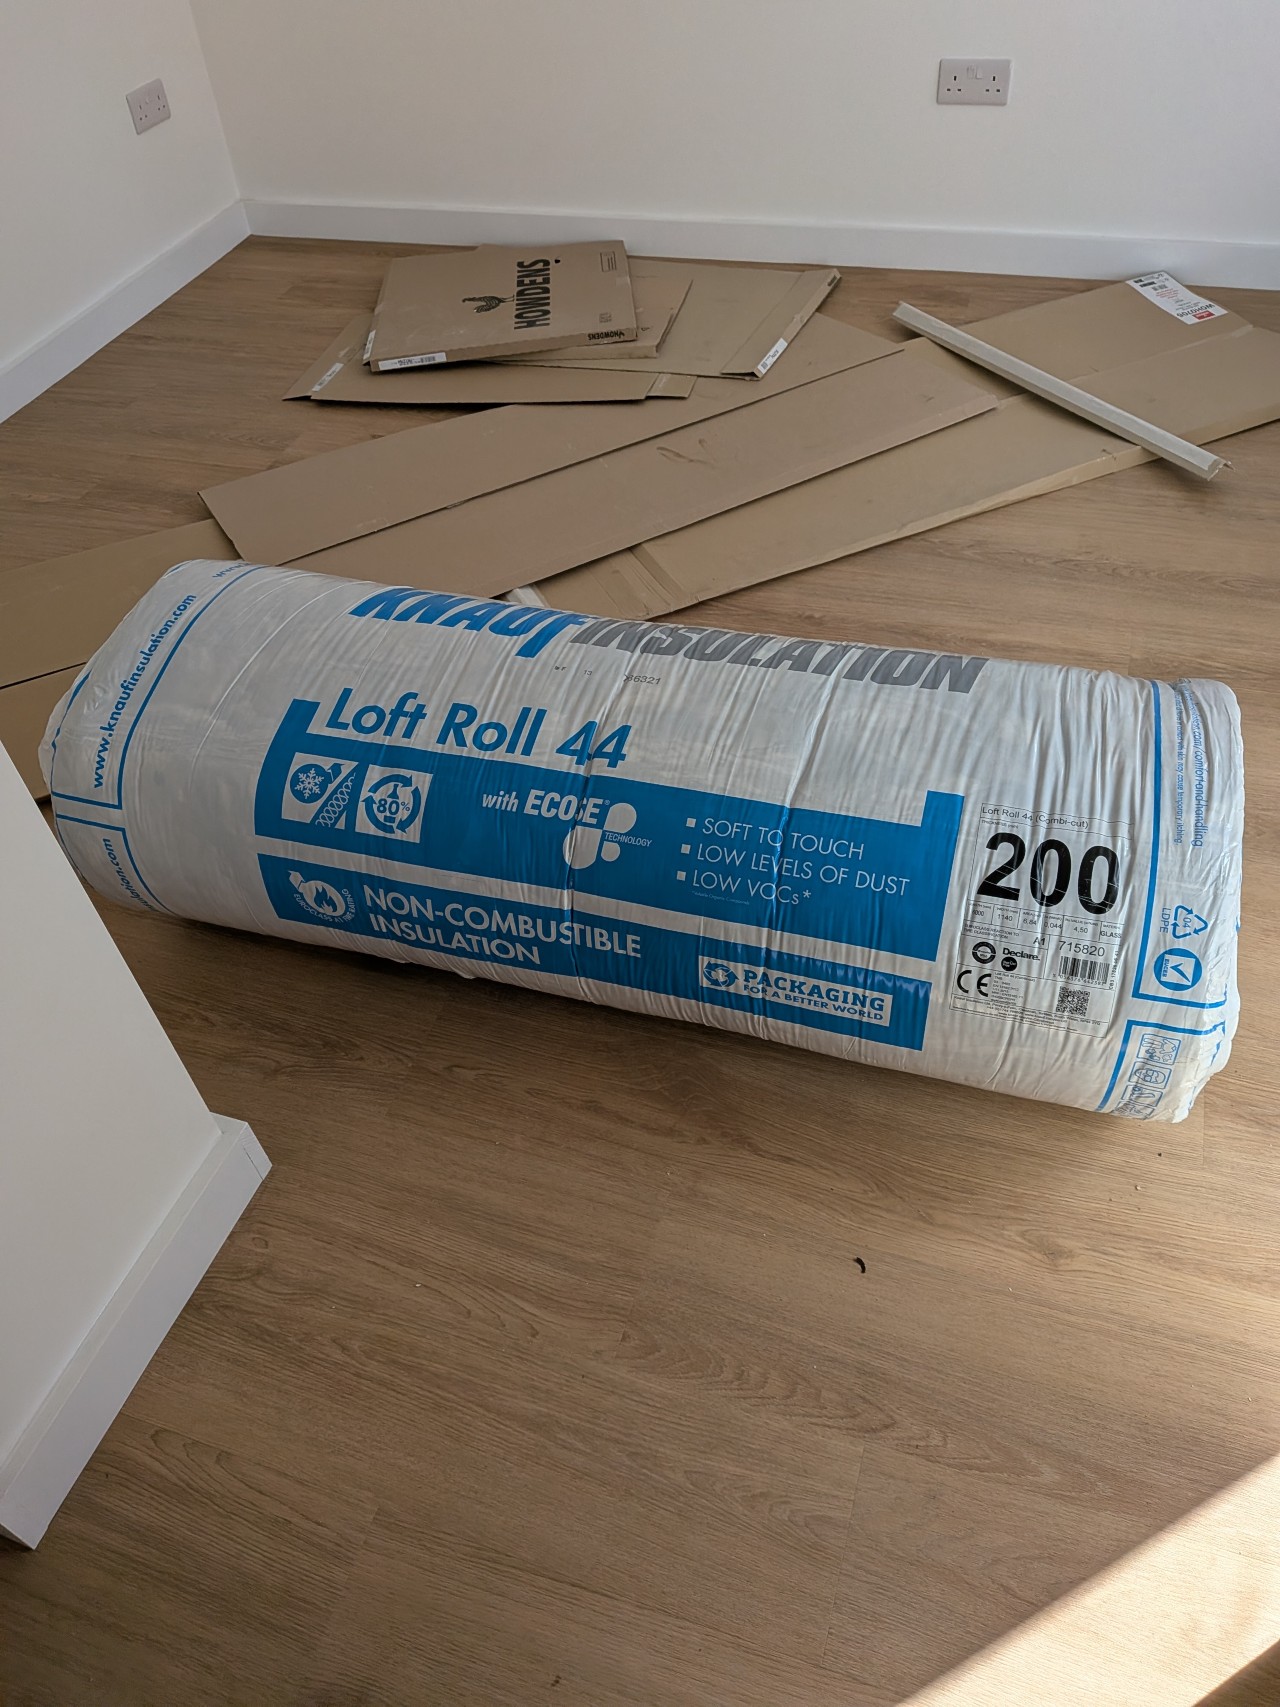
The loft to be insulated with Loft Roll
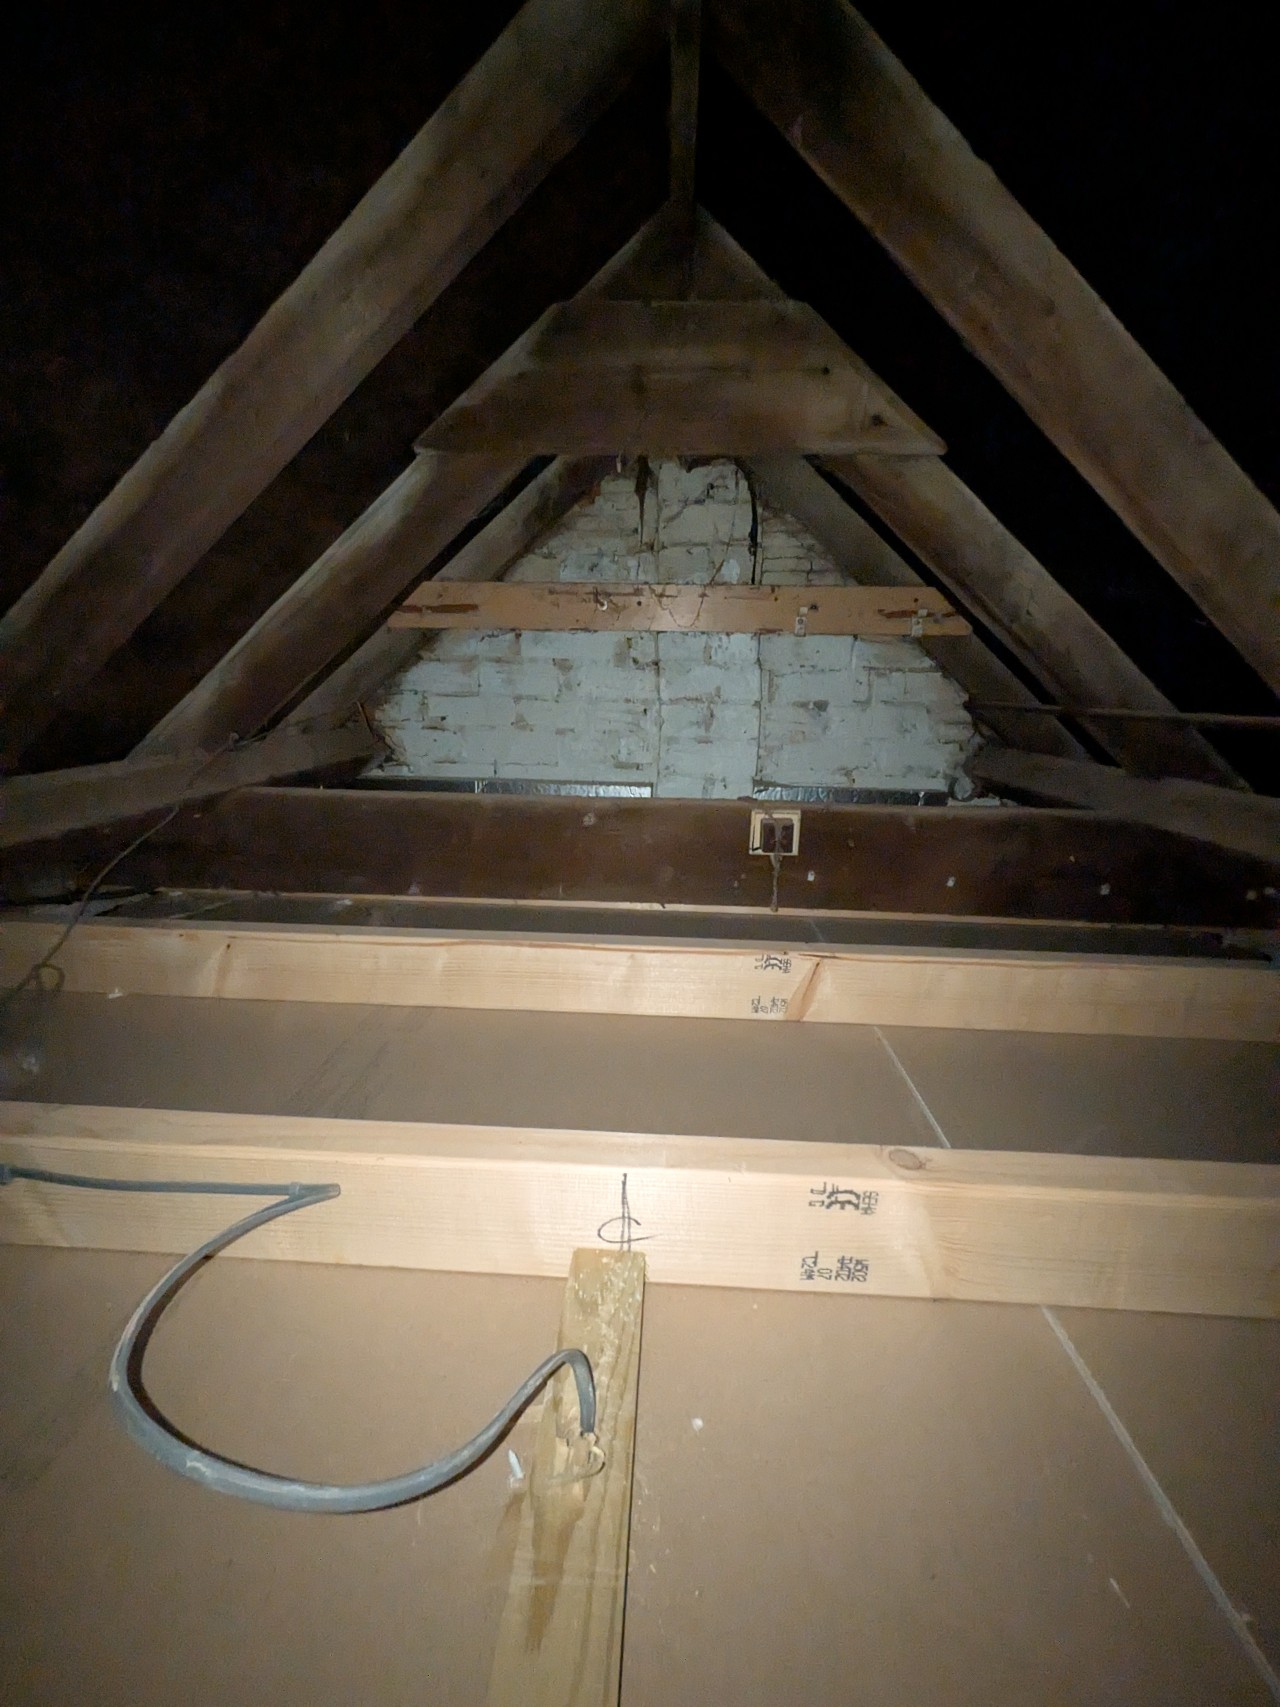
The loft before insulation
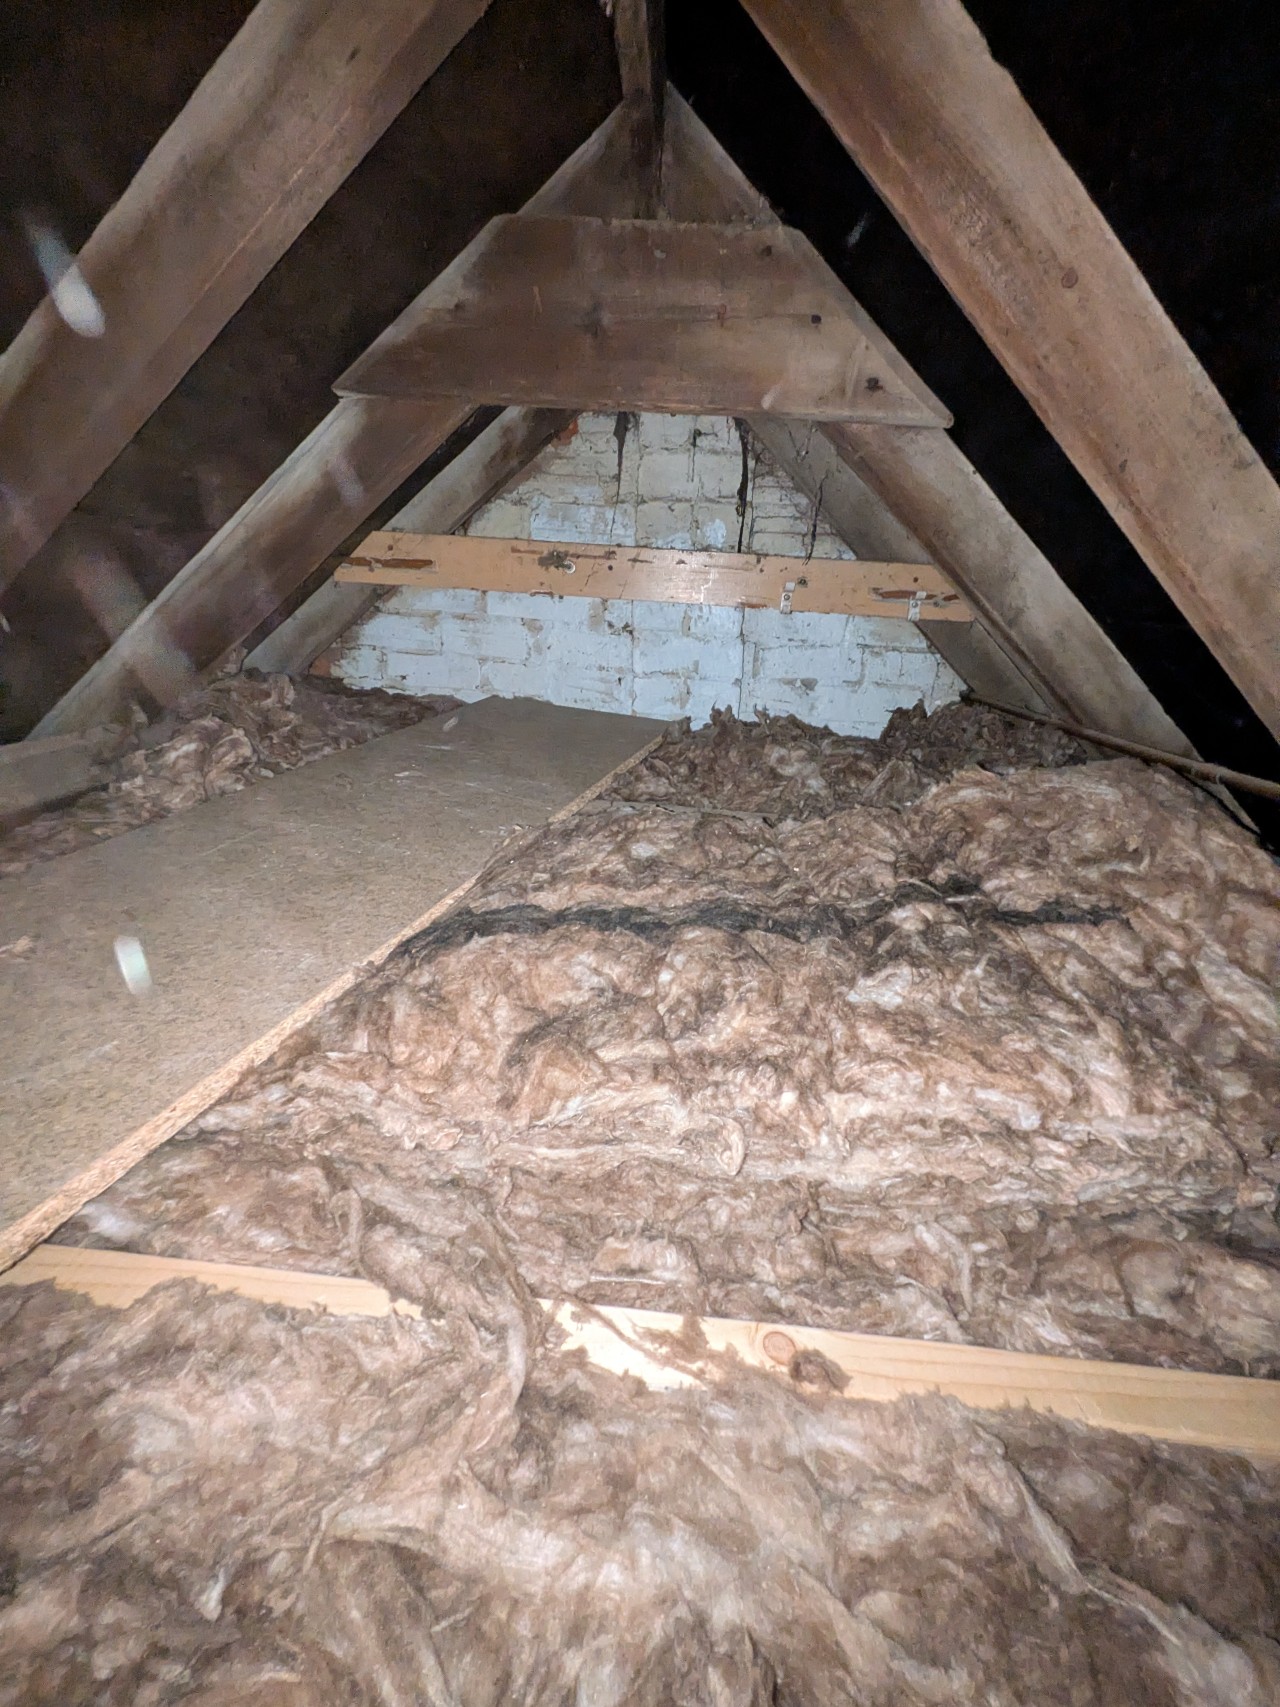
The loft partially insulated
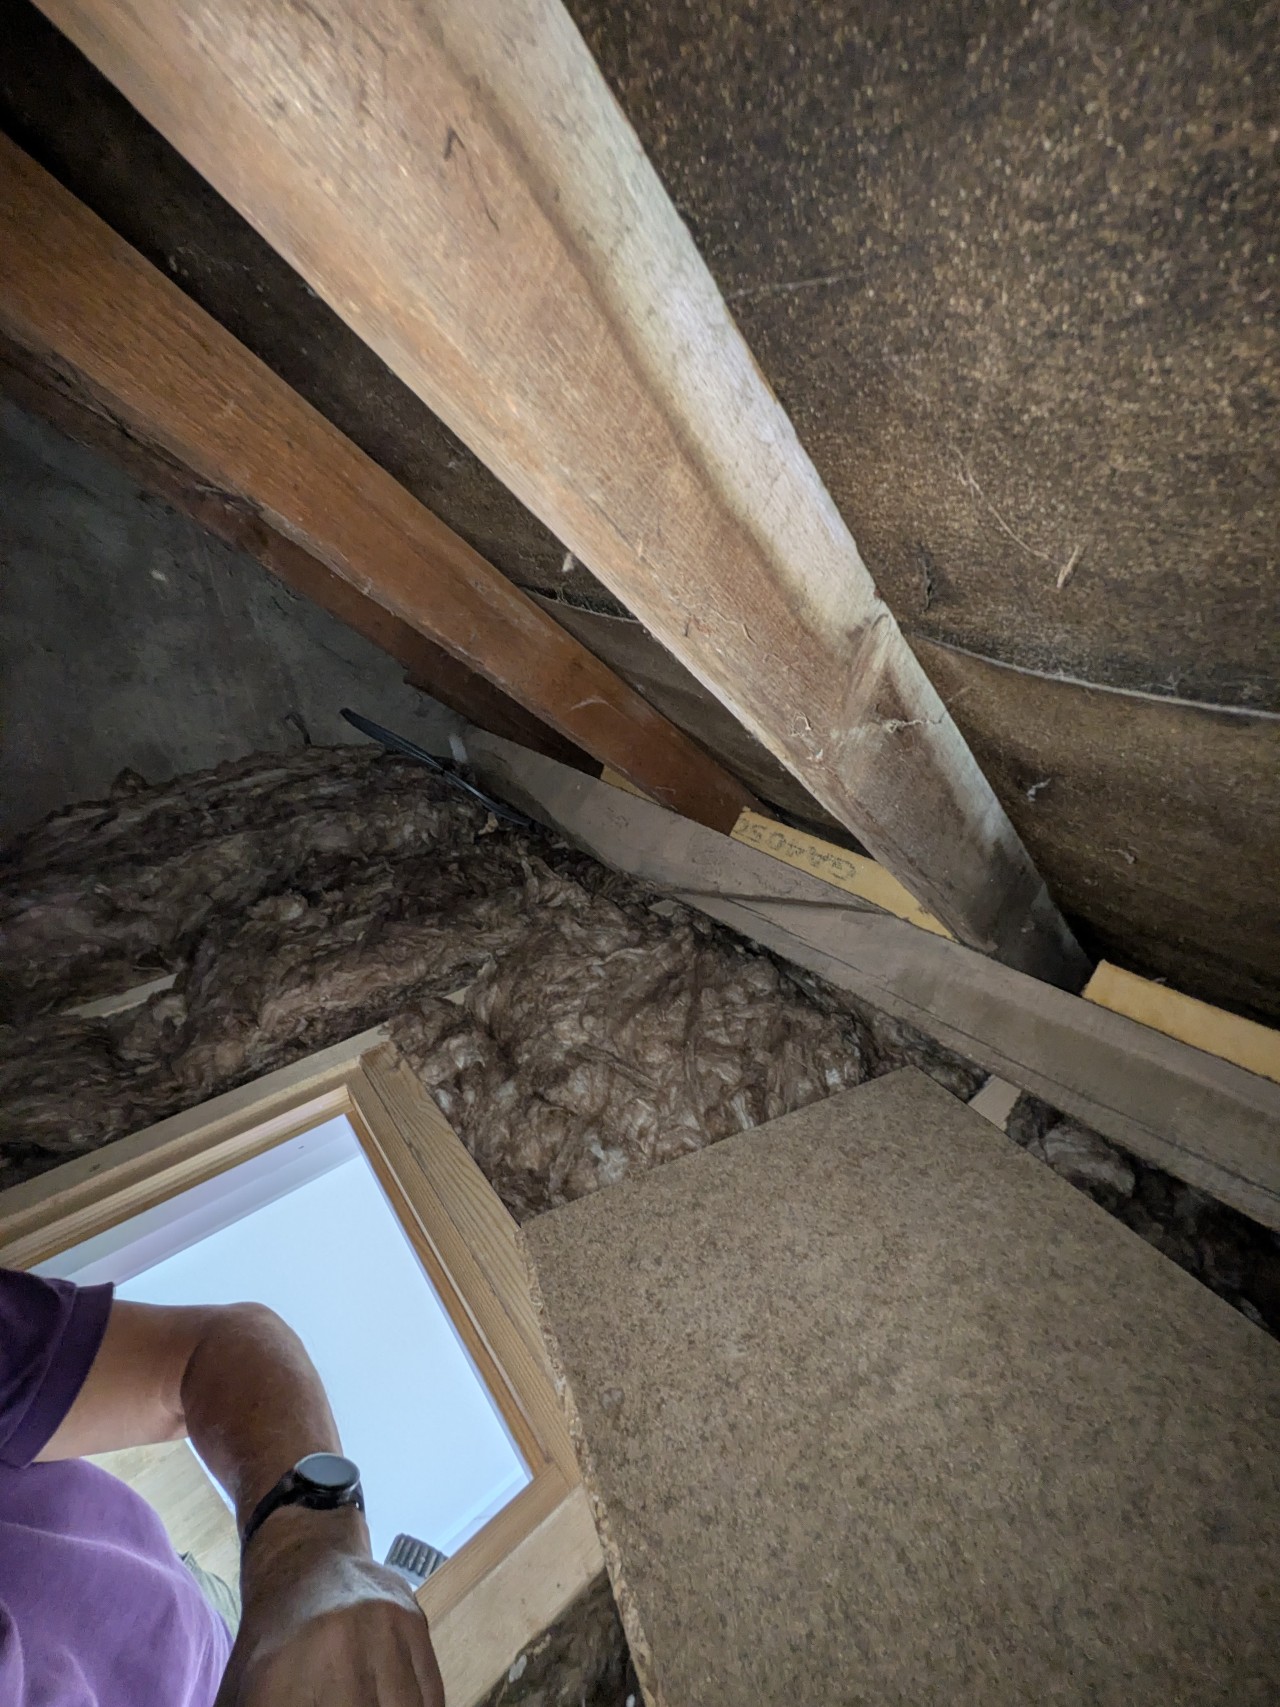
The insulation around the loft hatch
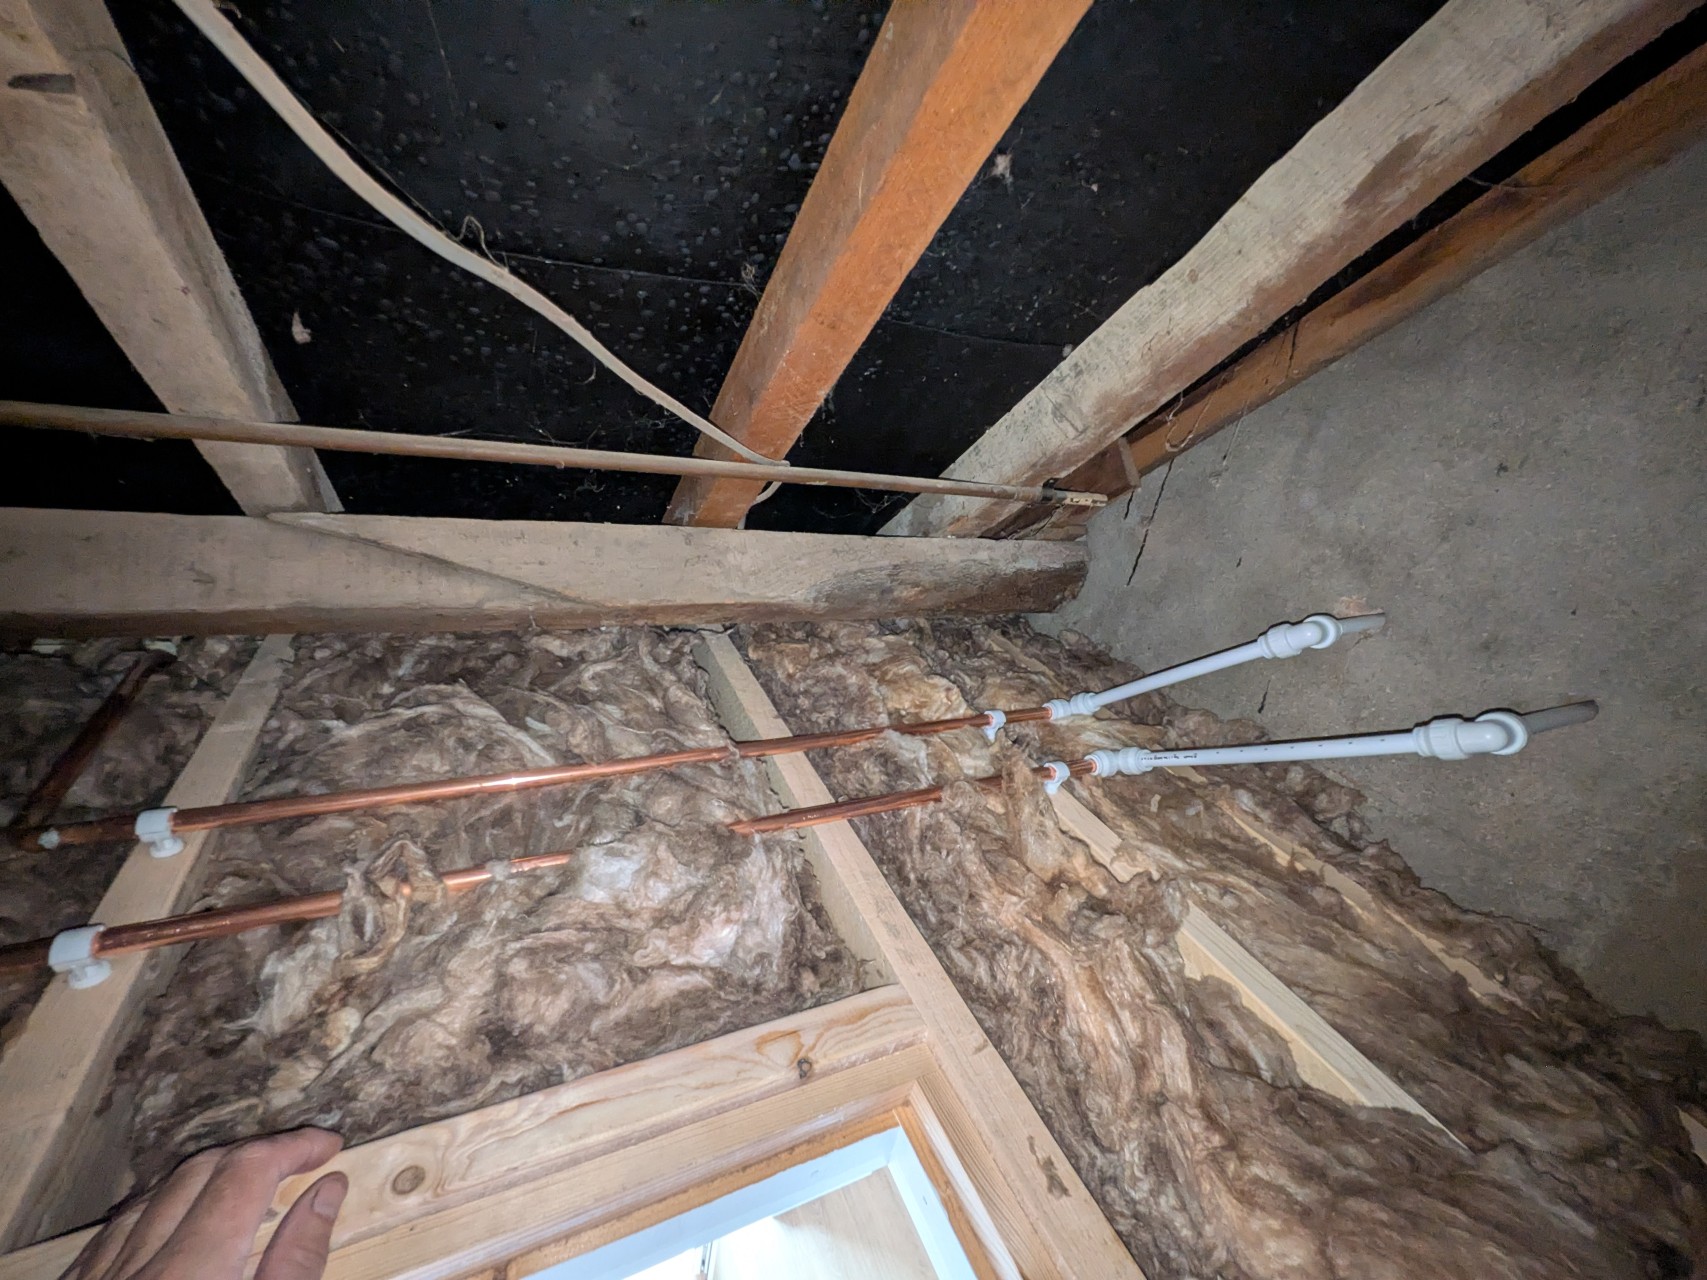
The radiator feed pipe before having insulation over them
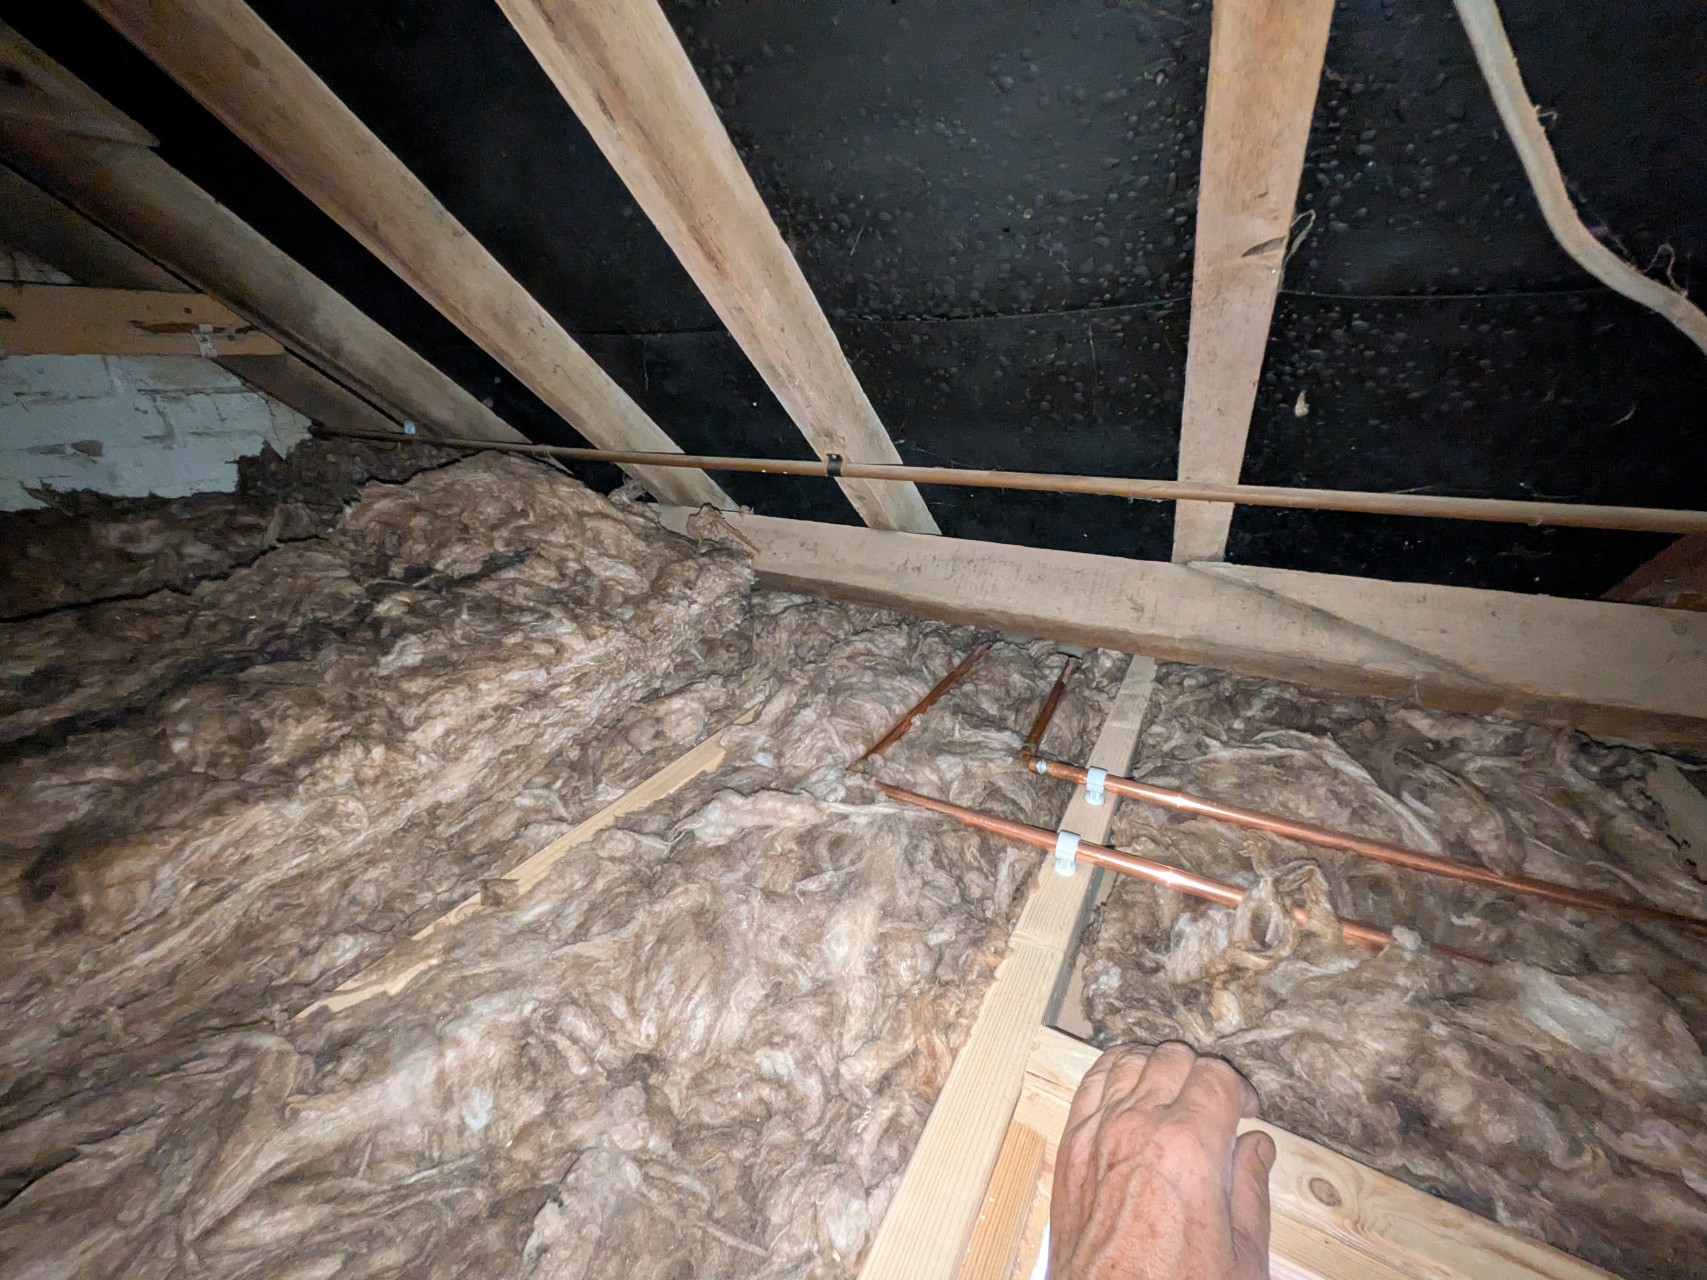
The pipes go down between the door and the window in the utility void behind the plasterboard in front of the wall insulation
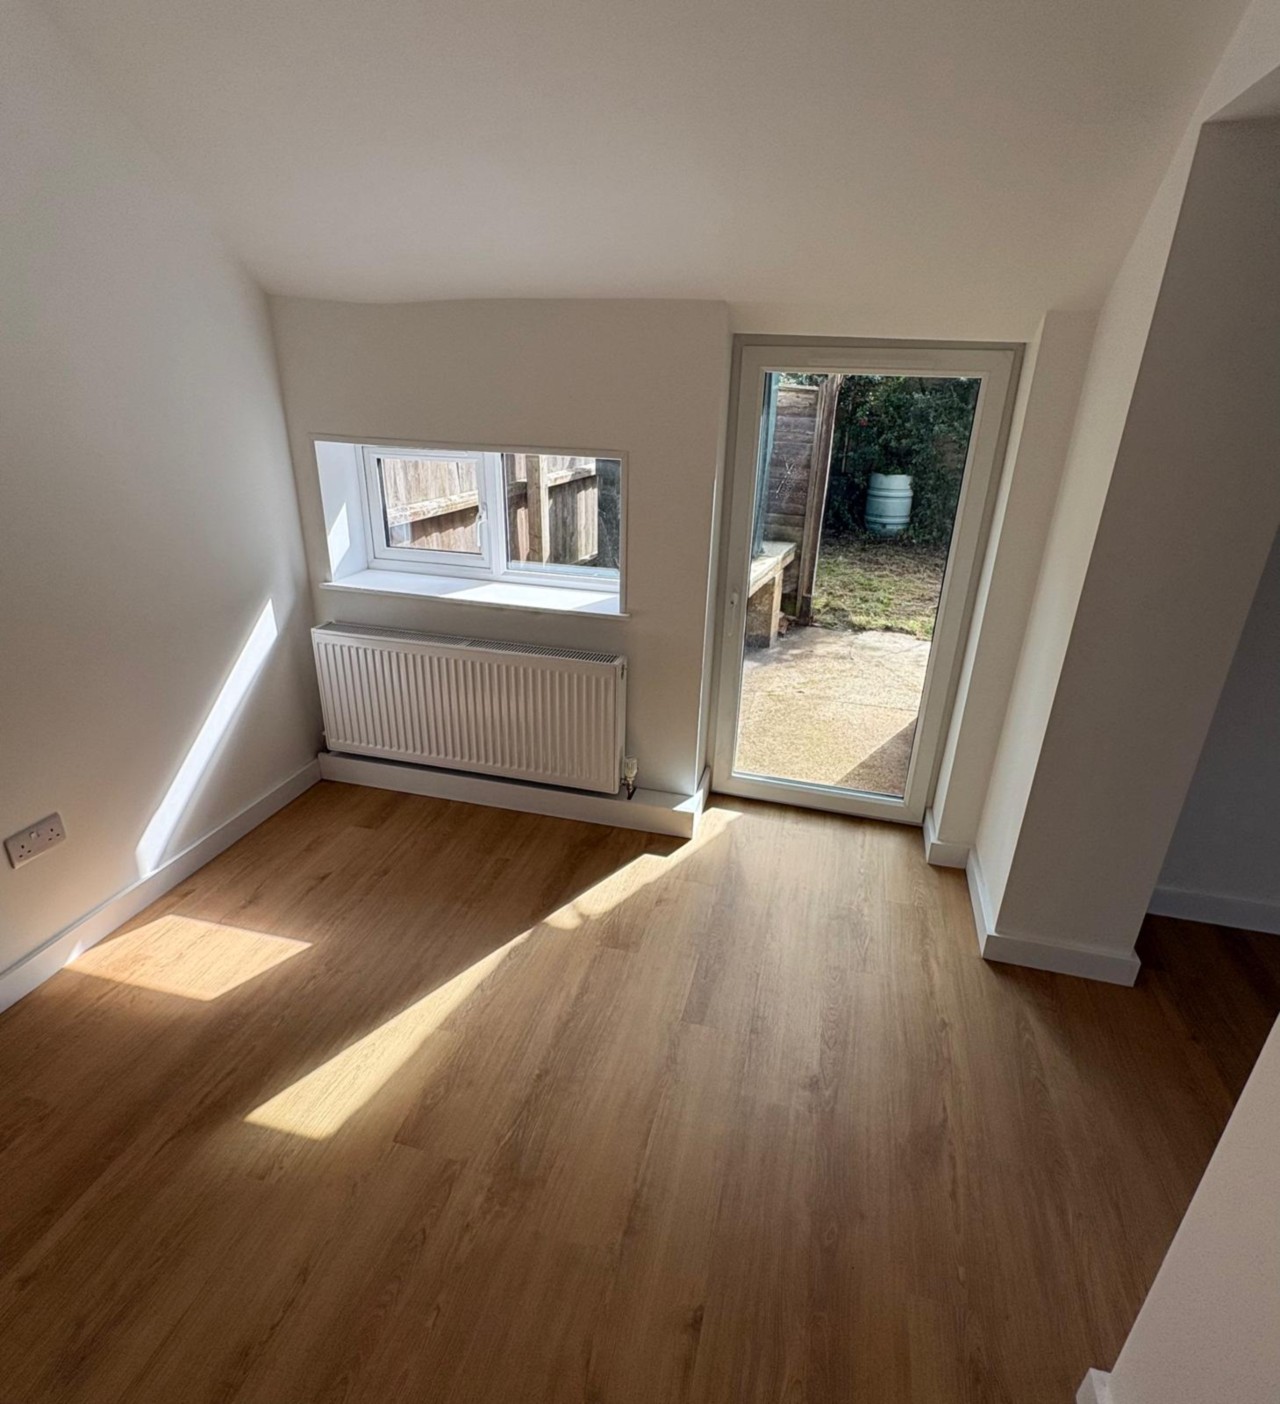
The finished bedroom with LVT flooring

